The below builds upon “The one simple thing that will improve your photos immediately”. (Read that post here.) Excerpted from Photography Essentials, taught by instructor Brit Hammer.
Get in the ballpark first, then refine your camera angle
Walk around your subject, looking at it from four sides, if possible. Begin at subject level. As you look from each of the sides, ask these two questions:
- Does the light enhance your specific subject?
- Are there any distracting elements in the background?
As you move around the subject, notice how the light on it changes. Also look for any distractions in the background. Choose the side (a) where the light illuminates the subject best and (b) with the least distracting background. This is the process of getting in the ballpark.
If the subject-level angle doesn’t work, try the same four sides but this time looking up or down at your subject from 45 degrees. Find the side that works best and the general camera angle.
Once you’ve found a side that works, review the edges of your frame. Check if anything in the background distracts from your specific subject. If so, then it means to move slightly left, right, forward, or backward to fine tune your camera angle. Likewise, it might mean to get closer or further away, or to zoom in or out.
It’s this slight zooming in or out, moving left or right, or up or down that refines your camera angle.

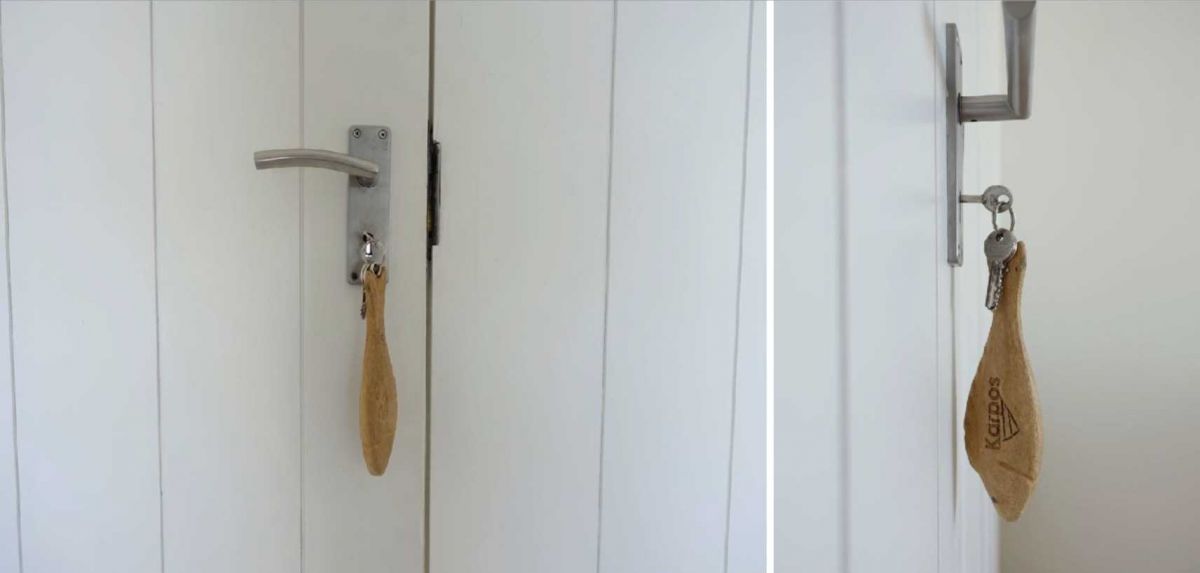
Refine your angle: Look at the how your subject is lit
Light creates shadows. Those shadows help define shape.
Compare the two above images. Which is better? Does the shape of the subject look better from one side?
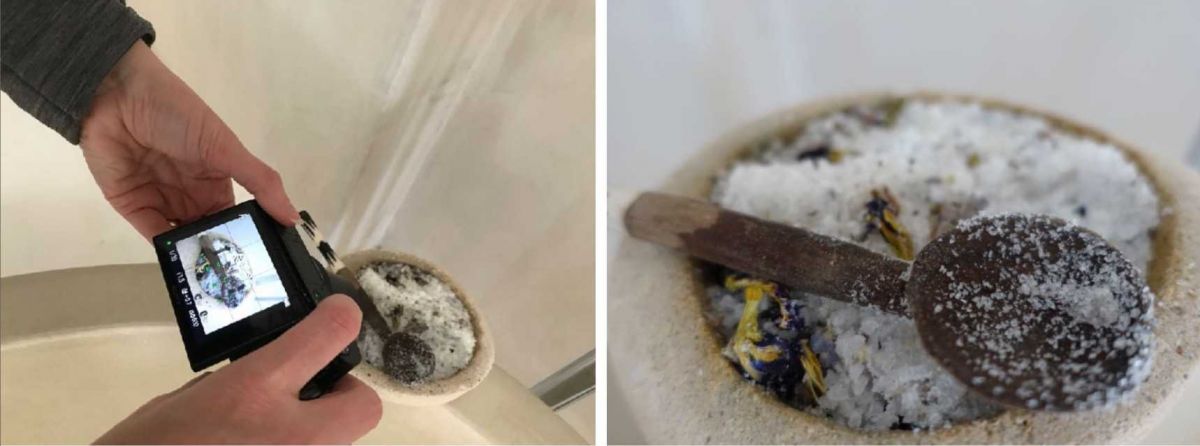
Refine your angle: Does the background enhance your subject?
Moving around your subject can create two completely different images. But what happens to the background as you move — does the background enhance or distract from the subject?
Critique the above images. Which do you prefer and what would you change, if anything?
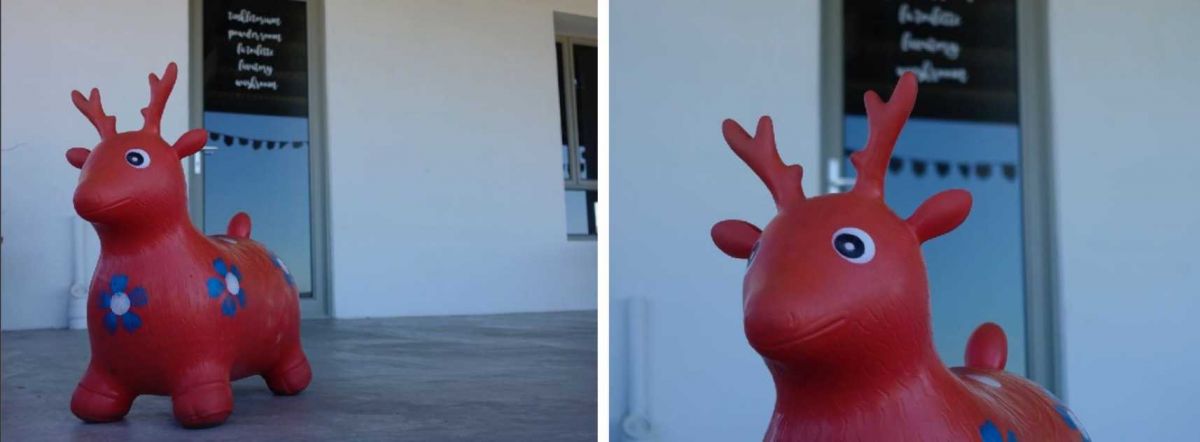
Refine your angle: Get closer
Are there distractions in the background that draw your eye away from your intended subject? If yes, move closer to isolate your subject to push the distractions out of frame.
Critique the above right image. Are there any distractions? Did I get too close and make the shot feel too tight, or does it feel just right? What would you change, if anything?

Refine your angle: Move further away
Sometimes your shot might feel a bit awkward because the angle just isn’t working. If you’ve already tried moving left and right, now try moving further away. By including a wee bit more in your image you can create extra context for your scene. Moving further away also solves the problem if your shot feels too tight.
Critique the above images. Which do you prefer and why? What would you change, if anything?

Refine your angle: Zoom in
In this example I stood in the loft above the bathroom and shot straight down into the scene. The overview image (above left) wasn’t as interesting as I’d hoped, so I iterated on the top-down camera angle by zooming in (image above right). By zooming-in I found a detail shot waiting for me within the scene.
Critique the above images. Is the light illuminating the subject enough to draw your eye there? Is there anything in the background distracting from the subject?
Refine your angle: Zoom in and move further away
Sometimes getting close to your subject works, but moving further away and zooming in creates a different look. Zooming in also cleans up extra clutter in the background. That’s because the field of view is narrower zoomed in than when zoomed out.
For the image above right, I moved one step further away and zoomed in, but imagine if I had stepped slightly to the right to get the entire head of the children’s toy against the white wall. Then the white text on the black background would no longer be directly behind the toy’s head, distracting from the subject.
Compare the above images. What could be better? What would you do differently?
. . .
Instructor: Brit Hammer
In Photography Essentials you’ll learn the techniques Brit uses so you can arrive at your own great images quickly and easily. With a bit of practice, they will become second nature to you!
Everything is explained simply and clearly.
We’ll work on one essential aspect at a time, broken down into parts like building blocks. By the end of the course the pieces will be put back together again so it all makes sense.
This course is for both beginners as well as experienced photographers desiring consistently great shots.
Brit teaches several classes at BPSOP
Celebrate Your Life in Beautiful Images
Celebrate Your Life in Beautiful Images Part II
Amazing Travel Photos Made Easy
What students say about Brit’s teaching:
“I’ve taken many classes. With the way Brit taught and explained things, I finally said, ‘I get it’. She made me enjoy taking photographs.”
“I have taken quite a few courses offered by BPSOP and learned so much from each one of them. All of your teachers are stellar. Brit Hammer’s class and method of critiquing took me to another level, and I am so appreciative. The video format and her commitment and energy she puts into her students’ work is inspiring and makes you want to work that much harder to utilize her suggestions for improving your photographs.” – Patricia Tedeschi – Galarneau (Celebrate Your Life in Beautiful Images)


