Car Trails
One thing I absolutely love shooting all over the world after dark are car trails. They are totally different from star trails and the night sky, lightning or just about anything else. You can be almost anywhere in any city and as long as you have your tripod and what looks like to be a decent exposure, you might come away with something very unique. I have been shooting car trails for about as long as I can remember and was lucky enough for Canon to do a six page article and give me the cover for EOS magazine with the entire article on capturing car trails. This kind of shooting is definitely addicting!
You do have to pay attention to your exposures, as long exposures with headlights and taillights might overexpose other parts of your image, and of course that stabilizer has to be off as with any long exposure but the payoff can be some pretty powerful photographs. Below are a few examples of different ways to capture car trails after dark and for me, it’s all about being at the right place at the right time.
In the first image below, I wanted to create a Warp Speed look from the movie Star Wars, and I attached suction cups to my Canon camera. With my sunroof opened, I put the camera between my sunroof and the windshield and used a cable release that I could trigger while I was driving. I waited until the Laker game was finished in downtown LA, as that gave me tons of traffic and along with the colored buildings, street lights and billboards, I captured a pretty unique perspective of downtown LA!
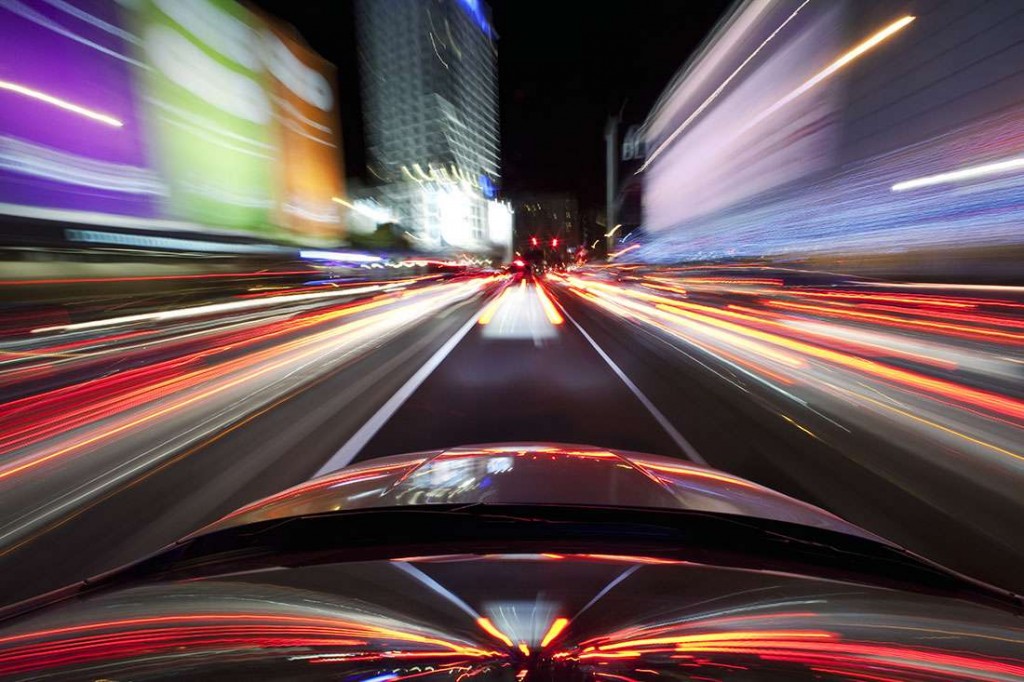
Car trails in Downtown LA after a Laker game
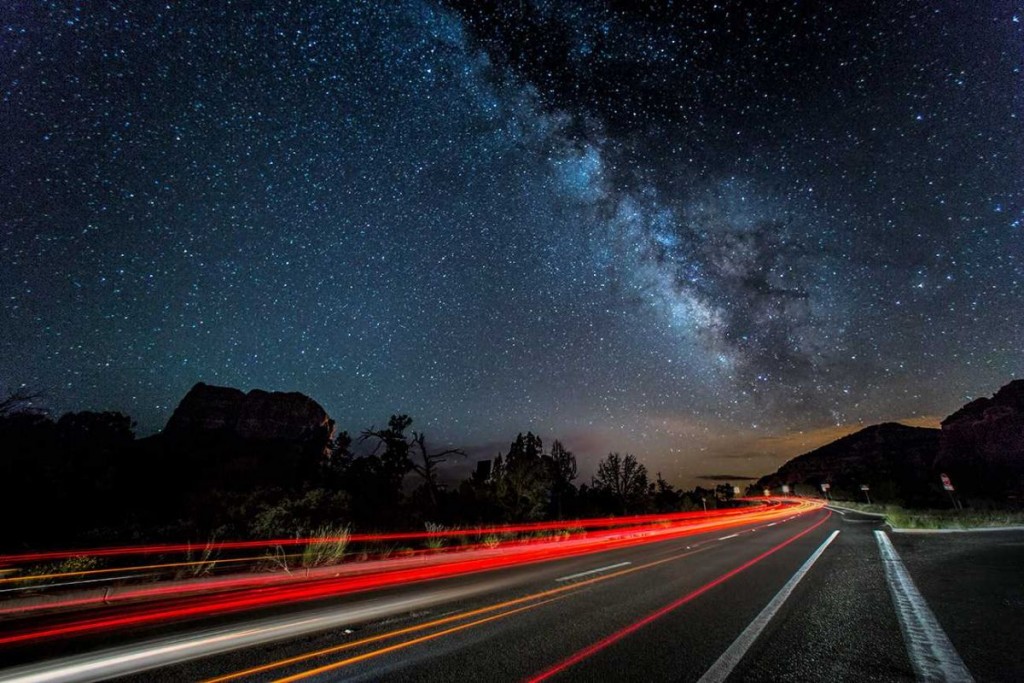
Milky Way and car trails in Sedona
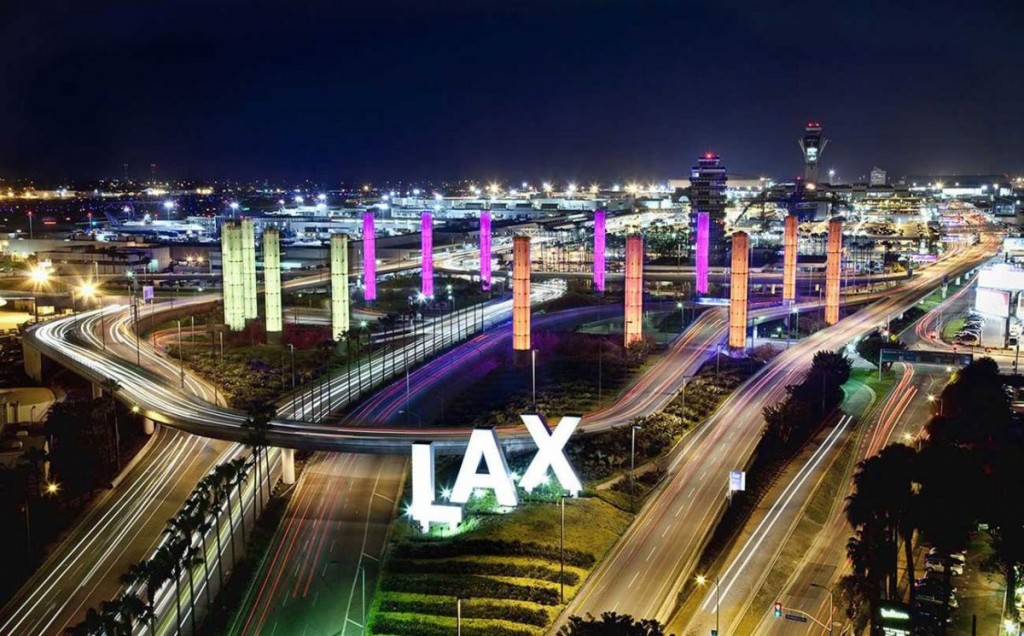
Los Angeles International Airport
Sometimes I want more powerful car trails and a large bus or truck can be just the ticket. You have to make sure your exposure balances out but when it does, if you are in the right place at the right time, you have a good chance at creating some pretty magical shots!
The first shot below was in Death Valley on one of my workshops and while shooting the night sky with my students, a huge big rig came out of nowhere and stunned all of us. Since we were already set up to shoot 30 second exposures of the night sky, I had them quickly move their tripods to the direction of the road and fire off their shutter as fast as possible to capture all of the truck trails. We had to work insanely fast but were able to get the entire truck trails along with the night sky.
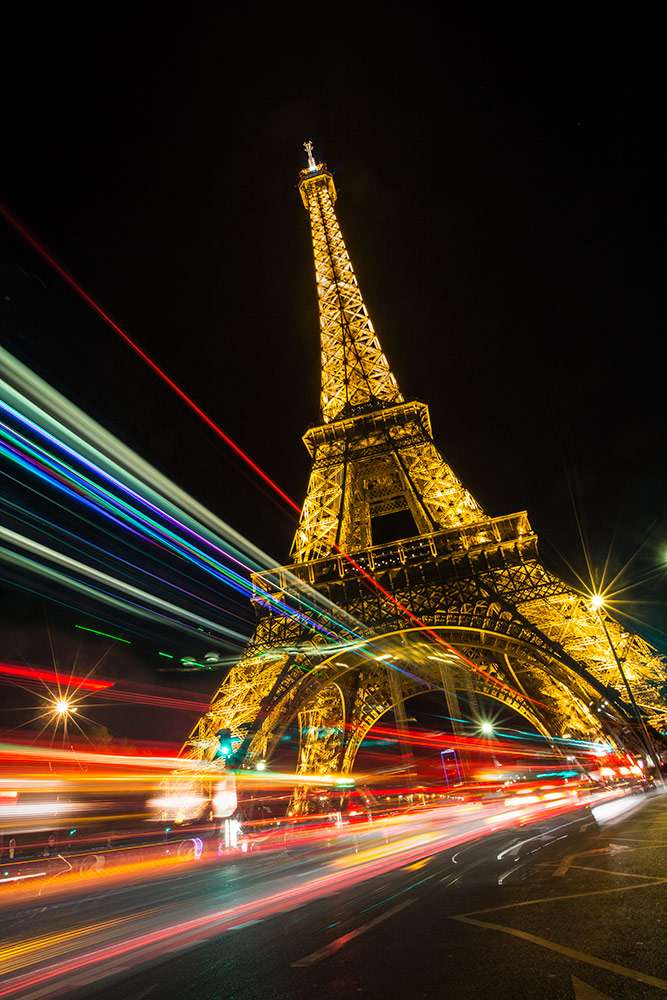
In the final shot below with the Eiffel Tower, I waited for large buses to go by me and get into the perfect angle with the Eiffel Tower in the background. I angled my camera also, as quite often, Eiffel Tower shots look better in magazines at a nice angle. I was also a little too close for comfort to the buses and traffic but sometimes with car trails, being pretty close can make all the difference in the world. But safety is always on my mind shooting anything after dark.
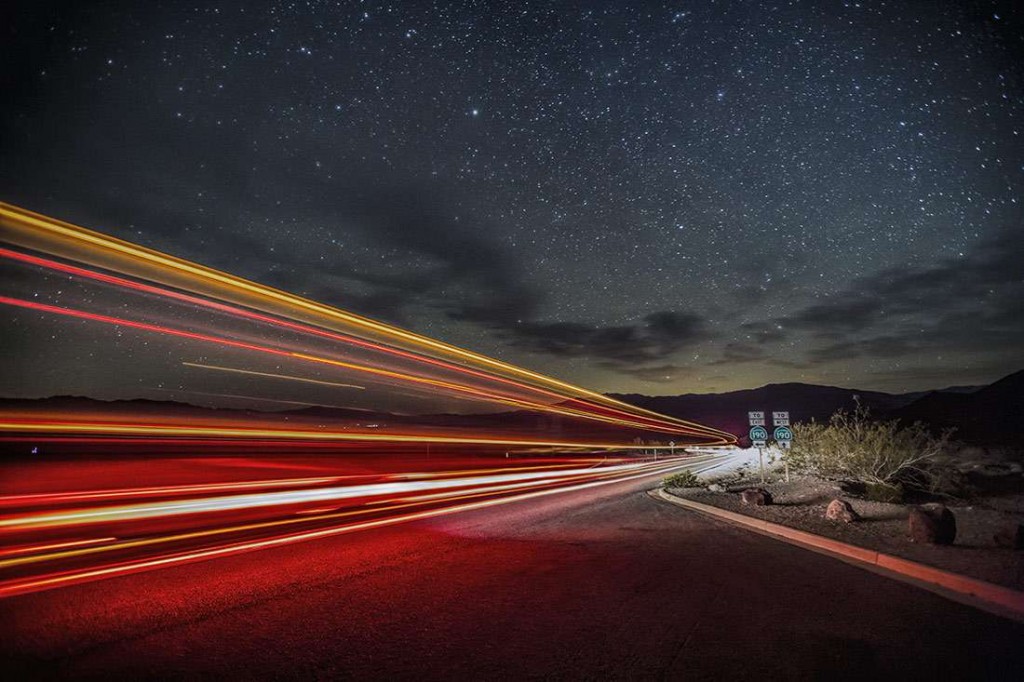
Truck trails in Death Valley National Park
Final Thoughts
Great images can be captured all over the world, limited only by your imagination and how much effort you are willing to put into it. Once you try one method, don’t be content with that but think of other ways to improve on it and try even more ways. That’s what I’ve been doing my whole life and I realize that the sky is the limit with so many parts of your photography. Experimentation and imagination is the key and thinking outside of the box is what it’s all about. “Think different” as Steve Jobs said. Keep that in mind whenever you are feeling a little bit bored with your photography. And I have not even covered my favorite type of night photography: cities and architecture. Definitely my favorite thing to shoot around the world after dark but I will wait till a round two of this article for that.
But one thing is for sure. You need good gear to produce good results and I sure love using Really Right Stuff gear. For so much of my travel and stock photography all over the world, and everything from car trails to star trails, to monks and ancient temples, they have helped me capture so many powerful images. Almost all of the above images used Really Right Stuff gear and what a difference it is compared to the pretty lame stuff that we had to use years ago. They really have been a game changer! Nothing beats great gear! but don’t forget…. When the sun goes down…. Don’t put that camera away!
-BPSOP Instructor: Scott Stulberg
Scott Teaches:


