Creating a story
In Authentic Photo Stories we capture real life and make it look beautiful.
We also create a series of images that together tell a story.
Images are shot on the fly, yet when put together they also tell a coherent story.
Storyboards
The images you shoot can form a storyboard, which is a graphic organizer displaying images in a sequence.
You can think of the storyboard as a comic strip, collage, or even a composite image.
In film making the storyboard is used to pre-visualize a film’s story. Often images are sketched.
Below is an example to give you an idea of how a film storyboard might look to represent part of a scene.
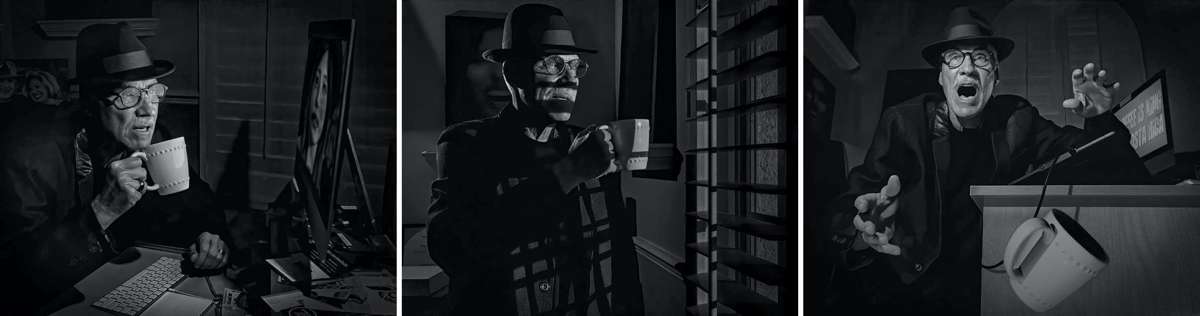
Images: Tennessee Rick Elliott
Lifestyle photography
In lifestyle photography you create the story and eventual storyboard after the shoot because you are shooting spontaneously throughout an event.
So the trick in lifestyle photography is to shoot enough of the right kinds of images that can be put together to tell an interesting story.
You might then show two or more images in a composited storyboard created in Adobe Spark or other software.
Real life can look artistic
Experienced portrait photographer Tennessee Rick Elliott took part in the March Authentic Photo Stories class.
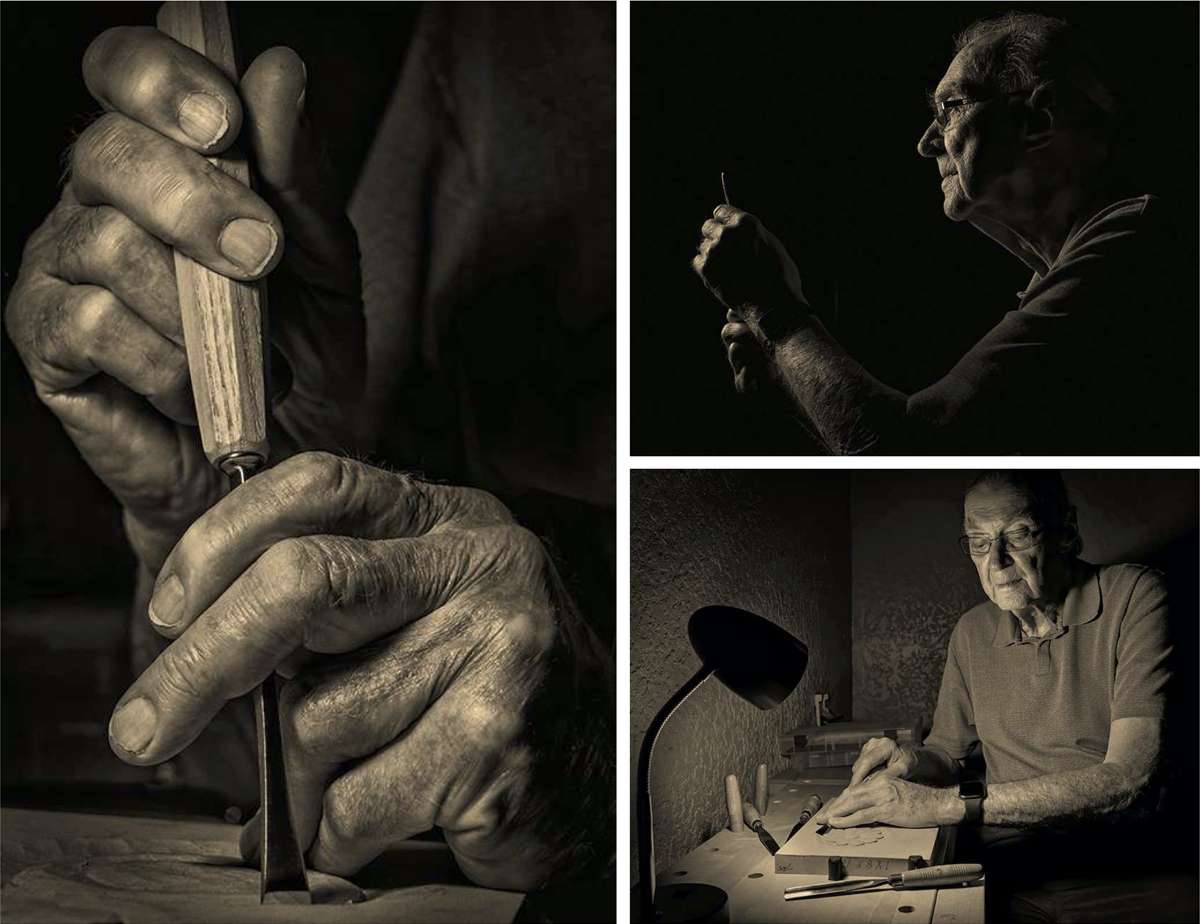
His lesson 2 assignment images (shown below with permission) are his answer to instructor Brit Hammer’s challenge to photograph hands (or feet).
Tennessee took her challenge onboard and went two steps further, reflecting his artistry. He shot low-key images and converted them to sepia in post.
His images convey both emotion and atmosphere.
Read below what he did to create each image.
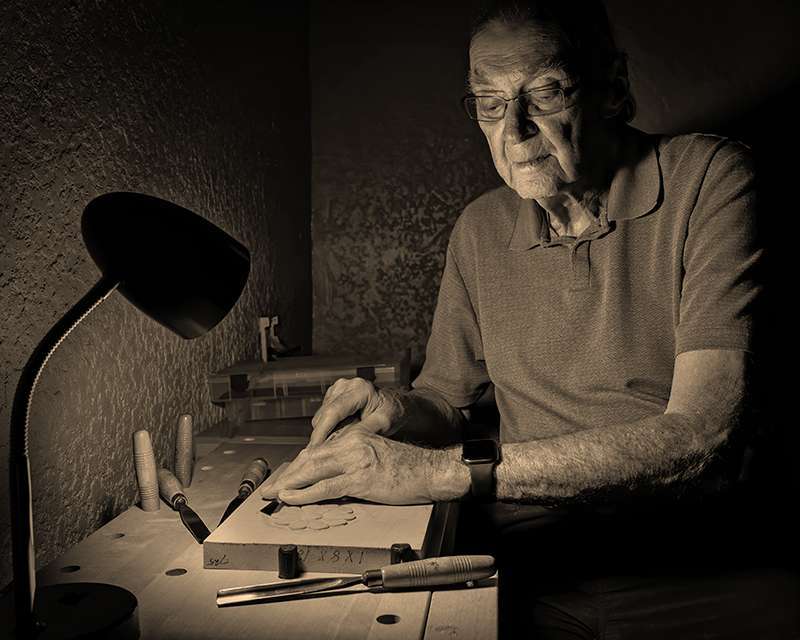
Tennessee: “We set up a temporary workbench and a little work light. This shot was my establishing shot, including some of Jack’s wood gouges, the light, the piece he was working on, and naturally Jack. The lighting was provided only by the solitary work light.”
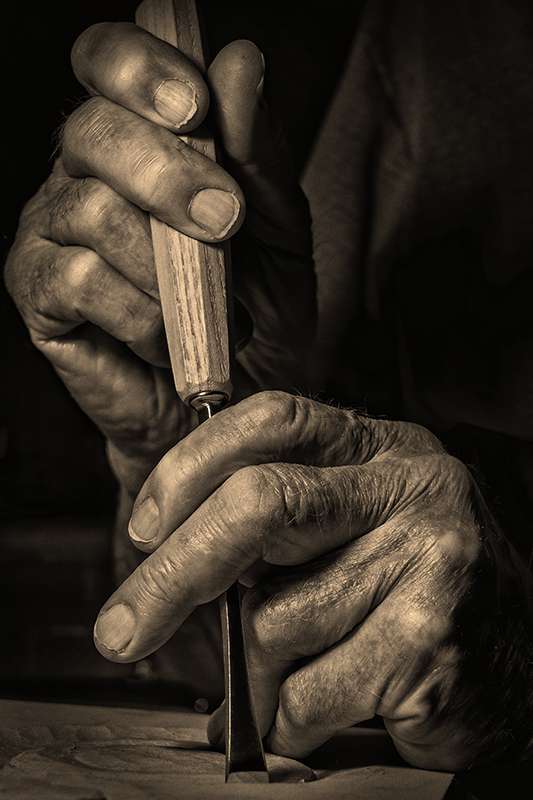
Tennessee: “This was my favorite shot of the three! If you would have told me last week that I would have enjoyed shooting hands, I’d have scoffed. I absolutely love this shot. It was still lit with only the solitary work light and I did push the contrast in post processing to give his hands a bit more weathered look. I always tend to like a sepia look and it just seemed to suit this shot so well that I did all three in sepia for a bit of consistency. I’m color-blind…and because of that, I seem to be naturally drawn to the sepia .”
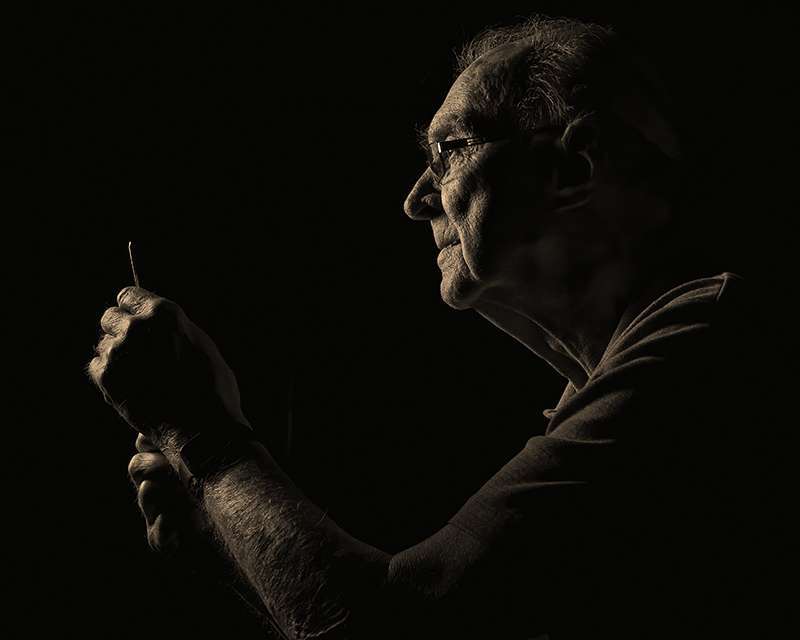
Tennessee: “This third shot was taken away from the workbench and it was lit with a constant light in a small octabox placed just to camera left and feathered behind Jack. I tried to use the edge lighting to carve him out as he was examining the cutting edge of his gouge. I probably should have used a tripod for all these shots because it was shot in very low light, but I kept moving around to try different angles and heights so I just pushed the ISO and tried to hold the camera as steady as I could.”
Below is Tennessee’s narrative story shown as a 3-image composite.
See more of Tennessee’s work on his website.
Tennessee: “Brit really helped me to grow significantly as a photographer and as a person as well.”
Learn how to shoot your own compelling series of images in Authentic Photo Stories.
SIGN UP FOR A CLASS WITH BRIT HAMMER
Celebrate Your Life in Beautiful Images
Amazing Travel Photos Made Easy
** No post processing skills necessary for any of Brit’s courses **
FIND OUT MORE ABOUT BRIT
 Brit Hammer is a photographer, author, and artist whose work has aptly been called fresh and optimistic.
Visit her website at brithammer.com


