Adapted from Photography Essentials, taught by Brit Hammer.
The one simple thing that will improve your photos immediately
Creating a strong composition is that one simple thing.
Composition is a function of camera angle and framing.
Every time I photograph, these are the steps I follow to compose an image:
- Decide what the specific subject is
- Find a camera angle that shows off that specific subject
- Frame the image…so there are no distractions
- Focus
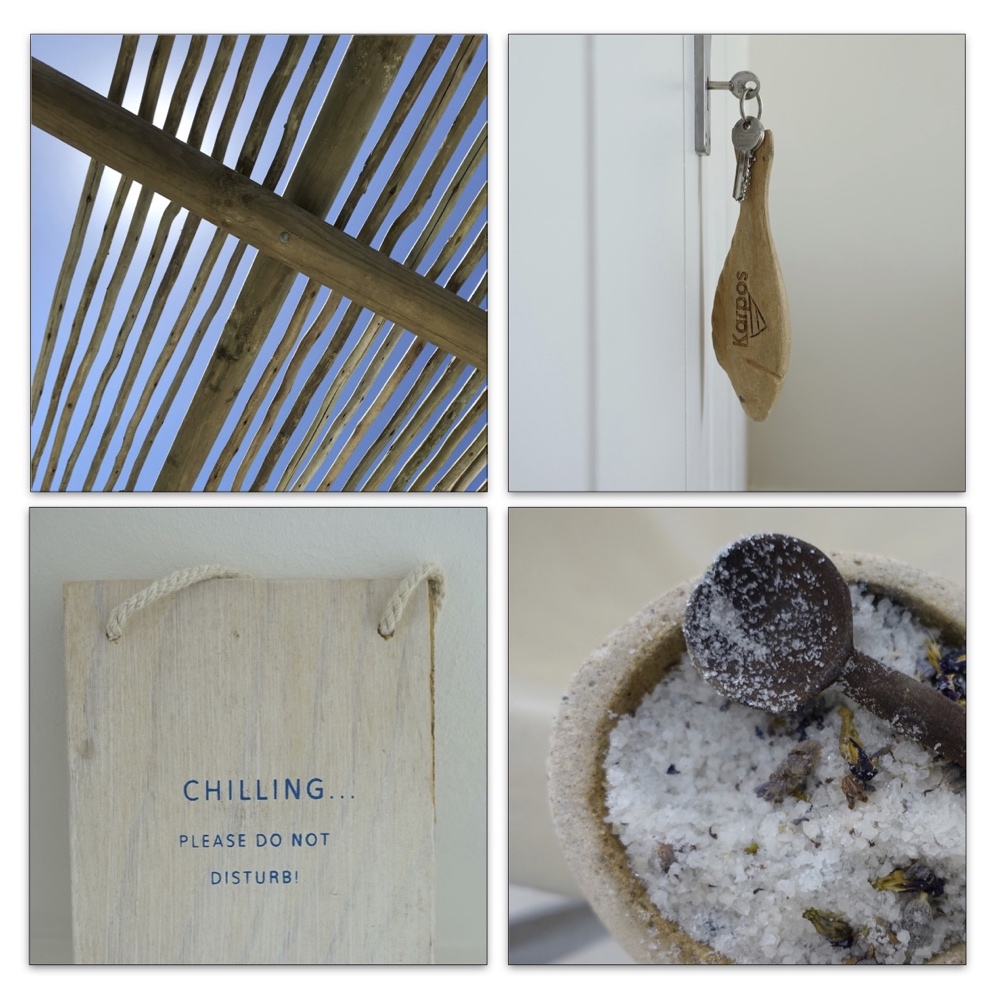
STEP 1: Decide what the specific subject is
Choose one specific thing. That means a key, not the key and the entire door. How the light shines through the pergola, not the entire sky. One specific thing.
STEP 2: Find a camera angle that shows off that one specific subject
As you learn to discern what specific part of a scene attracts your eye, begin to systematically explore the camera angles. By looking for your camera angle in a systematic way — rather than haphazardly — you’ll find that two things will improve: (1) the quality of your images and (2) your consistency getting good photos.
There are essentially three camera angles that I use because they work in most situations, from photographing people and animals to food and architecture. They are:
- Subject-level
- Top-down
- Bottom-up
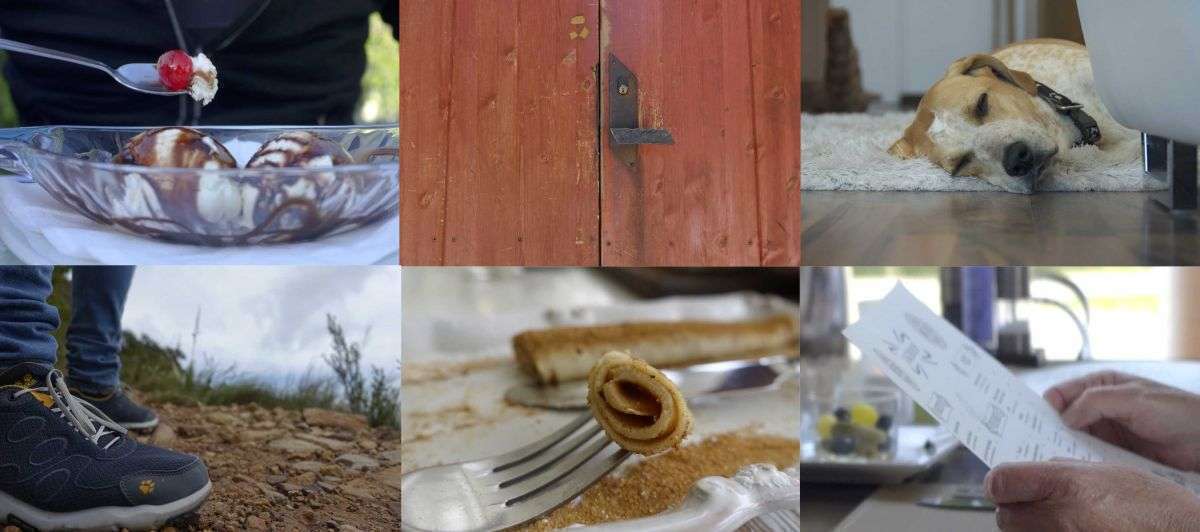
Subject-level
Camera angle #1: Put your camera at subject level
The easiest thing you can do that will really improve your photography is to put your camera at the level of your subject. Remember, your eyes do not have to be at subject level — only your camera does!
These odd heights, such as floor level and table height, result in unexpected view points. They also feel very intimate. So put your camera where your subject is and capture that unexpected angle!
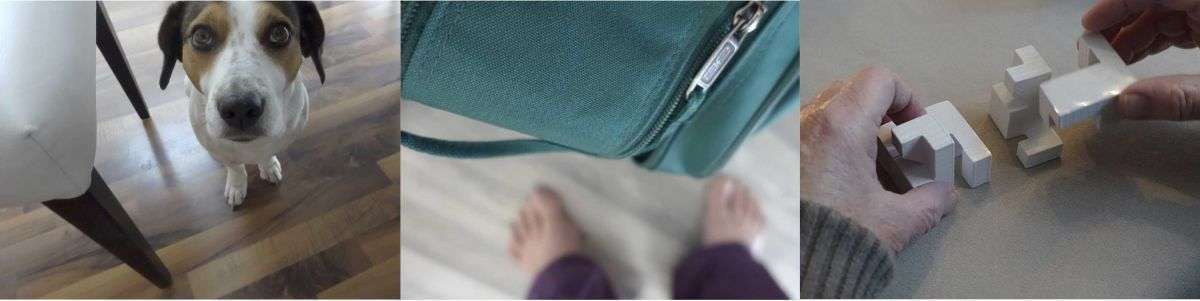
Top-down
Camera angle #2: Top-down
When shooting top-down, you can simplify a scene and get rid of clutter. Sometimes this also creates a new way of looking at something. Either shoot straight down or at an obvious angle — between 45-90 degrees.
Shooting top-down is great for just about any subject, from people and animals to food, interiors, and still life. The top-down angle is especially useful for showing hands at work, so if you have young children, start photographing them top-down while they’re playing, coloring, or even washing their hands in the sink!
The secret to this angle is to be between 45-90 degrees above your subject.
Start shooting top-down and see what great shots you get!
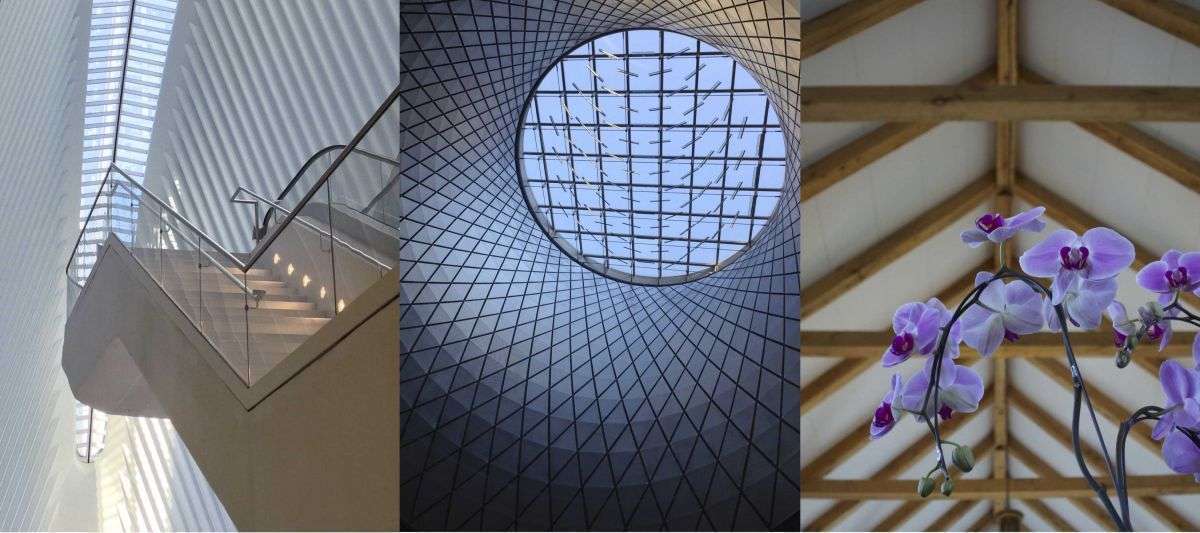
Bottom-up
Camera angle #3: Bottom-up
We’re used to looking straight out at eye level. Start looking upward — you might be surprised what you see! The secret is to make your camera angle obvious, between 45-90 degrees.
Shooting bottom-up works especially well for architecture and interiors but can also be used for photographing people, animals, decor, and food & drinks served in transparent dishes.
. . .
Instructor: Brit Hammer
In Photography Essentials you’ll learn the techniques Brit uses so you can arrive at your own great images quickly and easily. With a bit of practice, they will become second nature to you!
Everything is explained simply and clearly.
We’ll work on one essential aspect at a time, broken down into parts like building blocks. By the end of the course the pieces will be put back together again so it all makes sense.
This course is for both beginners as well as experienced photographers desiring consistently great shots.
Brit teaches several classes at BPSOP
Celebrate Your Life in Beautiful Images
Celebrate Your Life in Beautiful Images Part II
Amazing Travel Photos Made Easy
What students say about Brit’s teaching:
“I’ve taken many classes. With the way Brit taught and explained things, I finally said, ‘I get it’. She made me enjoy taking photographs.”
“I have taken quite a few courses offered by BPSOP and learned so much from each one of them. All of your teachers are stellar. Brit Hammer’s class and method of critiquing took me to another level, and I am so appreciative. The video format and her commitment and energy she puts into her students’ work is inspiring and makes you want to work that much harder to utilize her suggestions for improving your photographs.” – Patricia Tedeschi – Galarneau (Celebrate Your Life in Beautiful Images)


