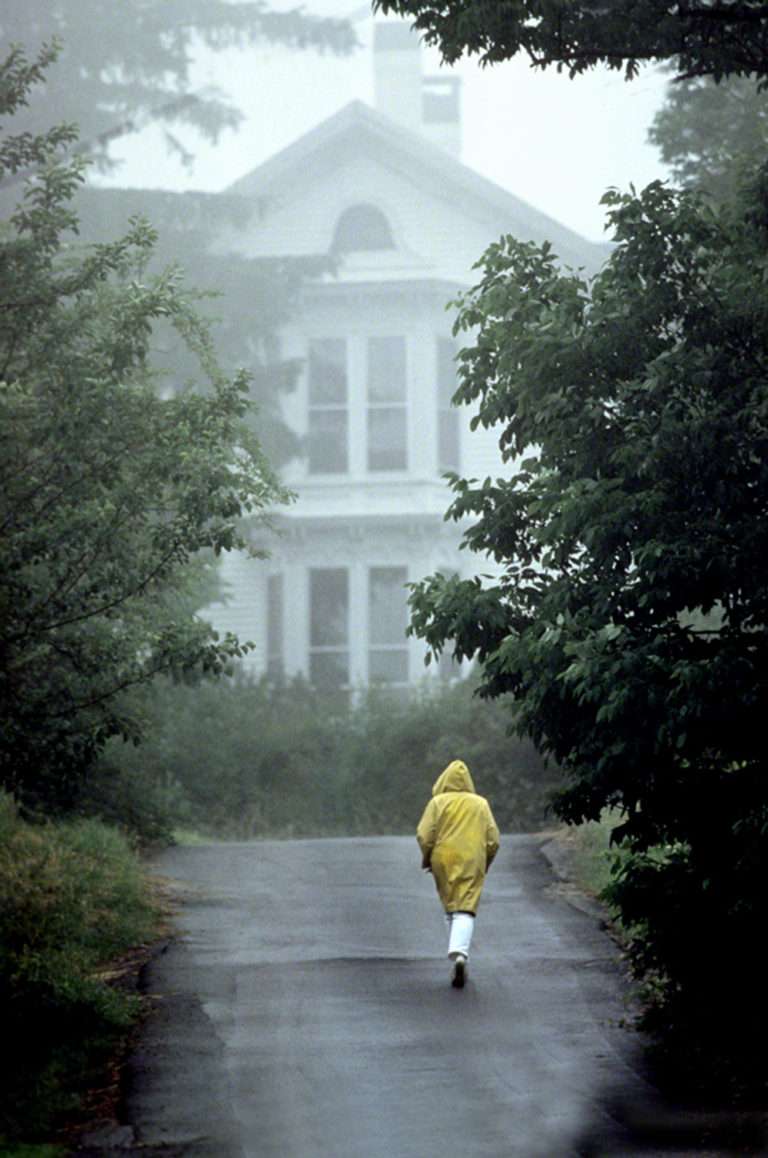
 Yes you’re reading that right..while the sun doesn’t shine not while the sun does shine. The original expression is an idiom that’s been around for a long time. Basically, it means to grab an opportunity when the time and conditions are perfect.
In my online classes with the BPSOP, and in my “Stretching Your Frame of Mind” workshops I conduct I often hear from my fellow photographers that since it was a overcast day, or even raining, there wasn’t any reason to go out…that’s just an excuse to watch TV because that’s just not true!!!
Btw, throughout my career, I’ve gone out countless times when it was gray, or even raining only to get lucky and have the sky open up; perhaps for only a minute or two…and that’s all you need to get that one shot off that winds up being one for the wall.
If it’s overcast then don’t show the sky or very little of it. A gray day will produce either a white or light gray sky; if it’s raining take an umbrella. If you have a camera similar to the one I use in these situation (a Panasonic Lumix DMC-LX7) you can easily walk around with the umbrella in one hand while holding your camera in the other. Give it a try sometime, you’ll thank me down the road.
If you were familiar with my workshop and class overview, you would know that I teach people how to incorporate the basic elements of visual design into their imagery. When it all said and done, these elements and other compositional tools are firmly planted on what I call my Artist Palette.
What’s good about these elements and various tools: Line, Pattern, Texture, Shapes, Balance, Negative Space, Vanishing Points, Silhouettes, Shadows, and Color, is that they can help you out on overcast crummy gray days not just sunny good days; shadows being the possible exception!!
Getting back to my personal workshops, we will often spend time walking the streets of some village, town, or big city. Street shooting is one genre that doesn’t necessarily require good light; it’s more about capturing a moment in time. In fact, shooting in the streets at night can reward the photographer with some real keepers; especially after it rains and those wonderful reflections from wet streets are fun to find.
I’ve always found that using a long lens and a very shallow DOF (Figure-Ground) on a gray day can result in good photos, especially if you combine color with it.
Overcast light can be extremely beneficial when you are required to shoot in the middle of the day; weddings for one example. For the most part midday sun can be a real problem shooting portraits because the contrast between the shadows and the highlights can be too extreme. Looking for natural shade in this harsh light is important. A gray day can save you from dealing with this type of light by the fact that the contrast has been negated.
Don’t fight it, go with the flow. Take advantage of the overcast conditions to create a unique photo that reflects the gloomy weather. For example, shooting a sad photo is a great use of overcast weather conditions.
There is one other way to create memorable photos on dreadful days is the use of humor. As far as I know, it’s one of the best ways to overcome these kinds of days.
-BPSOP Instructor: Joe Baraban
Joe Teaches:
Stretching Your Frame of Mind I
Stretching Your Frame of Mind II


