Why is this important?
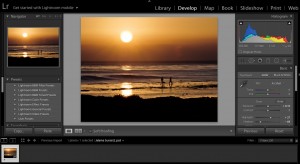
If you put some serious thought into what you would like to do with the image in post-processing, it will help you with your creative vision at the time you take a shot.
Yes, there’s a lot to think about, especially for the beginning landscape photographer. Do you have your camera on a tripod? Do you have the right shutter speed? What is the subject of your photograph? What is in the foreground? What is in the background? What does the edge of your frame look like?
The sharpness of your image is determined by your shutter speed and the steadiness of your 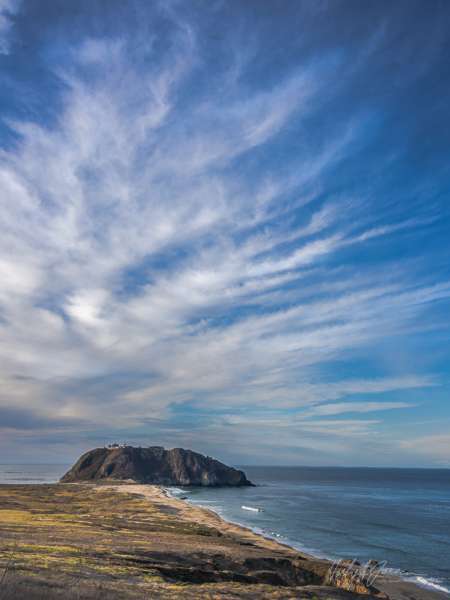 camera. Sure you can hand hold a shot at a fast shutter speed, but is it going to be the right ISO for your final image? Have you taken the time to slow down and consider all areas of your image? The tripod not only gives you a stable, steady picture but also forces you to slow down and think about your composition and exposure elements. If you don’t have a sharp picture when you take it, you won’t be able to fix that in post-processing.
Additionally, if your ISO is too high, you may be creating unwanted noise in your image. Yes, there are noise reduction filters, but wouldn’t you rather get it right in camera and not have to worry about taking it out later in Lightroom or Photoshop? Many people shoot with auto ISO and the new digital SLR cameras can handle it. But I am still of the old-school thought that the lower the ISO, the sharper your image will be and the less noise.
As a result, a tripod would be your best bet. And yes, a tripod can be heavy and cumbersome, but if you’re serious about your landscape shots, the tripod is essential. You will get used to carrying it, and soon it will become an essential part of your landscape photography arsenal and you will notice how much better your images will become.
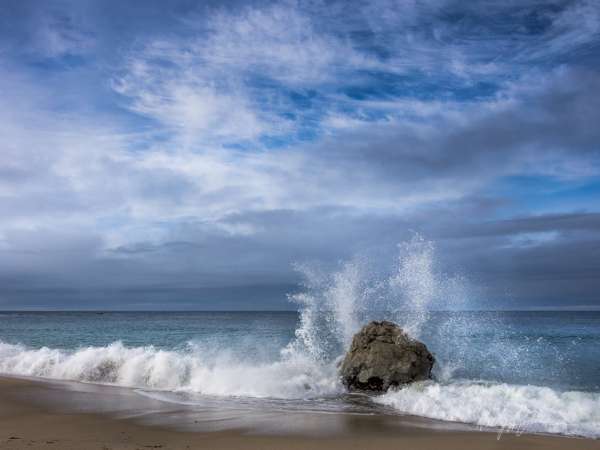
What about those shots when you’re shooting waves breaking over rocks in the ocean? How do you want those waves to appear? Do you want them to be sharp and freeze the action as they spray up over the rocks? Or do you want the water to have that milky flowing feeling? Notice how the light is hitting the waves and the water behind it. You can enhance the light later on in Lightroom to bring the picture to what you saw.
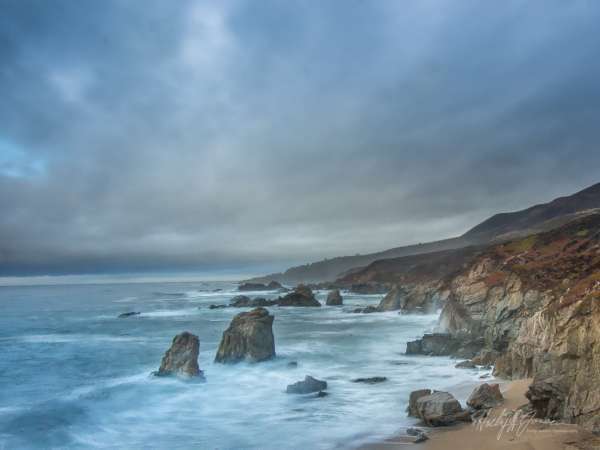
These are two completely different shutter speeds for the sharp waves and the milky water effect, so you need to be very conscious of what your shutter speed will render. The f-stops in between sharp and milky will most likely just render the water blurry, and again, this is not fixable in post-processing.
When you keep your post processing in mind when shooting, you will not only be getting the sharp well-composted image that you’re looking for, but your picture will have a balanced exposure and be ready to receive the enhancements you worked so hard to learn in Lightroom.
Hope to see you in the next class!
BPSOP Instructor – Holly Higbee-Jansen

Holly Higbee-Jansen is photographer, trainer, blogger, and workshop leader who enjoys teaching and the creative process. Her passions include teaching photography workshops in beautiful locations in California, Iceland, Costa Rica and the American West with her husband Mark. Holly also teaches online classes on Lightroom, Photoshop, and photographic technique. Get Holly’s Free E-Book on “Landscape Photography and the Light“ and find out about her newest workshops at Jansen Photo Expeditions.com.
Reach Holly by email at [email protected] and read her blog at JansenPhotoExpeditions.com/Blog
Holly Teaches:
In this class, we will introduce you to the magic of iPhone photography using several shooting and editing apps that will give you the ability to make your pictures sing in a fun and easy way.You will learn how to crop, change saturation, brightness and affect the overall look of your pictures with HDR, drama and grunge filters and other techniques. You will be amazed at the simple and effective methods.
Do you want to learn to create images that show the beauty of the scene you saw when you took the photograph? Do you want to learn the other essential side of digital photography, photo editing and get up to speed quickly?
This course is designed to get you up and running FAST in this incredibly powerful program. In this two week information packed class, you will learn how to import, organize and perform simple and effective editing processes that will let you produce beautiful adjustments to your pictures.
For a complete list of Holly’s current workshops go to:
Jansen Photo Expeditions – JansenPhotoExpeditions.com
Holly’s Blog: http://jansenphotoexpeditions.com/blog
Facebook – https://www.facebook.com/Jansenphotoexpeditions
Instagram – http://instagram.com/photographyexplorations

