10 Things You Can Do RIGHT NOW To Improve Your Wildlife Photography
Wildlife photography is a journey. It can take you to all kinds of places as you explore the world around us in ways you may never have seen before which is why wildlife photography is a very popular subject.
In order to consistently take photographs that capture people’s attention and to showcase your subjects, you need to know your equipment like the back of your hand, have an intimate understanding of your subjects and have started to develop your own vision and style whether it be on a particular subject, area or whatever you find the most enjoyable. However, there are some things that you can start doing right now that will have an instant positive impact on your images. Here are my top 10 things to help you get started on your journey RIGHT NOW:
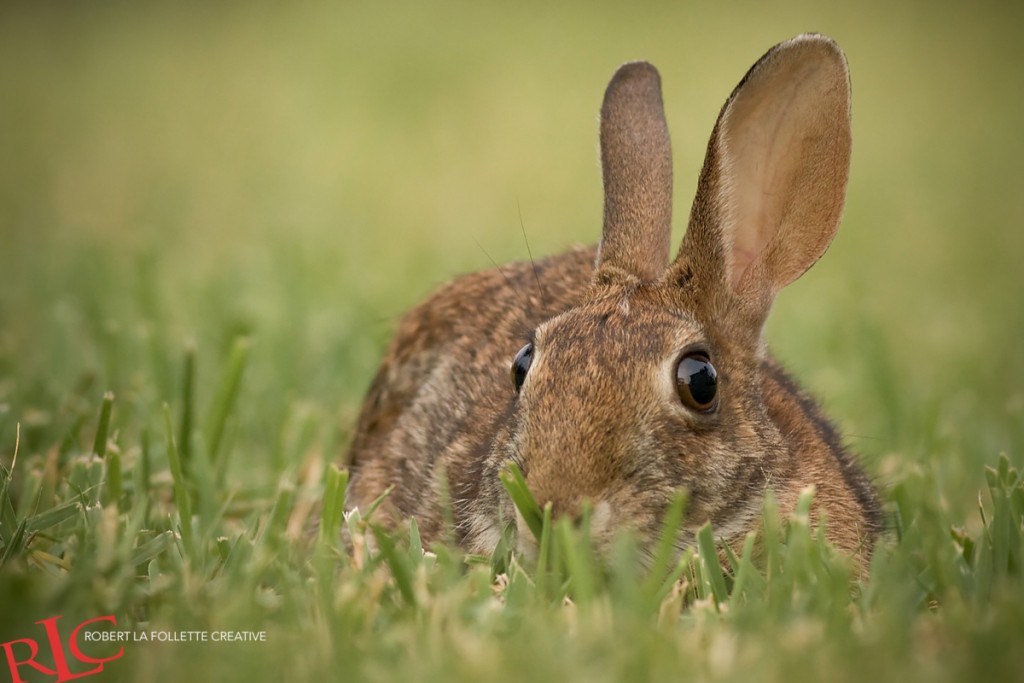
1) Get At Eye Level
If possible, lie on the ground to get as low as possible or set your tripod as low as it can go to dramatically improve your images right off the bat.
2) Keep Your Shutter Speed Up
Today many cameras and lenses have Image Stabilization or Vibration Reduction enabling you to push the boundaries further even further. However, I always use a of thumb of making sure my shutter speed is faster than 1 over the the focal length of the lens. For example, with a 400mm lens, you should keep your shutter speed faster than 1/400th second. With a 200mm lens then 1/200th sec should be fine. With wide-angle or medium focal length lenses this becomes a lot less of an issue but I always stay around 1/40th sec.

3) Focus On The Eyes
If the animal isn’t looking at the camera, you should aim to have it facing and/or looking towards the center of the frame. For example, if the animal is looking to the right then place the animal on the left-hand side of the picture. This is more commonly referred to as the “Rule Of Thirds”.

4) Lighting Is King
Good light can turn an average photo into an extraordinary photo. The best time for photographing wildlife is around sunrise and sunset. The light is most beautiful in the ten minutes after sunrise and before sense and then the light rapidly becomes cooler and harsher as the sun moves up in the sky which causes exposures issues such as strong contrast, deep shadows and even blown highlights. It is still very good for at least an hour or so at the beginning and end of the day.
There are two ways to use beautiful sunrise and sunset light. The number one rule is to always shoot with the sun behind you so that your subject is bathed in lovely warm light. However, you can also experiment with back-lighting your subjects, particularly if the light is low and strong to create some very compelling silhouettes.
5) Watch Your Backgrounds
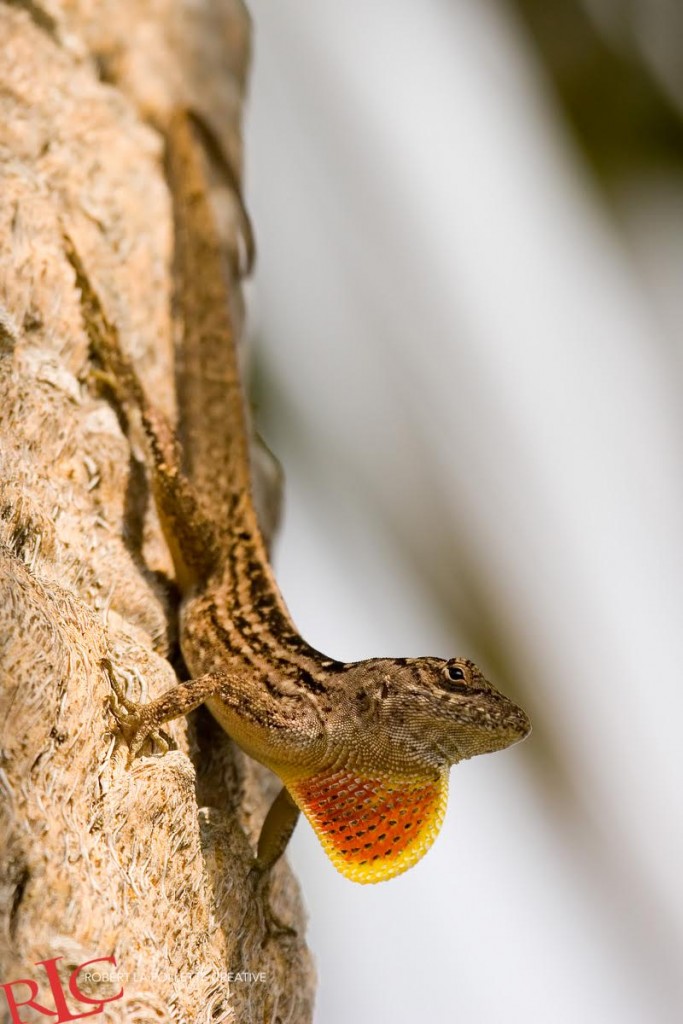
Often just moving slightly to the left, right, up or down can shift the subject in relation to the background dramatically and completely change the composition and framing. You should explore these very minor tweaks to see if your shot could be improved by adjusting your position and if changing your composition from perhaps a horizontal to a vertical changes they way your subject and the background is presented.
6) Leave Space Around Your Subject
This allows you to:
Try experimenting with different focal lengths to maximize your opportunities for a compelling subject. Once you have a frame-filling portrait try switching to a medium range zoom or wide-angle lens to capture more of the environment that can sometimes be a much more visually exciting photograph.

7) Spend Time With Your Subject
The longer your spend with an subject the more chance you have of witnessing (and capturing in camera) something special. It may also be that the subject becomes more comfortable with you being there and you end up with something that you may of never of seen before. I have personally been allowed to peer into a subjects world by keeping still, low and quiet enough it was almost as if they accepted me as one of them and this is what separates a good photograph from an outstanding photograph.
8) Be Prepared For Anything
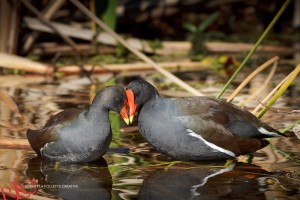
Try to envision the shots and subjects you want to take so that you can seek them out when they present themselves. If you have an idea for a few unique images then you can make sure you have the necessary equipment and have thought about your camera settings in advance so you are ready in the blink of eye.
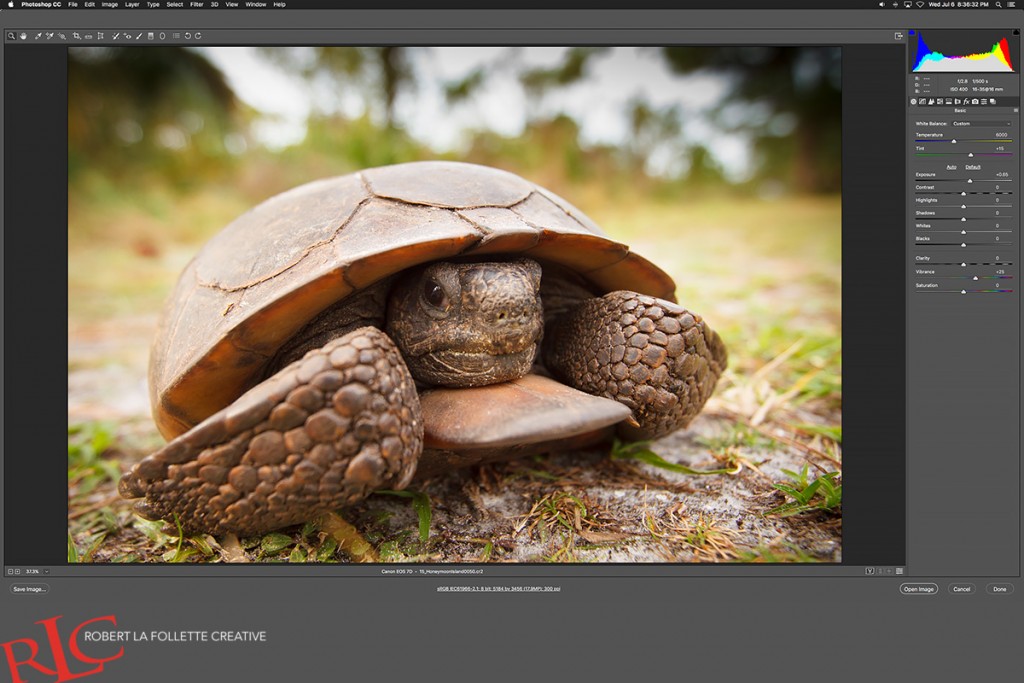
9) Shoot In RAW & Understand Your Histogram
When you are out shooting it can be hard to see if the image is well exposed on your camera screen, particularly if you are in bright sunlight. This is where your histogram is useful for you don’t want to rely on that tiny camera screen to see exposure. I only use it for composition and to check sharpness but never for exposure. The histogram is a graphical representation of the brightness of the pixels in your image. The graph shows dark pixels on the left and bright pixels on the right. The height of the trace shows how many pixels are present at each brightness level.
If you have a spike of pixels at the black-end of the histogram you will not be exposing detail in the shadows and therefore you won’t have much leeway to brighten the image on the computer. Likewise, if pixels are bunched at the right of the histogram, you will probably be losing detail in the highlights. You should aim to expose your image so that the majority of the pixels fall in the middle zone of the histogram and you aren’t clipping details in the highlights or shadows.

10) Process Your Images
As with many things in life, practice helps when it comes to image processing. Don’t be intimated to edit your images for the more you practice the better your images will get. For those who may be nervous about just shooting in Camera RAW, almost all cameras today allow you to shoot in RAW+JPG so you can still have your JPG, but now a RAW version you can play with until you get comfortable and never look back. And you’ll be glad you did!
Robert Teaches:


