Creating sharp images can be challenging for most beginner photographers.
As a landscape photography instructor, I give my students several different tools that will help them be successful and produce tack sharp images.
In this article, I cover my favorite tools in-camera, as well as the settings I use to sharpen my images in Lightroom. All of the tips I give you here assume you are shooting RAW files.
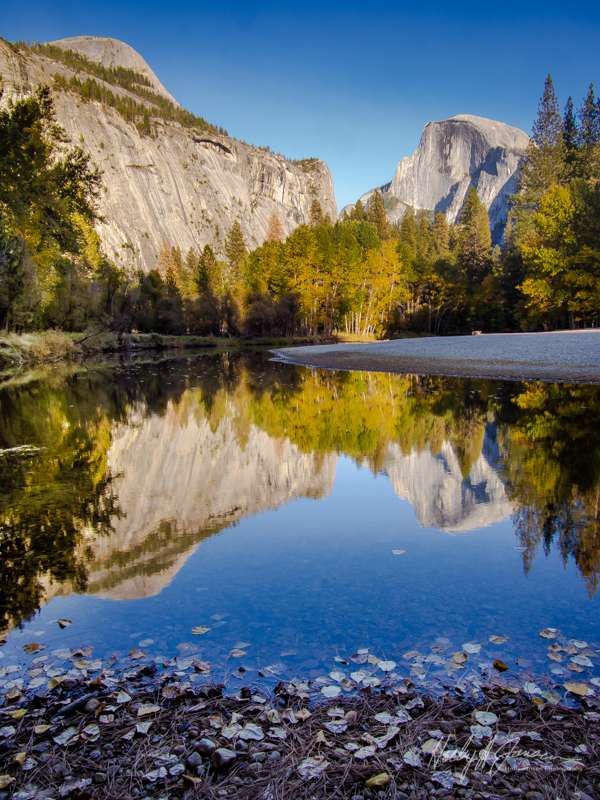
Get Friendly with Your Tripod!
Make your tripod your best friend. Tripods can be heavy and bothersome to carry around, but they are necessary if you want to create the best sharp images. Make sure your tripod is a good quality, sturdy model. The cheaper models are a waste of your money.
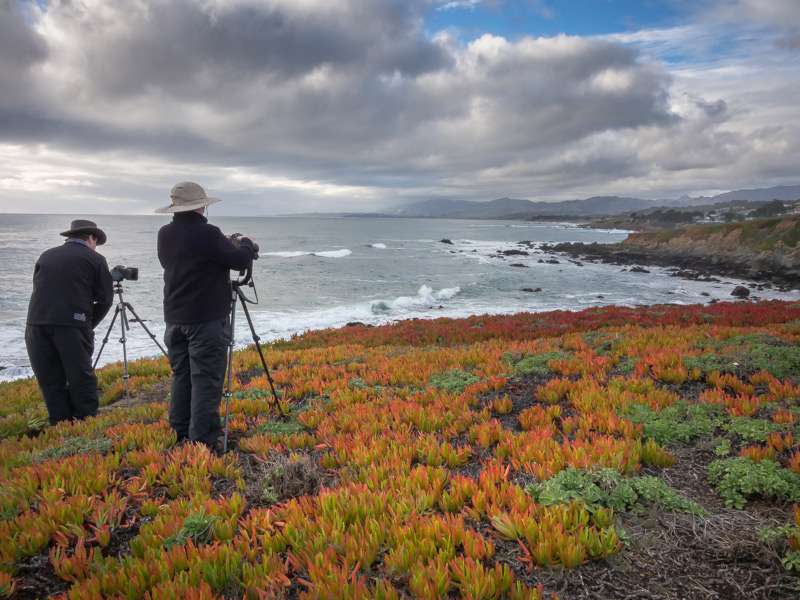
A tripod will help you to slow down and contemplate your composition. Then you can do a complete scan of the image frame, and consider your best aperture for the scene. At this point, it’s easy to make slight adjustments, zoom in on your focus and make sure it’s tack sharp, and check your histogram to be sure the exposure is set correctly for the scene.
Shooting Without a Tripod
In my opinion, shooting without a tripod for landscape photography isn’t the best plan to get your sharpest images. If you are shooting without a tripod, check to be sure your shutter speed is fast enough to hide any camera shake. Also check your ISO, as you can increase the ISO to give you a faster shutter speed. Be aware at higher ISO’s, camera noise can be a consideration depending on your camera. Test your camera before you go out on a shoot to see what ISOs it can shoot without creating unneeded noise.
Many of the new advanced cameras have image stabilization either built into the camera or in the lens. That can be insurance for sharp images, but be sure to watch your shutter speed. Personally, I will not hand hold an image under a shutter speed of 100. I know the cameras can handle a lower shutter speed, but for me, it’s not worth taking a chance on a blurry image if I’m in a special location. I am the happiest with images that I have taken on my tripod, and I know they are rock solid. The tripod forces me to slow down and consider the best option for each scene.
Other Things to Think About
- Set your focus to single point
- Keep your camera at the lowest ISO possible for the particular scene when shooting on a tripod.
- Use the best lens you can for your camera. A quality lens will make all the difference for sharpness.
- Use a remote cable or self-timer to diminish camera shake when starting the shutter
- Use mirror lockup if available on your DSLR.
Adding sharpening within Lightroom
When you download your images straight out of the camera, a RAW image file does not have any processing done to it. A JPEG file will have saturation, contrast, and sharpening applied in-camera. That’s why if you shoot JPEGs and RAWs, the JPEGs will often appear more appealing right out of the camera. They’re sharper, with more saturation and contrast than an unedited RAW file. If you are avoiding the last editing step of sharpening, then your images won’t turn out their best.
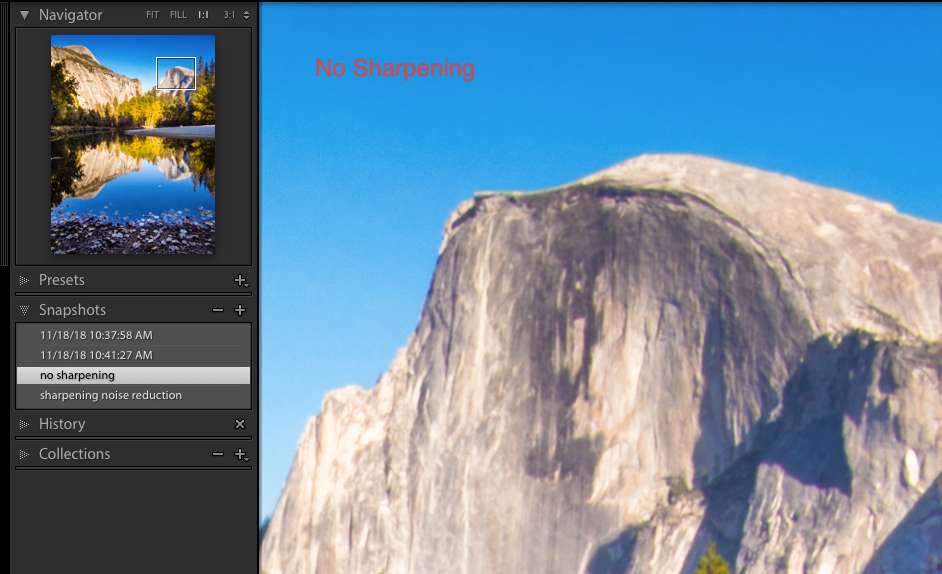
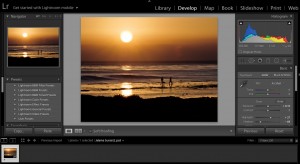
When you first start sharpening in Lightroom, make sure that you are looking at a contrast point on your image, zoomed into 100%. Take a look at the image and reduce the color noise by about 20% right away. It’s import to reduce noise before sharpening as you will end up sharpening any noise that’s in the picture if you don’t remove it.
The three main tools in the detail panel are the sharpening, radius and detail sliders and each image will require a different amount of each. I usually start with about 80-100 in the sharpening slider, 1 in radius, and 25 in detail. I leave the masking slider at 0 until a can preview what areas I don’t want to sharpen.
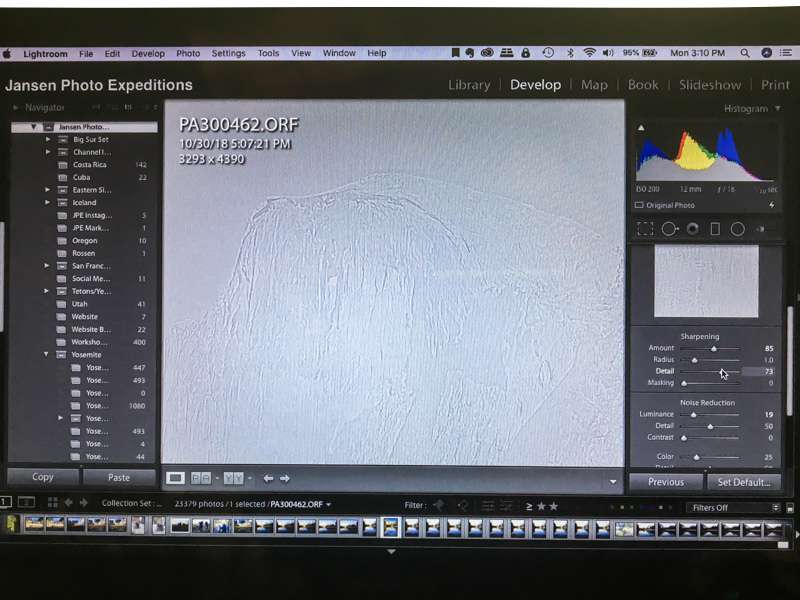
If sharpening and detail are too high, it will create a halo which means that the sharpening has added too much contrast. See the picture below. The radius controls the width of the halo. Reduce the radius slider until you don’t see the halo at all. Drag the sharpening slider to the right until it looks sharp, but not crispy. If you select the option/alt in the detail slider, it will show which edges are being sharpened in a greyscale preview. Sharpen just enough where you can barely see the outline of your subject in the image.
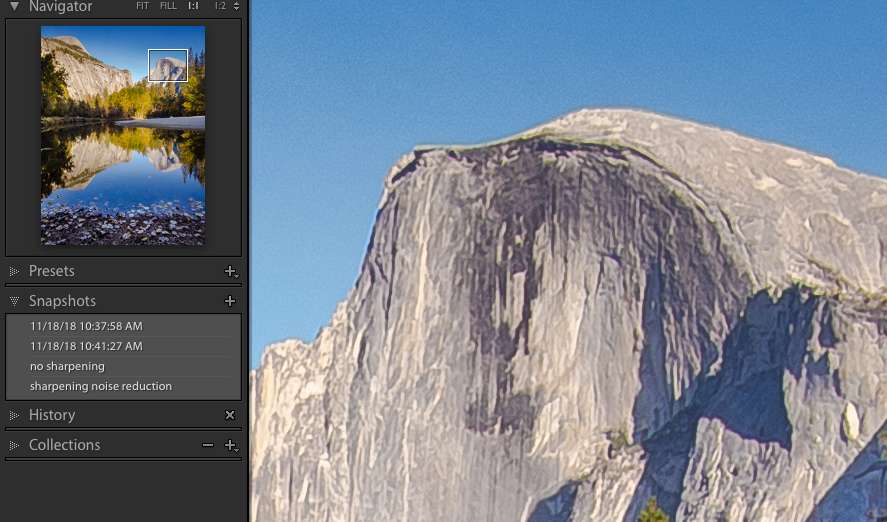
If you select Option + (Mac) -dragging | Alt + (Win) -dragging in any of the Sharpening sliders in the Detail panel in Lightroom, it will display a greyscale preview of the slider’s effect. Previewing the edges of the masks (created with the Detail and Masking sliders) can be helpful in determining which option is best for the image that you’re working on. As a rule of thumb, use the Detail slider to suppress sharpening in landscape images, and use the Masking slider to suppress sharpening in portraits. (In a portrait, you don’t want to sharpen lines or wrinkles in a face, and this preview will show you areas that you can back off on the sharpening.) And don’t forget, it is best to view an image at 100% to see the effects of sharpening (as well as noise reduction) accurately.
These tools will help with the sharpness of your images. If you need more help with your editing and organization in Lightroom, please consider taking my next Lightroom class and learn to get up to speed in 4 short weeks.
If you would like more information on how to create amazing images in Lightroom, take my next Lightroom Quick Start class here at BPSOP.
In this class, I cover the basic tools to use Lightroom as your go-to editing and organizational tool. This 4-week class covers the basics that will get you up and running quickly in an efficient way. Try our next Lightroom class and learn to use the essential program for editing and organization.
BPSOP Instructor – Holly Higbee-Jansen
 Holly Higbee-Jansen is photographer, trainer, blogger, and landscape photography workshop leader who enjoys teaching and the creative process. Her passions include teaching photography workshops in beautiful locations in California, Iceland, Costa Rica and the American West with her husband Mark. Holly also teaches online classes on Lightroom, Photoshop and photographic technique. Get Holly’s Free E-Book on “Landscape Photography and the Light“ and find out about her newest workshops at Jansen Photo Expeditions.com.
Reach Holly by email at [email protected] and read her blog at JansenPhotoExpeditions.com/Blog
Holly Teaches:
Do you want to learn to create images that show the beauty of the scene you saw when you took the photograph? Do you want to learn the other essential side of digital photography, photo editing and get up to speed quickly?
This course is designed to get you up and running FAST in this incredibly powerful program. In this two week information packed class, you will learn how to import, organize and perform simple and effective editing processes that will let you produce beautiful adjustments to your pictures.
iPhone Photography
In this class, we will introduce you to the magic of iPhone photography using several shooting and editing apps that will give you the ability to make your pictures sing in a fun and easy way. You will learn how to crop, change saturation, brightness and affect the overall look of your pictures with HDR, drama and grunge filters and other techniques. You will be amazed at the simple and effective methods.

