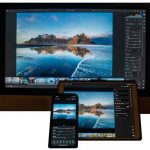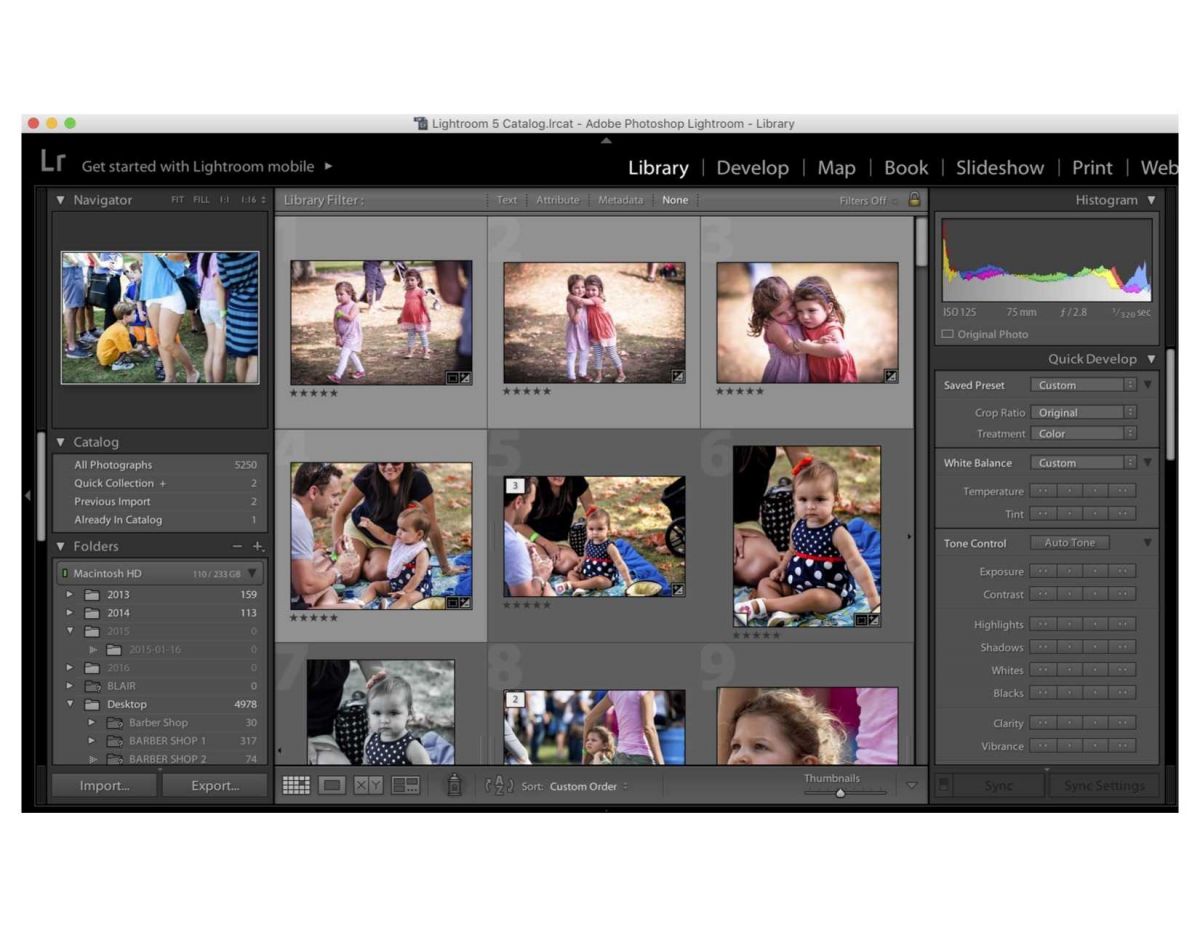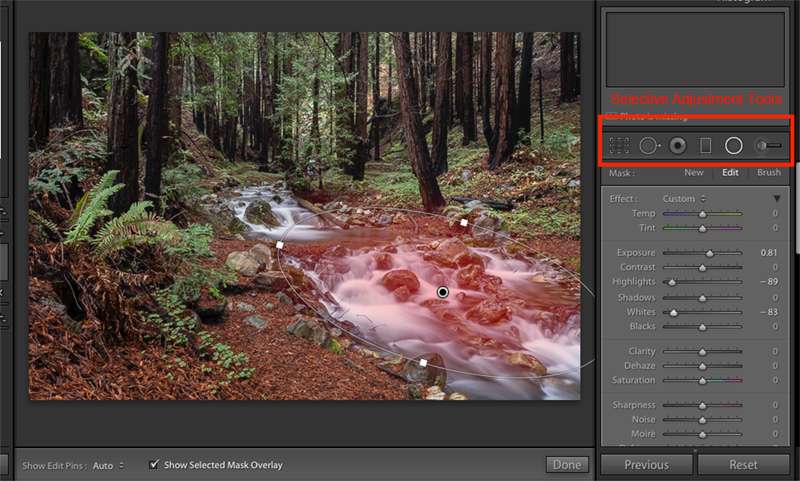
The secret to a well-edited image is to not only having the exposure, contrast, white balance, and saturation correctly adjusted, it is also to look at your picture it in parts. What parts of the image could be adjusted individually to add more definition, detail, vibrancy, or clarity to your image?
My favorite tools for this fine-tuning are in the selective adjustment panel in Adobe Lightroom CC. If you click on one of the selective tools such as the graduated filter, the radial filter or the adjustment brush, you will see the basic adjustment panel. Depending on the areas you would like to adjust, select the appropriate tool. To add more drama to a sky, I would use the graduated adjustment tool, to increase or decrease exposure in a particular area, I would use the radial filter, to fine tune smaller areas, I would use the adjustment brush.
On some images, I may have multiple selective adjustment masks (they are called masks because they mask out only certain areas of an image).
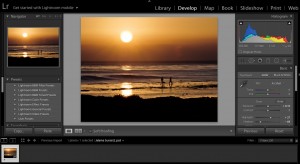
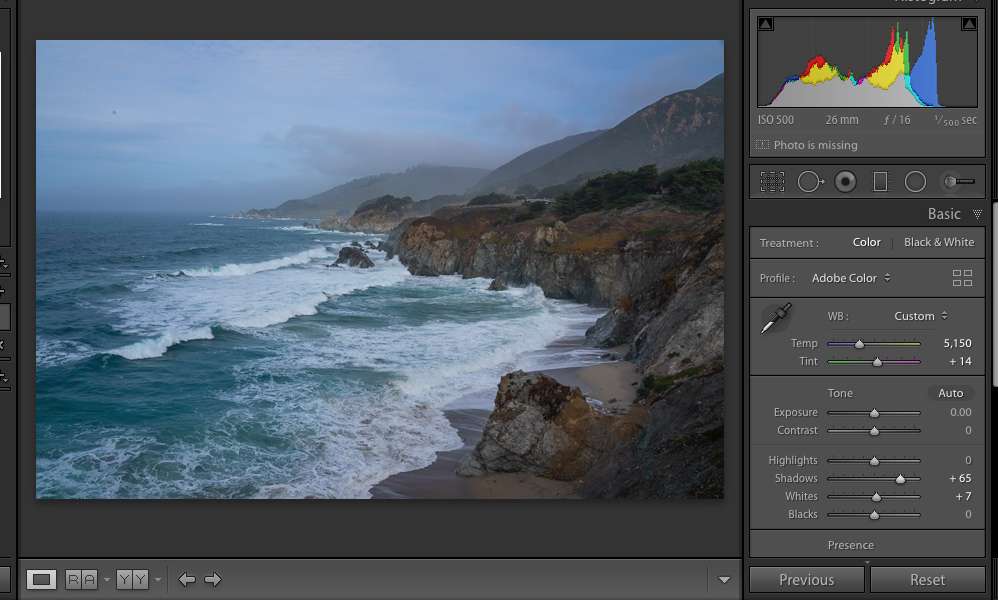
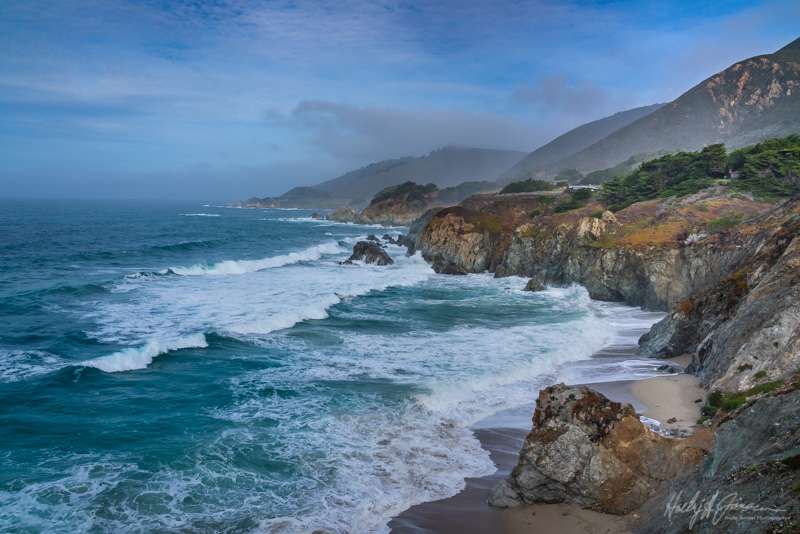
In the image below, I have made the preliminary adjustments in exposure and vibrance. You can see by the histogram that this is a balanced image and there is room in the shadows and highlights to enhance it further. I’d like to add more detail and contrast to the sky, enhance the color of the water and add some saturation to the hillsides.
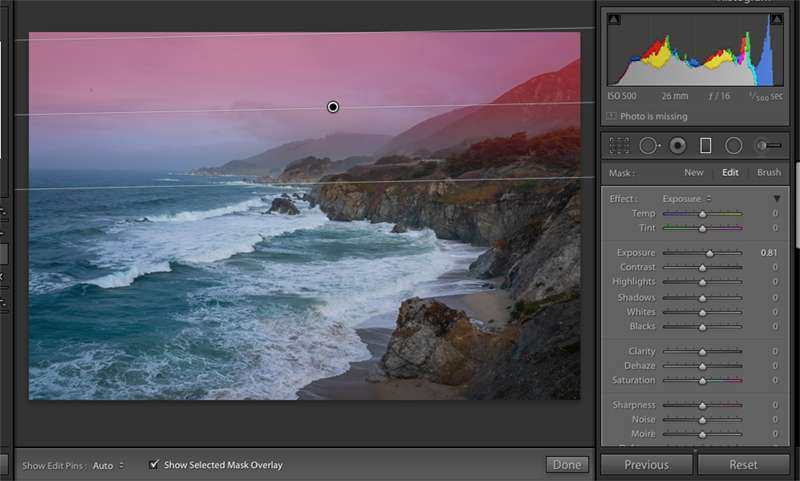
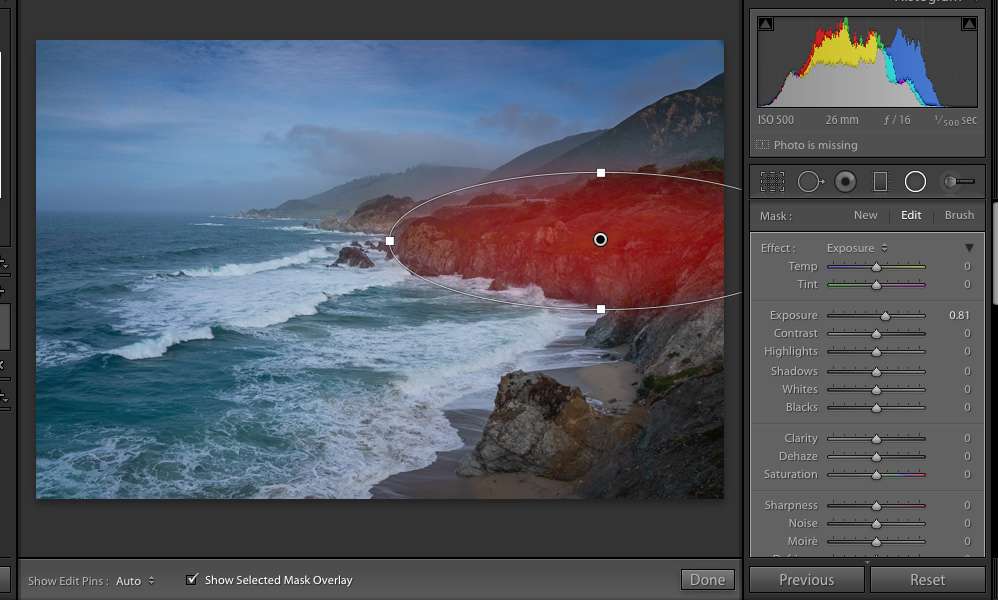
The first thing to do is use the graduated adjustment filter and pull it down from the top of the image to just below the horizon line. (I have ticked the box “show selected mask overlay” so the red mask shows the area being affected by the adjustment.)
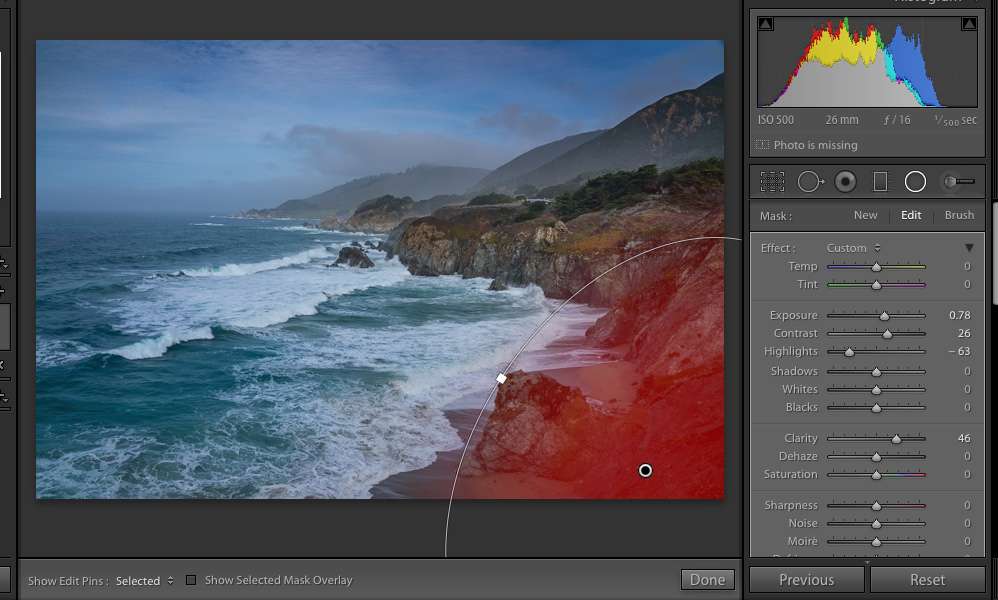
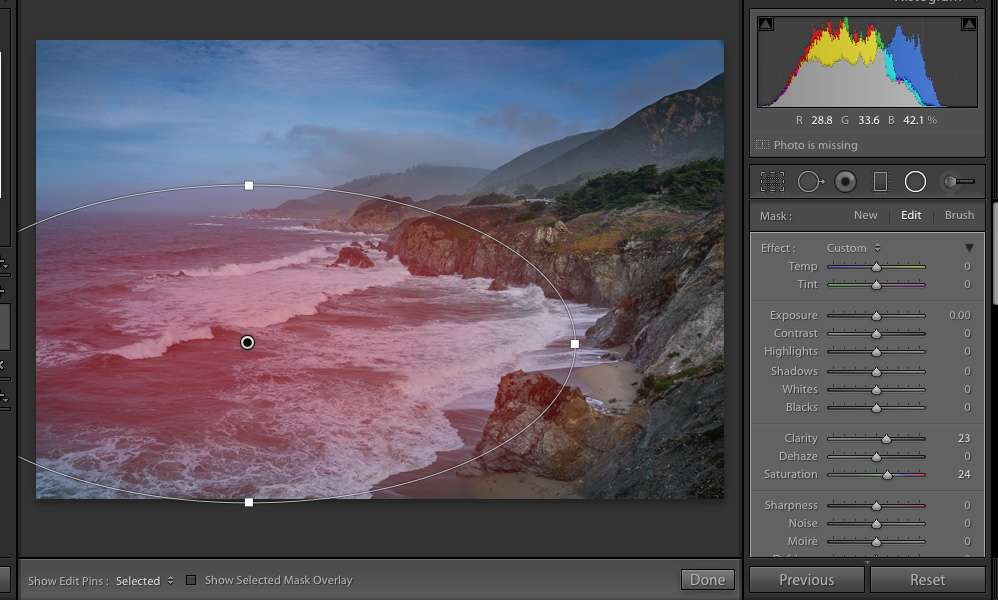
Then, add other areas of selected masks with the radial filter. I added a mask to the ocean and a couple of masks to the coastline as shown below and made the adjustments to my liking. I mostly added exposure, saturation, and clarity to pop out the details.
Once you are happy with your selected results, the last thing to do as add sharpening and your watermark and your done!
If you would like more information on how to create amazing images in Lightroom, take my next Lightroom Quick Start class here at BPSOP.
In this class, I cover the basic tools to use Lightroom as your go-to editing and organizational tool. This 4-week class covers the basics that will get you up and running quickly in an efficient way. Try our next Lightroom class and learn to use the essential program for editing and organization.
BPSOP Instructor – Holly Higbee-Jansen
 Holly Higbee-Jansen is photographer, trainer, blogger, and landscape photography workshop leader who enjoys teaching and the creative process. Her passions include teaching photography workshops in beautiful locations in California, Iceland, Costa Rica and the American West with her husband Mark. Holly also teaches online classes on Lightroom, Photoshop and photographic technique. Get Holly’s Free E-Book on “Landscape Photography and the Light“ and find out about her newest workshops at Jansen Photo Expeditions.com.
Reach Holly by email at [email protected] and read her blog at JansenPhotoExpeditions.com/Blog
Holly Teaches:
Do you want to learn to create images that show the beauty of the scene you saw when you took the photograph? Do you want to learn the other essential side of digital photography, photo editing and get up to speed quickly?
This course is designed to get you up and running FAST in this incredibly powerful program. In this two week information packed class, you will learn how to import, organize and perform simple and effective editing processes that will let you produce beautiful adjustments to your pictures.
iPhone Photography
In this class, we will introduce you to the magic of iPhone photography using several shooting and editing apps that will give you the ability to make your pictures sing in a fun and easy way. You will learn how to crop, change saturation, brightness and affect the overall look of your pictures with HDR, drama and grunge filters and other techniques. You will be amazed at the simple and effective methods.

