 When I was starting my career almost fifty-four years ago, there wasn’t a lot of money for equipment, especially lighting equipment. That is if I even knew what to do with said equipment if I had the money to buy it. I relied on my training in Art to get me through any lighting scenarios. What I mean is that I used available light to paint and that often meant using window light. As a result, when I grew up I was confident enough to use the same available window light for just about any kind of job that walked in the door of my first photo studio.
In fact, in the early days, I had a small space that was the bottom floor in an old house. My lighting set-up was a large window in the front of the house the faced North. I lit everything there from portraits to still lifes. At the time, I didn’t realize that it was the best possible way to light people and by the way, during the last few years, it has made a huge comeback.
In my online class with the BPSOP, and in my “Stretching Your Frame of Mind” workshop I conduct around the planet, I always suggest available window light and at the same time stressing to avoid fill flash like it was the plague. Even on a gloomy day, there’s going to be enough light coming in from the outside to create a quality portrait. In the winter months, I tell the students that don’t think there’s anything to shoot until the thaw, to shoot indoors using the light from a window. Even when I could afford to take lighting with me on assignments, I would still look for available light from a window first since I was always tried to create it with my strobes and softboxes.
As is the nature of window light, side lighting is going to be the easiest way to light people. I prefer this light since it adds depth to the subject’s face. What I mean by “adding depth” is to make one side lighter than the other, and use a small white reflector to bounce a little light back on the dark side. This falls under one of the basic elements of visual design I teach in my classes called Form. Form refers to the three dimensional quality of an object and has but two dimensions: height and width. To create the third dimension, namely Depth, you have to side light the object; otherwise, it will appear flat with no sense of shape and volume.
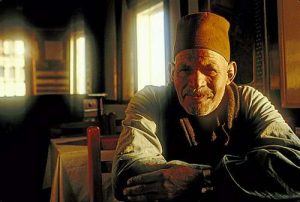
Look for rooms with multiple windows that will offer different kinds of lighting. one of my favorite ways to light a person ( as in the above photo) is to have them side lit with a window just out of the frame, and have windows in the background you can blow out. Ok, here’s a good time to tell you that whenever someone tells you that “clipping the highlights” is not recommended, don’t walk away from them…RUN LIKE THE WIND because that person is going to have you take average, predictable photos; who wants that?
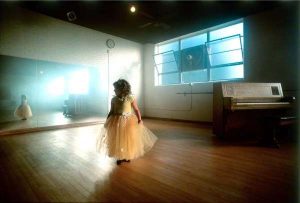
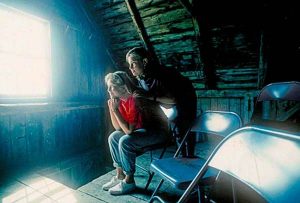
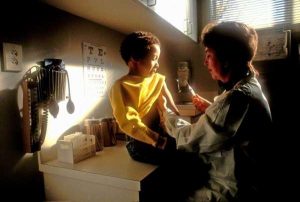
Take a look at this slideshow where the only source of light is a window somewhere usually out of the frame…but not always.

-BPSOP Instructor: Joe Baraban
Joe Teaches:
Stretching Your Frame of Mind I


