For me, the easiest way to walk away with the best shot possible is to make a series of adjustments as I’m shooting. Photography is all about making adjustments from your first frame to your final composition.
As I’m shooting, I look all around the frame. I’m doing my Fifteen Point Protection Plan, my Border Patrol, and the Four Corner Checkoff. Each time the shutter opens and closes I’m making adjustments, some minor and some major…a new final composition, and I take several “final compositions” before I’m through….shoot adjust, shoot adjust, shoot adjust, etc., etc., etc.
The reason? To achieve what I want in the camera, and not have to rely on a computer to fix the problems I could/should have done prior to clicking the shutter.
I’ve discovered after thirty plus years of teaching that my fellow photographers will generally bring the camera up to their eye and aim, shoot, then move on to the next shot. Doing that really lowers the odds of that one photo being the one that can stand the test of time. The proverbial ‘OMG’ shot, a ‘keeper’, one that makes it to the ‘wow’ category of picture making.
In my online class with the BPSOP I critique so many images that could have been so much stronger had they made just a few adjustments. In my personal “Stretching Your Frame of Mind” workshops, I’ll observe a photographer shoot an images and immediately walk away. Slow down and smell the flowers I’ll say to them; don’t be in such a hurry.
Maybe the horizon line is off, perhaps it’s something growing out of someone’s head. It could be something coming into the corner or edge of the frame (those dead branches for one example) that you really don’t want to be there…I call those UFO’s, which would not be considered something that was hidden in Area 51. These may be nothing but minor nuisances, but they could also be something that even a computer can’t fix and therefore winds up on the cutting room floor…as in painfully deleted.
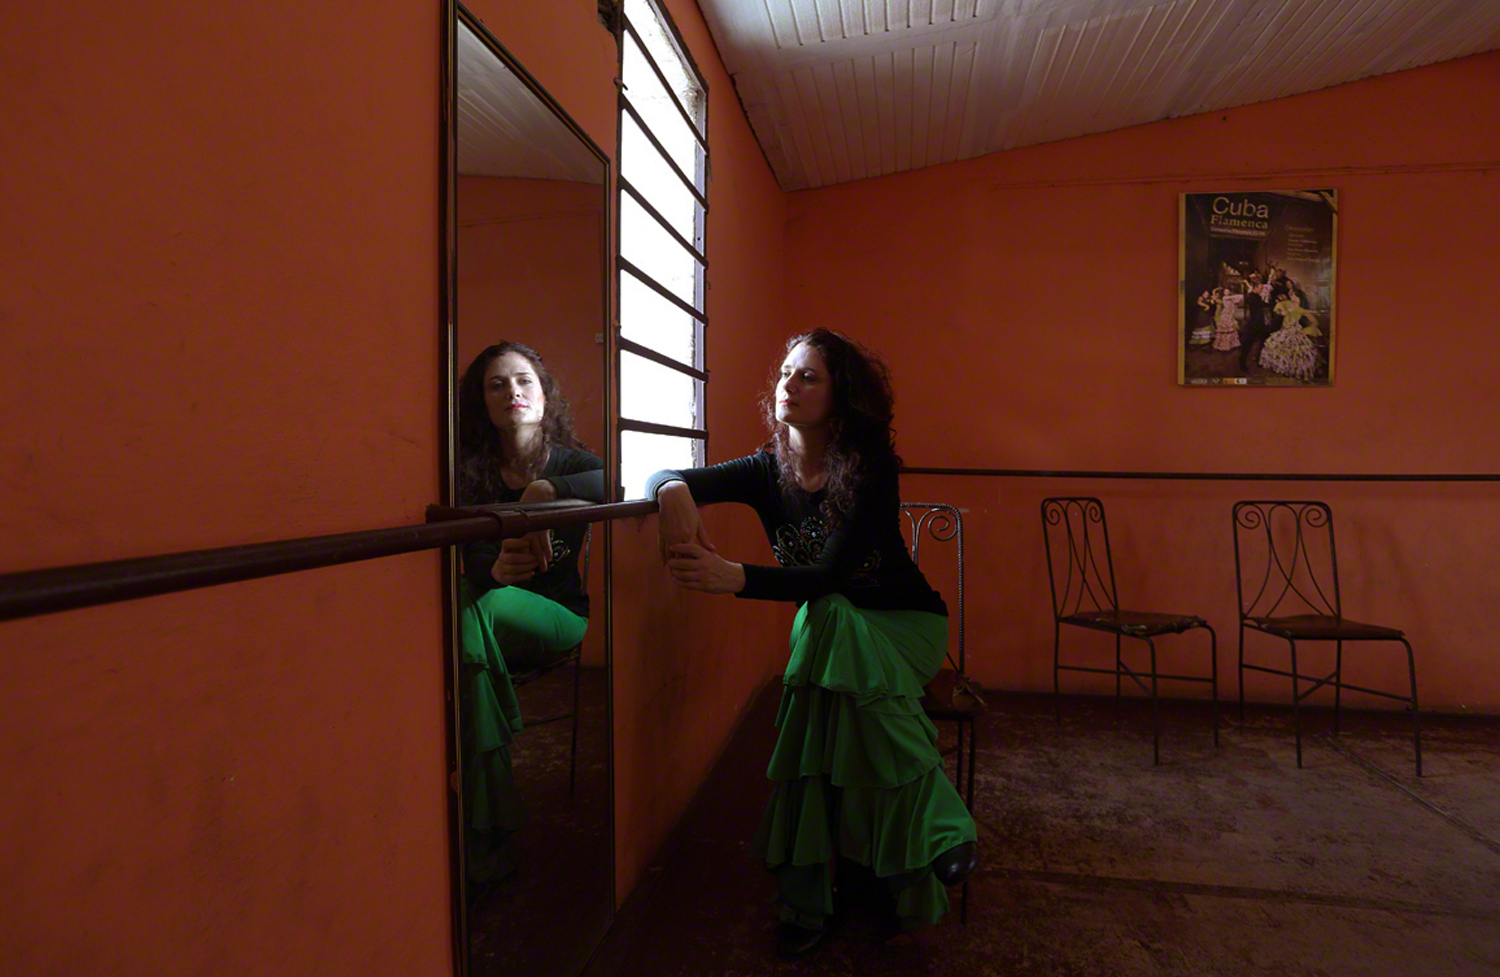
In the above photo of a dance instructor in Cuba, there were several adjustments before I was satisfied: I had her standing with no chairs, sitting with no chairs against the wall, then I added a chair, then I added another chair, then I had her looking out the window, then straight at me, then at me through the mirror…shoot adjust, shoot adjust, shoot adjust, etc., etc., etc.
If you consider yourself a painter as I do, then a good analogy would be to not think about your camera being on a tripod, think about it being a blank canvas on an easel. A finished painting is achieved by adding and subtracting pigment. Mixing colors to get just the right shade of blue, adding white or black to change the value of an area. Switching from one size brush to another is akin to changing lens. Then there’s always the option of using a palette knife of various shapes.
If you’re into getting the right light, then you’re shooting from different points of view and thinking about my clock. Shoot then adjust by moving around to see how your subject looks lit from the side perhaps to bring out the texture, then make another adjustment by placing the sun behind your subject to backlight it.
The digital age has had a profound effect on photography. some good and so many not so good. One good thing that has come about is the ability to shoot a photo and immediately look at the back of your camera to check it out. It’s so easy now to make those adjustments that will undoubtedly take your photography to where you’ve never gone before; and what I refer to as ‘up a notch”.
BPSOP Instructor: Joe Baraban
Joe Teaches:


