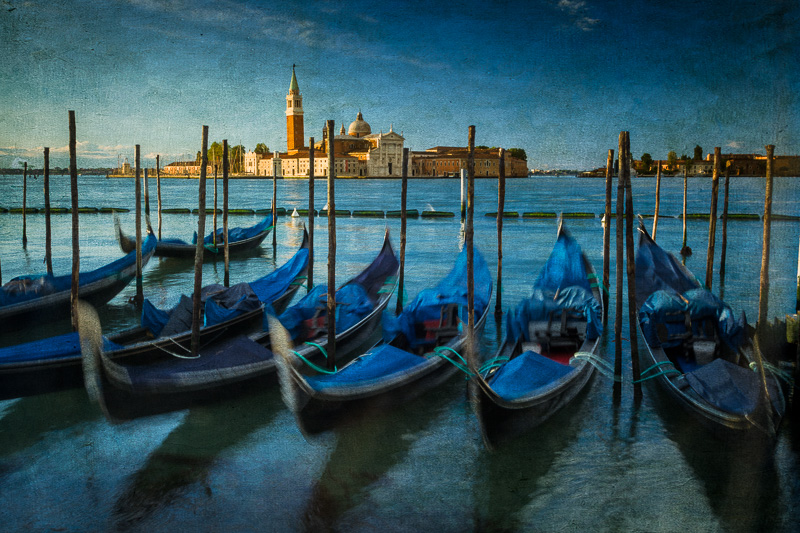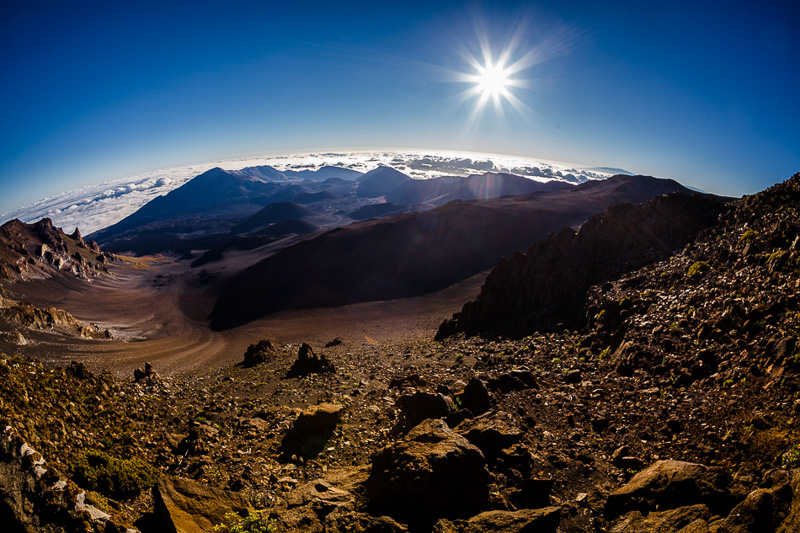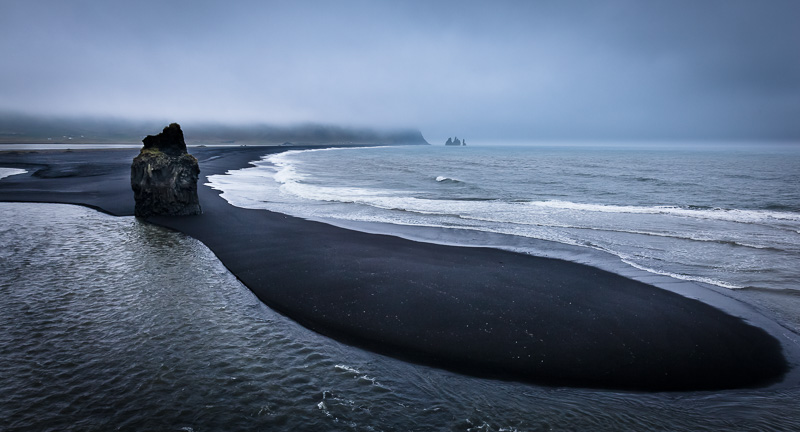
The print is the ultimate expression of the photographer’s art. Truly great prints are the result of a convergence of technical excellence and strong artistic vision. Allowing someone else to print your work means relinquishing technical and artistic control of this expression of your vision.
Creating good prints with current technology is not difficult, but it is decidedly more difficult than simply pushing the print button. As with most other learned skills in photography, creating great prints is a matter of learning both the craft as well as the art. Sure: you can learn to select a technically correct exposure with some basic knowledge and practice: that’s the craft. Learning to produce a creatively correct exposure is a whole other matter: that’s the art.
This course is designed to get you up and running; to get you past the initial technical hurdles that, if ignored, usually result in frustration and failure. This course is meant for artists, not engineers (although engineers are welcome, too!). We keep it all high-level and focus only on exactly what you really need to know in order to start producing prints that match closely what you see on your monitor. Prints you will be proud to hang on your wall!
Lesson #1 looks at calibrating and profiling your monitor so that Photoshop or Lightroom can understand how your particular monitor displays colour (no two are the same). We look at setting up Photoshop or Lightroom for good colour management, and we will look at the appropriate file types for storing images intended for fine art printing. We also consider some common exposure errors that will ruin any attempt at producing a great print. Lastly we will discuss papers appropriate for high quality prints.
Lesson #2 looks at setting up Photoshop for printing, and the use of output profiles to tell Photoshop something about how your printer reproduces colour. And, while output profiles are an essential ingredient needed to produce good prints, they will only get you about 90% there – so we will look at and demonstrate soft proofing to get you that last 10%.
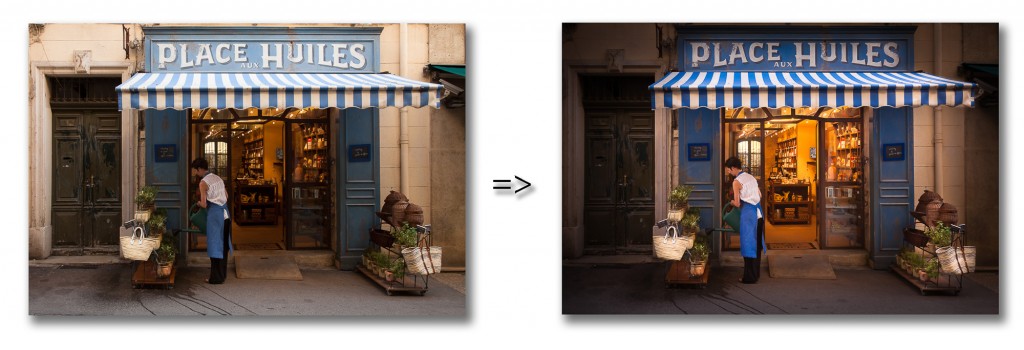
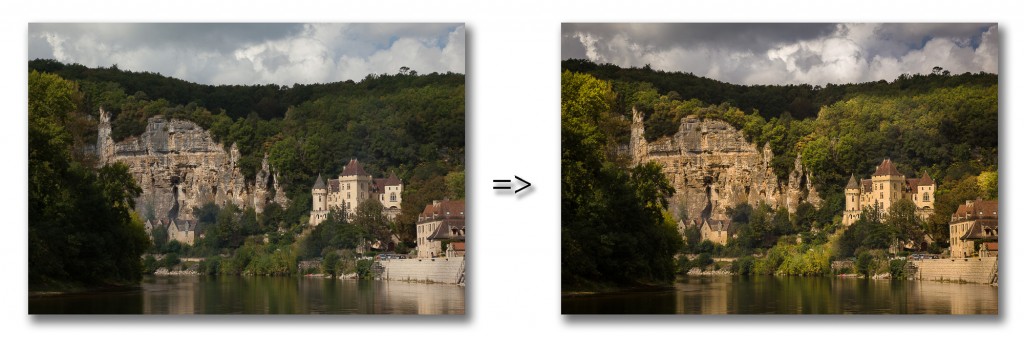
This formal written part of this course deals with getting your prints technically correct. But along with posing questions about the written material, each week you may post up to three images to use as jumping off points for discussing the creative side of printing. For example, how can you lead the viewer’s eye through your image? How can you emphasize certain visual elements and de-emphasize others, all with the intent of creating a stronger image? As many past students have, you may be surprised learn how a few simple edits in Adobe Lightroom or Photoshop can dramatically improve the impact of your images in print. It’s easy to learn and the effect is immediate; even a well composed, well exposed image can be enhanced for greater impact once you understand how the human visual system orders the elements in an image.
Here are two before-and-after examples:

Course Requirement:
To obtain maximum benefit from this course you should be comfortable with basic RAW processing and image adjustments in Photoshop or Lightroom. You should also own and be familiar with the operation of a printer suitable for fine art printing, such as the Epson R2880, R3000, 3880 or the new P600 or P800; the Canon PIXMA Pro series, or similar printers. You should also own, or be prepared to purchase a monitor calibration package such as those from X-Rite or Datacolor.
What do students say about Mark English and this course
Instructor: Mark English
 A photographer for more than thirty years, Mark is a former nationally accredited member of the Professional Photographers of Canada (PPOC). Known for his bold use of color and strong graphic elements in his image making, he now shoots primarily for personal projects. Most of his work is focused on editorial travel and landscape. His work has been published in a variety of media, and may be viewed at www.pacificlight.ca
To Learn more about how our courses work please visit: Course Info

