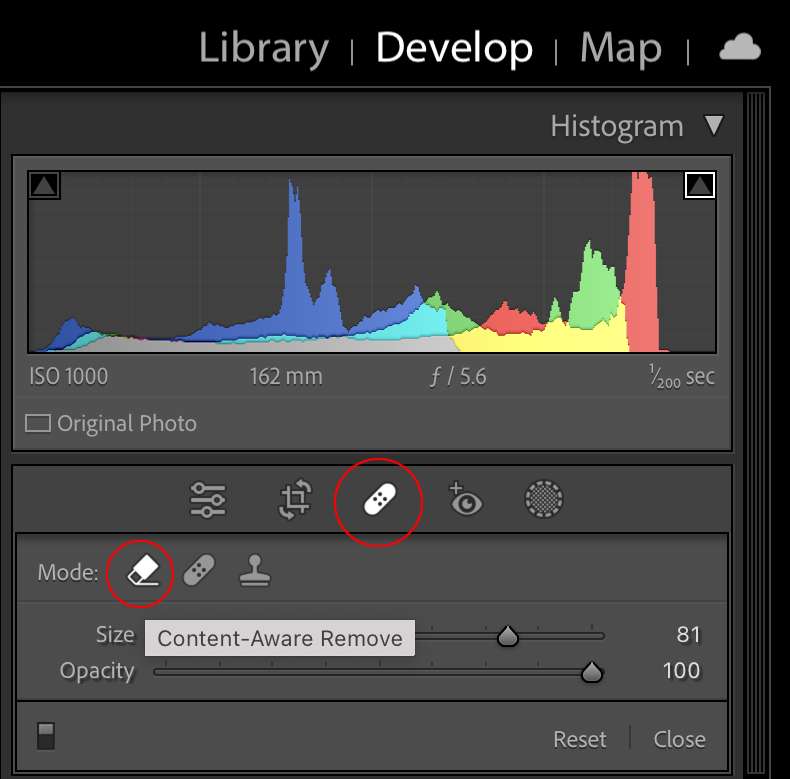
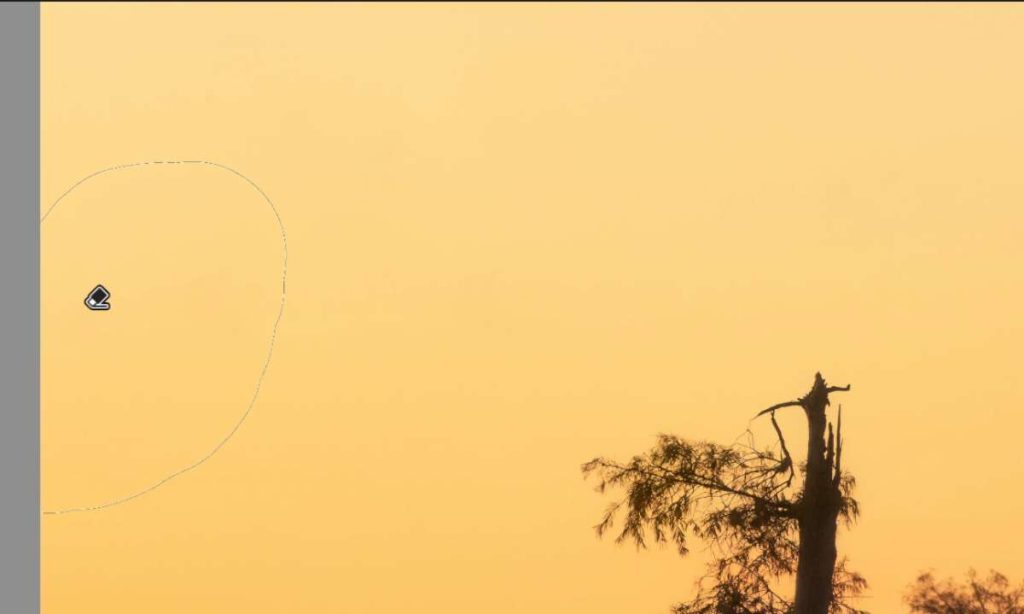
2. A brush appears on the image, place the brush on top of the branch and paint, make sure the size of the brush fully covers the entire branch (Image 2). Use “[“ or “]” key to adjust the brush size. Once you release the mouse after painting, the branch will be magically gone (removed from the background). A content-aware remove tool icon will be placed on the location of object removal to indicate the editing. (image 3). Technically, Lightroom analyzes the surrounding area of the object that is being removed, and automatically fill the removal area with colors and textures seamlessly.
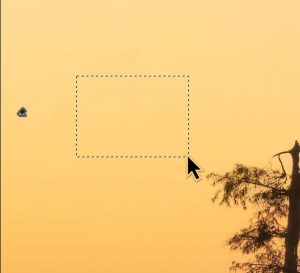
Tip: To achieve the best result, make sure the painted area is a bit larger than the object you want to remove.(image 3). In case that there is still some leftover or not perfect removal of the object, you can either press the “Refresh” button in Healing Panel to fill in different content automatically(image 4), or Hold down Command (Mac) | Control (Win) key, then drag your mouse to manually select an area of the image to fill in the removal area. (image 5).
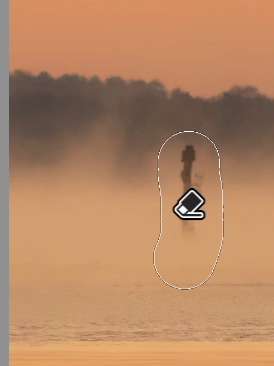
3. Now, Repeat the step 2 to remove the wood navigation pole. (image 6)

William Yu Teaches:


