 I usually try to stay away from seriously technical stuff, because to be honest most of it is above my pay grade!!
?
I feel so relieved having to ‘come right out’ and admit it. However, I feel like I should still contribute my two cents worth. This is because questions about exposure keep coming up in my online classes with the BPSOP, and recently in my “Stretching Your Frame of Mind” workshops I conduct all over our (round) planet. I’m going to try and make this as simple to understand as I tell all my fellow photographers.
In photography, the “Dynamic Range” is the relationship between the darkest and lightest areas in a photo, generally going from pure black to pure white; pure black is pretty much impossible to achieve since there’s always a little detail in those areas.
There’s ‘High Dynamic Range’ which is achieved on a bright sunny day where there are areas in the sun and areas in the shade. ‘Low Dynamic Range is when it’s an overcast day or there’s little to no difference in your composition’s highlights, middle tones, and the shadows.
When photographers submit images, the one thing that they don’t pay attention to is the differences between the brightest part of the composition and the areas that are in shadows. If they’re shooting out in the light, then any centers of interest in the shadow are too dark. Conversely, if they’re shooting in the shaded areas the brightest area are blown out and all detail is lost…not good unless you’re consciously trying to do that.
Btw, when photographers are always listening to what the meter in their camera tells them, they really don’t have control…but I digress!!
Our eyes are simply amazing. As good as some of the current digital cameras are as far as the range between the bright areas and the areas in shadow their sensors can see, they’re no match for the human eye.
Cameras have a narrower dynamic range than the human eye, and get somewhere from 5 to 15 stops depending on what article you’re reading. This means that on a bright sunny day you often have to choose whether you “blow out your highlights”, or you make the shadows lacking of any detail. The human eye can perceive about 20 to 24 stops of dynamic range in ideal circumstances; depending on who you’re listening to.
Btw, it’s always better to shoot in RAW at a low ISO so you can take advantage of all the embedded data, and open the shadows enough to see a lot more detail.
 One of, if not the most important aspects of Dynamic Range is that photographers never think about it; admittedly because it’s hard to control. Often, there’s just no way to have a range of tones in your images. It’s vital to have an understanding of your camera and it’s meter. I can tell you from years of shooting and teaching that the meter in your camera is going to be wrong most of the time. This is why I really push students to shoot on manual so they do have at least a little control.
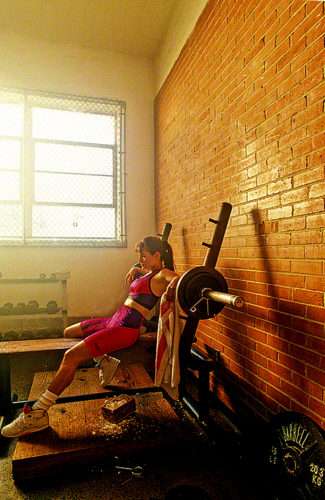
Case in point: I had a student that was shooting in the barn on her ranch, trying to take a portrait of her favorite horse. The barn doors were opened so she could also show several horses in a corral just outside.
It was a bright sunny day when the sun was almost overhead, and inside the barn was considerably darker. The range of exposure between the outside and inside was too great to get the entire photo exposed properly.
The inherent problem is that our eyes can see all the color and detail in the barn and when looking outside, they will automatically adjust. The camera can’t do that, it’s either one or the other.
In other words, you can get a beautiful well exposed portrait of your horse and the outside will be void of any detail, or you can expose for the outside, and you’ll lose everything in the inside.
So here comes the dilemma, or at least as far as I’m concerned.
There is a way to come out with a well exposed photo, and that is combining two or three photos into one or as they call it…HDR
I say to each his own, but to me that’s computer art and not photography. I’ve been shooting for fifty years, and in that time I have never had to blend more than one photo….and my pictures have been coming out pretty good.
Look for alternatives…ways to solve the problem in the camera. I have found that by thinking before shooting I’ve come home with photos I can share with others.
-BPSOP Instructor: Joe Baraban
Joe Teaches:
Stretching Your Frame of Mind I


