
Very often I get asked, ‘what is one thing that I can do to improve my travel images or my photojournalism imagery?’ My answer: GET CLOSER.
When photographing most of us simply snap a shot from where we were standing and aim over at what we are interested in, maybe zooming. But do we take a few moments and actually get to see and know what we were looking over at? Have you tried getting closer? Let’s take a look at two main subjects that can often benefit with ‘getting closer’: people and scenes.
Here is a test for you to see if this theory applies to you. Take a look at some of your more recent images. Ask yourself out loud, or even ask a friend or stranger to look at your images and ask, “Would the main subject of this photo be stronger if I were closer physically?”
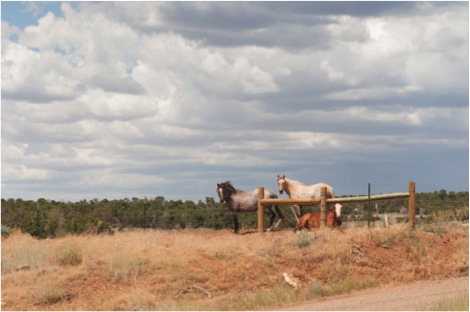
By ‘physically’ I mean, well, physically and not simply with a longer zoom lens. Long lenses are critical for a lot of work, especially when you can’t physically be closer in any way. They can be great for ‘street shooting’ and of course for wildlife. However the downside is they can flatten a shot or scene, and can also create a real sense of great distance from your subject. They help us stay in our comfort zone, and also can seem to help stay in the subjects comfort zone too, (especially lions and grizzly bears, and Sean Penn!) But take a look at your images again, and ask that question again.

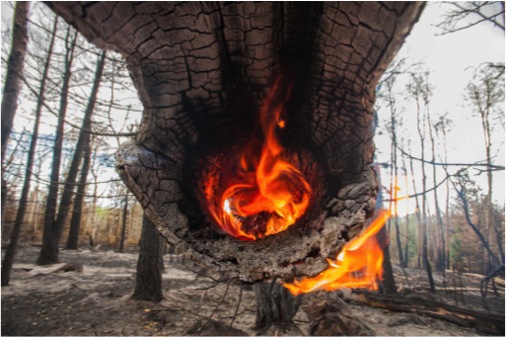
Here is your challenge. The next time you are out with your camera, (which I hope is nearly always for you) use a 50mm lens or wider, and take the photo as you normally would. Find the scene and subject that interests you and simply snap the photo that you ‘feel’ is how you would typically create. Then start to ask yourself the question, “Can I be closer somehow?” Then zoom with your feet. Step in closer, don’t just twist that zoom barrel or switch to a longer lens. Physically walk in closer and keep shooting.
You will probably feel a little weird, and almost invasive in a way, but endeavor to get closer physically. You will notice if you are using a wider-angle lens that you will get quite a bit of distortion, but don’t worry about that at first. This is an exercise to simply get your body accustomed to be closer to things, and see how you can compose and craft a cool image.

Once you get accustomed to physically being closer, then see if that distortion is harming your image, or helping it. If it harms or looks to be too much, then slowly zoom the lens barrel and slowly back up. You will see things begin to become more normal but be sure to not lose the essence of closeness to the subject and showing what helps to tell your story. Some distortion can be a good thing, or isn’t as harmful as you think.
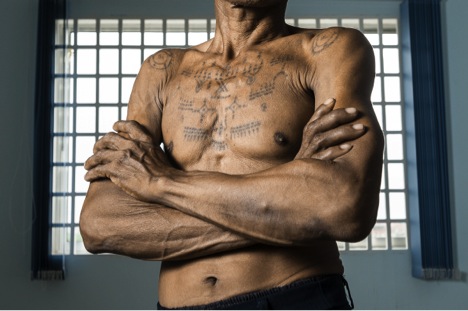
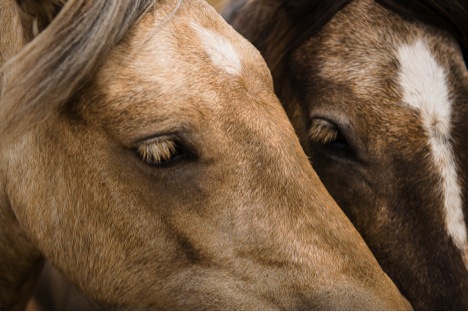
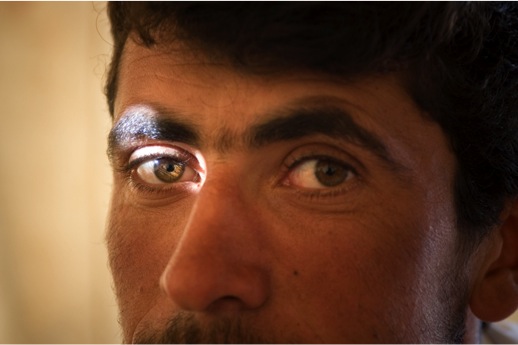
Typically when first challenging a photographer to get closer to people there is a fair amount of resistance and even some fear, or trepidation. People can seem scary, can’t they? We are all aware of respecting a person’s privacy and their own ‘bubble of safety’. I am very cautious when shooting to be respectful of this, as I want my subjects to trust me. The more they trust me the more access they will give me: meaning time, attention, effort, or even allow me to physically be closer to them. Typically the closer I can get, the better the images can be made. It’s a team effort, and the more they trust me the easier it is to make stronger photos. One of the things I find that works for me is to simply start a casual conversation with the person, and ask them questions about themselves. You were thinking of photographing them for some reason. How about conveying that reason, and ask them to teach you about who they are before you snap that photo? It can be some of those elements of the person that you can ‘get closer’ on: their eyes, smile, hands, what they are working on, or simply a closer more intimate portrait of all of them.
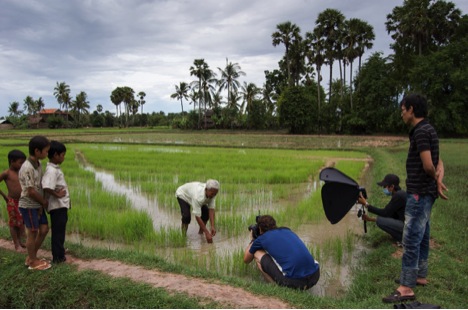
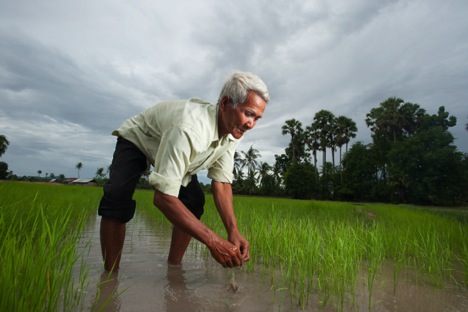
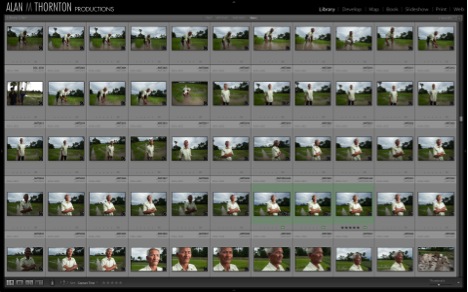
Once we get started or they allow me to photograph them, each question is 2-3 snaps of the shutter. When it is all said and done, I have 20-30 images at least of the subject where they and I are close together or close to the action. It’s rarely, RARELY ever able to be just one frame, you have to shoot a few. Somewhere in there is the best shot. Usually, it’s closer than where I started, but not always the closest point entirely. When I flip through the images later I look for the one that helps me tell the complete story, in one frame. That’s why I shoot a bunch and play with being closer and stepping back.
All great journalists and travel shooters know that it is our job to help you the viewer, to look at an image and not just see what is happening out there, but what does it feel like to be there in the middle of it all. My advice? Get in the middle of it all and find out. Be curious.
Now, get out there and get closer!
– Alan M. Thornton – BPSOP Instructor
Alan Teaches:


