Photographing flora creatively (Frozen flowers)

If you live somewhere where it is quite cold now and you keep saying to yourself, that this is not a good moment to photograph flowers (or flora in general), then don’t… We have one creative photography tip to keep you busy during the holidays. How?

frozen flowers patrik and monika banas

© Patrik and Monika Banas


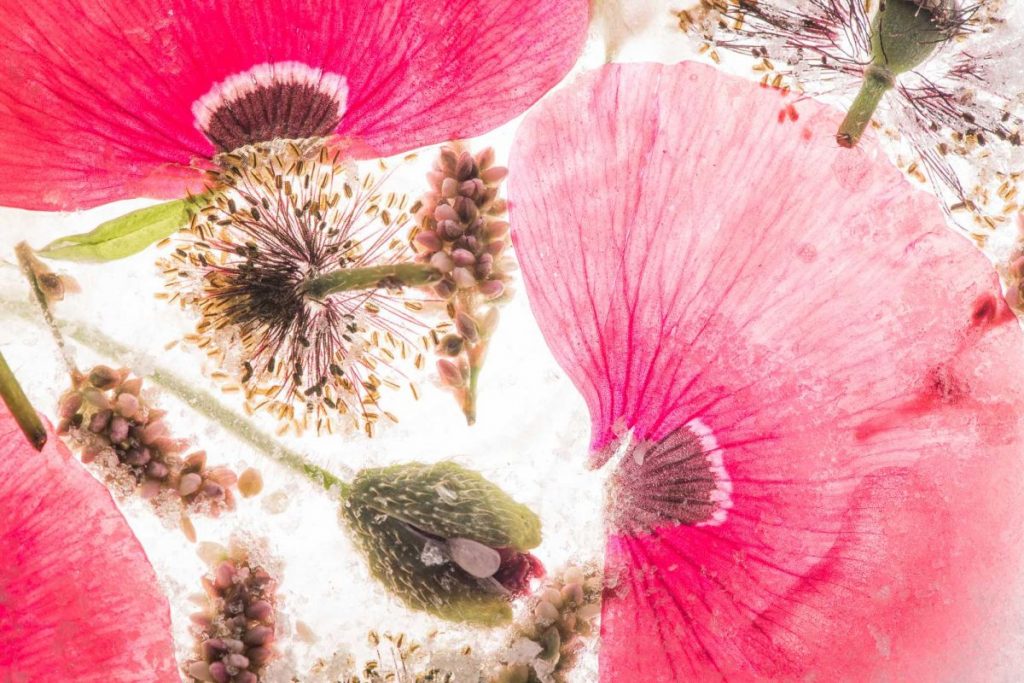
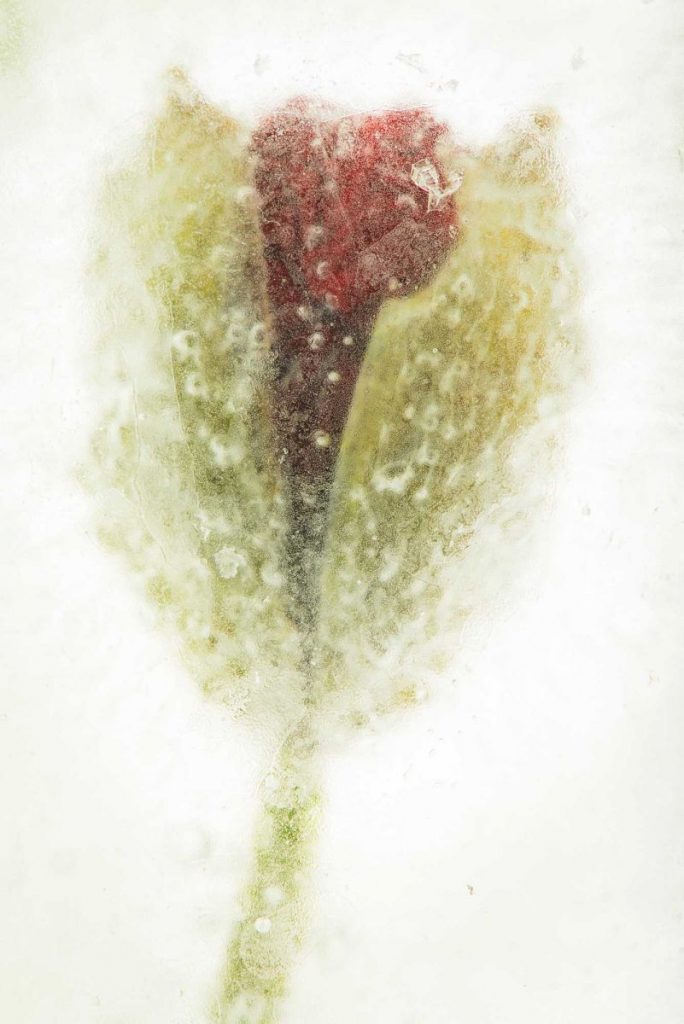
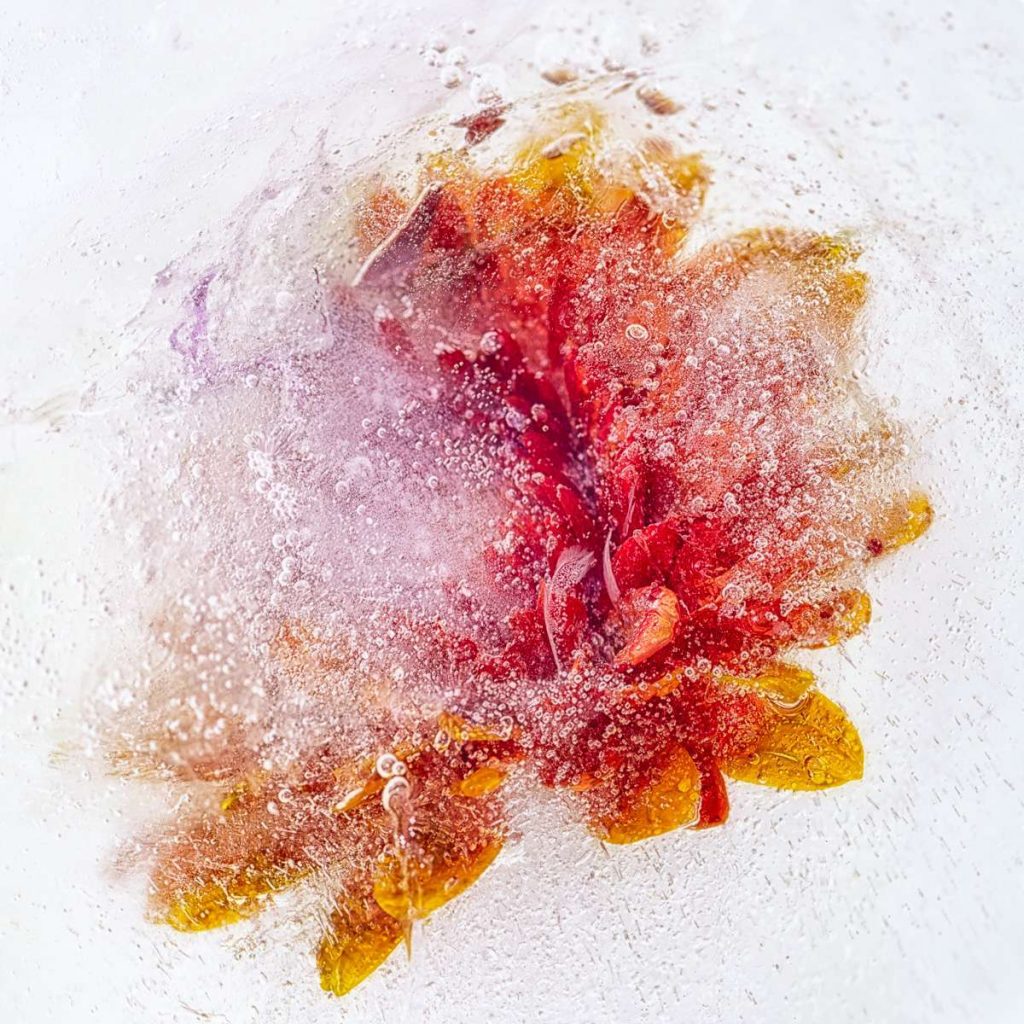
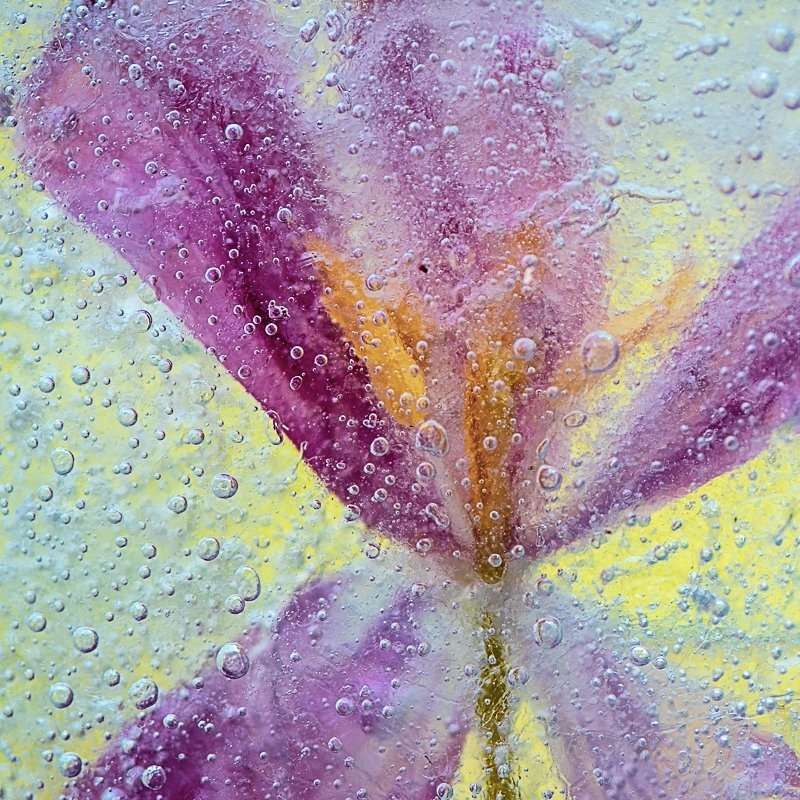
Have you ever thought of putting flowers in a freezer instead of a vase? No? Shame, put them right there! Another creative technique of photographing flowers is simply – freezing them.

What you need:

  • Plastic container (aka Tupperware)– it doesn’t have to be deep
  • Flowers (if not in the garden, then plenty in your local Flower kiosk!)
  • Water
  • Freezer
  • Towel
  • Photo equipment including tripod

Tap water will make the ice a bit hazy, so if you want it shinier, use distilled water. There is oxygen in the plants, which makes them lighter than water and they will float and also create bubbles. So, you need to freeze them in stages, with a little bit of water added each time. If you make the ice too thick, it will be more difficult for light to get through, if you make it too thin, the whole masterpiece will melt too quickly. So, after several long hours or even days you can get your creation out of the freezer, wait a moment for the edges to soften and you can start shooting! Place the ice on a towel to prevent flooding and place it so that you have enough light behind it – for example in front of a window. And then experiment with different angles and compositions. If you go over the ice with a warm hand, you can polish it a bit. You can even wait for the ice to melt a little and the flowers will become more visible, or you can even smash the ice!
You might first have to experiment with different containers, flowers, and their arrangements and different thickness of the ice, but we are sure that you will break the ice eventually! 😉

We would be delighted if you will join our PHOTOGRAPHING FLORA class, we are opening in February and you can sign up here! We will explore together tons of creative ways how to photograph beauty of flora. And don’t forget, you can still put this course on your Santa’s list and elfs at BPSOP will be happy deliver a Gift Certificate for you! 😉

frozen flowers patrik and monika banas

© Patrik and Monika Banas


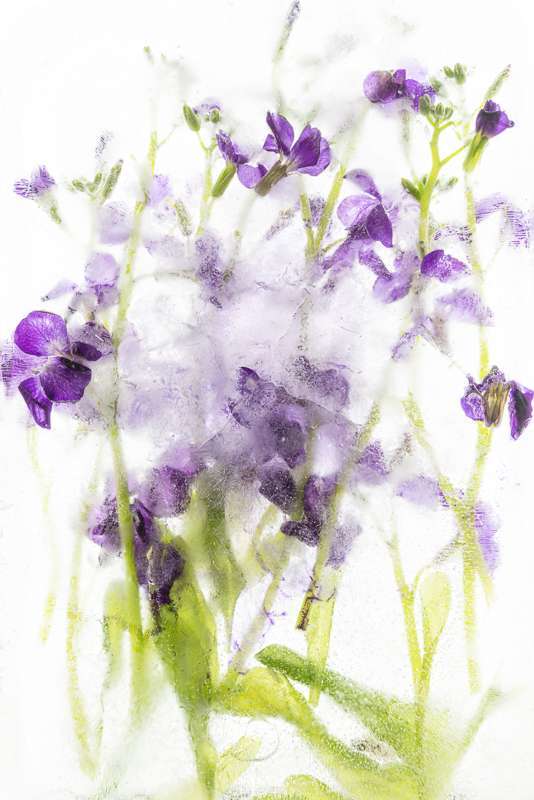
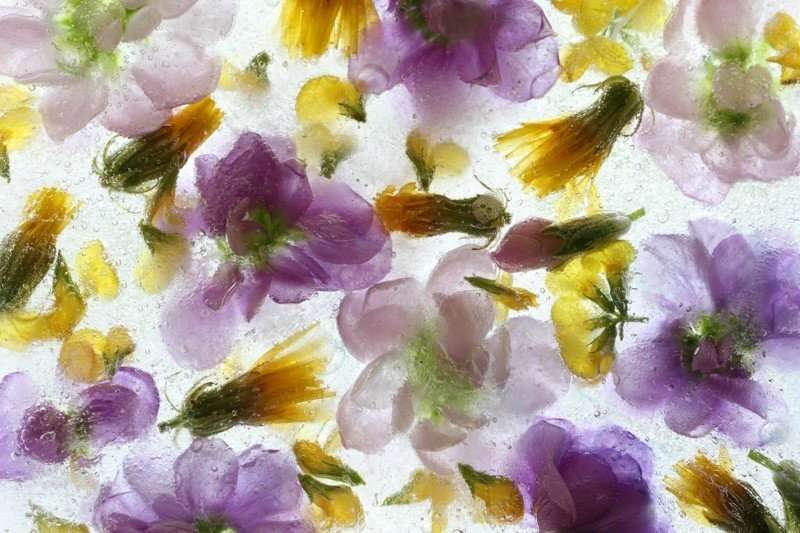
And here are few examples of Frozen Flowers taken by our fantastic students in previous classes of Photographing Flora:

© Beverly Burke


frozen flowers patrik and monika banas

© Michaela Nesvadbova
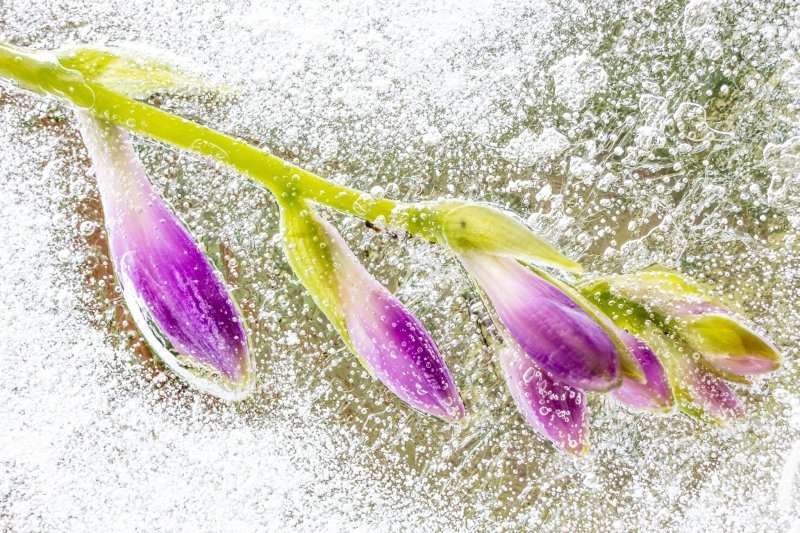
 

frozen flowers patrik and monika banas

© Tomas Feller


© Alyda Gilmore


frozen flowers patrik and monika banas

© Peter Stin


frozen flowers patrik and monika banas

© Lucie Portesova


“I just wanted to thank you for another wonderful class. I have to confess that each week when I read the new assignment, my first reaction was mild panic and a deep certainty that I would not be able to produce anything worthwhile that fit within the parameters you had set. But before I knew it, the ideas started to flow, and I quickly became obsessed (no, that isn’t too strong a word!) with exploring the possibilities. I can honestly say that the photos I produced in response to your assignments are among my favorites. Thanks for bringing out a creative side I didn’t know I had!”

Barbara Geiger
Understanding Color

“Thank you so very much for this course! It’s allowed me to take the blinders off and present my images for what I want them to be without being a slave to the “reality” of the camera. I would also add that in conjunction with your printing course, this has been the most useful course I’ve ever taken. Your notes are more than comprehensive and your comments and critiques are direct, clear, and always directed to the improvement of the art.”

Bill
After the click

” I want to thank you for this class and for your patience and availability to answer all of my questions. I have learned very much through this class. I have used LR in the past, but mostly for editing images. I now have a better grasp in the organization of my images, an even better understanding of editing images, and an understanding of the value of presets. I still have a lot to learn, but this has put me on the road to be able to improve my photography. Again, thank you! ”

Dale Yates
Lightroom Quickstart

Classes Starting Soon!

Understanding Exposure and Your DSLR

Instructor: Bryan Peterson Duration: 6 Weeks Cost: US$169 Without que…

Wireless Flash Techniques for Outdoor & Nature Photographers

Instructor: Rick Burress Duration: 4 Weeks Cost: US$129 Learn Photoshop…

The Real Photoshop Course

Instructor: Charlie Borland Duration: 4 Weeks Cost: US$129 Are you a …

The Ultimate Guide to Adobe Bridge CC

Instructor: Rick Burress Duration: 4 Weeks Cost: US$129 The Anti-Catalo…

After the Click – Refining Your Vision in Lightroom & Camera Raw

Instructor: Mark English Duration: 4 Weeks Cost: US$129 Why do some ima…

Editing in Adobe Camera Raw

Instructor: Rick Burress Duration: 4 Weeks Cost: US$129 If you love pho…

Exploring Adobe Photoshop Lightroom & Lightroom for Mobile

Instructor: Holly Higbee-Jansen Duration: 4 Weeks Cost: US$129 In this …

Lightroom Quick Start

Instructor: Holly Higbee-Jansen Duration: 4 Weeks Cost: US$129 Do you w…

Mastering Apple Photos

Instructor: Jon Canfield Duration: 4 Weeks Cost: US$129 Mastering Apple…

Luminar Essentials

Instructor: Jon Canfield Duration: 4 Weeks Cost: US$129 Luminar is an …

The Art of Printing and Selling Your Art

Instructor: Mark English Duration: 2 Weeks Cost: US$76 The print is the…

The 50 Most Useful Tips in Photoshop CC and Photoshop Elements

Instructor: Roger Morin Duration: 2 Weeks Cost: US$76 This two-week cla…

50 MORE Photoshop Tips & Tricks

Instructor: Roger Morin Duration: 2 Weeks Cost: US$76 This two-week cla…
Translate »