Jpeg is My Friend with Fuji X-Pro 2
Its been a very busy month with travel, multiple workshops and a brand new Fuji X-Pro 2 to test! I’m finally getting a moment to post before we run out yet again. Today I’m going to be talking about how the mirrorless camera systems are changing the way photographers approach the photo workflow, and I’m suggesting that we can re-evaluate the traditional raw-file workflow.
I have a video presentation for this material here, though you can probably read through this post a bit quicker, and I have a gallery of more images at the end of this post:
Note: Since this video came out there have been many comments defending raw processing workflows, and specifically Adobe’s Fuji Film Simulations emulations—I have added a bit more info at the end of this post to address the various objections, though I must insist that I am not suggesting that anyone abandon Raw files entirely! Please read the post for actual meaning, and not to simply fuel your own prejudices!
Now, what I’m talking about here can apply to many mirrorless cameras, but I am most excited about the Fuji X system cameras and specifically Fuji’s latest camera, the X-Pro 2, which I feel is the ultimate expression of the mirrorless approach to photography today!
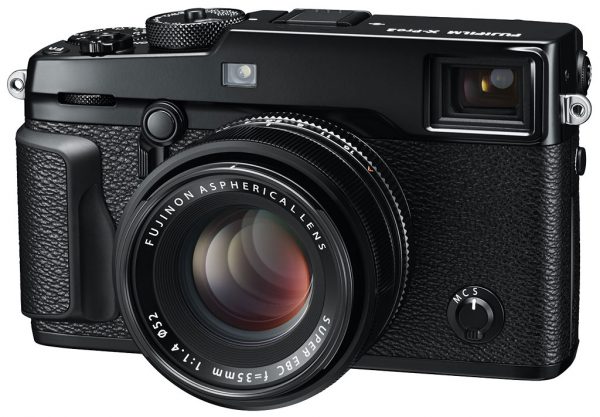
The new Fuji X-Pro 2 is currently the ultimate expression of mirrorless camera technology.

Not really all about size and weight.
Fuji likes to call their mirrorless systems “Evolution to Revolution,” and they show this transition from a big heavy system to a small, light, all in one camera. But really, I don’t think the attraction of mirrorless is about size and weight!
The evolution of photo technology has been involved in three areas: (1) Pre-visualizing the image, starting with a groundglass or some kind of viewfinder, eventually settling on the DSLR approach reflecting off a mirror, giving you an optical image through the same lens that takes the picture. (2) Capturing the image on some receptive media, and (3) realizing the image, which has traditionally been a post processing sort of thing, developing film and making prints, finally becoming the image processing stage of digital capture. Digital technology has impacted all of these areas, but basically has just substituted ones and zeros for silver salts and chemistry—the three areas of pre-visualizing, capturing, and realizing have still been treated as separate stages of the whole photographic process. Fairly early on, digital capture became all about the raw file – preserving that captured data, and processing it, after capture, to craft the best possible image.
While you could get an instant preview of the image on the little LCD screen on the back of the camera, we were all advised to not trust the LCD – I even told students they should tape over that little screen — the term “chimping” was coined as a derogatory for the process of continually checking the screen after the shot!
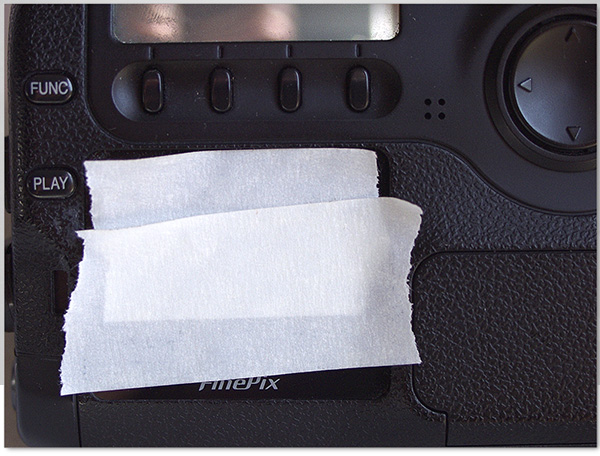
Don’t Chimp!
We were all told to check the histogram to determine the correct exposure – shoot to the right, to get the best “data” – it became all about the quality of data, not the actual image! The image could be made better, later if you had the right “data” —for my part though, I have to tell you that I never sold a histogram, even a really good one, to a client!
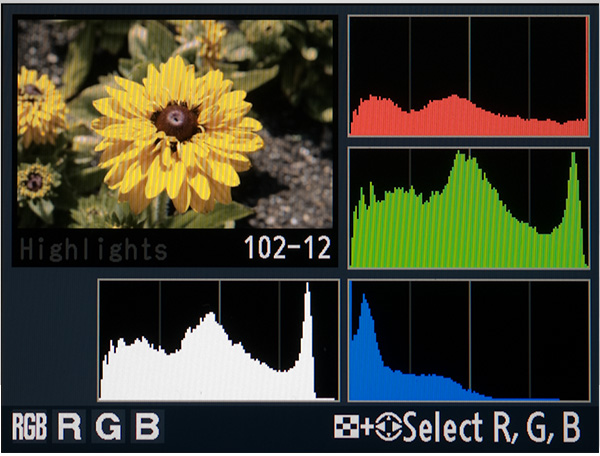
Check the histogram – shoot to the right!
Now the mirrorless cameras have changed the equation in a way that integrates the three areas of pre-visualization, capture and realization by introducing the electronic viewfinder. This provides us with the opportunity for a “what-you-see-is-what-you-get” experience of capturing images. You don’t need to “check the back” to verify that you got the shot because you can now “see it” when you take it! This to me is the essence of the mirrorless “revolution.”
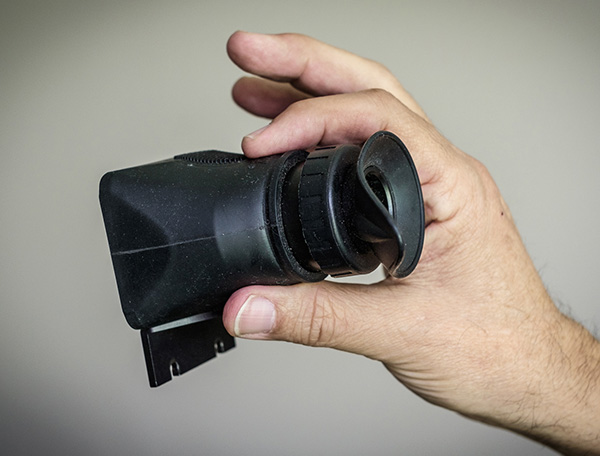
You don’t need a loupe to check the back of the camera when you can see what you’re going to get in the EVF
I am also going to explore the notion that Jpegs are bad, in fact we will see that Jpegs are not “bad” at all. Now I know that this is a very difficult thing for most of you out there, but bear with me here because this is an important idea that can have great benefits for your photography! To see how this is possible, we are going to look at Fuji’s Film Simulations and Shooting Modes as creative ways to craft the image in-camera! But before I dive into all of this, as a preview, I will talk about my own journey to mirrorless convert.
My first mirrorless camera was a Fuji X-Pro 1 , I was looking for a lightweight travel camera with interchangeable lenses for a trip to Italy—I just didn’t want to lug my Canon DSLR around. I was attracted to the Fuji because it had ƒ-stops on the lens, shutter speeds on a dial on top, and this handy little exposure compensation dial.
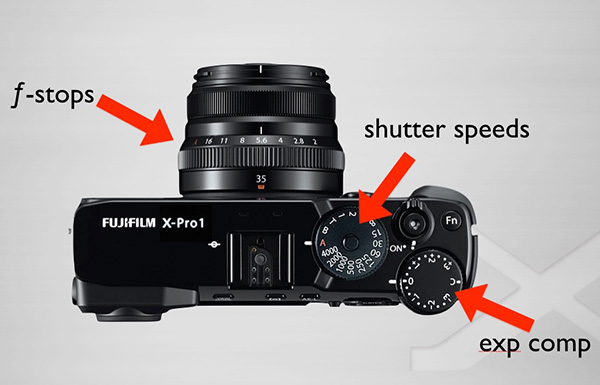
The retro design of the Fuji X-Pro 1 felt very comfortable!
The retro design of the camera just felt really comfortable for an old film camera user like myself! I knew how to work this camera the moment I picked it up! Oh, and this camera introduced the hybrid viewfinder which could give you an optical, rangefinder style image, as well as an electronic viewfinder. This was in keeping with my experience with DSLR systems where I was looking at an optical image, and I thought it would be an ideal marriage of the two technologies. When I started shooting with it, I was still using my preferred raw file workflow- I shot RAW + Jpeg on my trip, and pretty much ignored the jpegs once the file format was supported by Adobe. For a few years afterward, I shot RAW only, bringing everything into Lightroom and processing the images there—I was happy as a clam! I loved working with the camera, though I ended giving up on the optical image in favor of the EVF for reasons that will become apparent in a minute…
Fast-forward to the present ; I recently upgraded to the new Fuji X-Pro 2, and this is when things started to change for me! I “saw the light,” as it were.. after I did my initial tests.
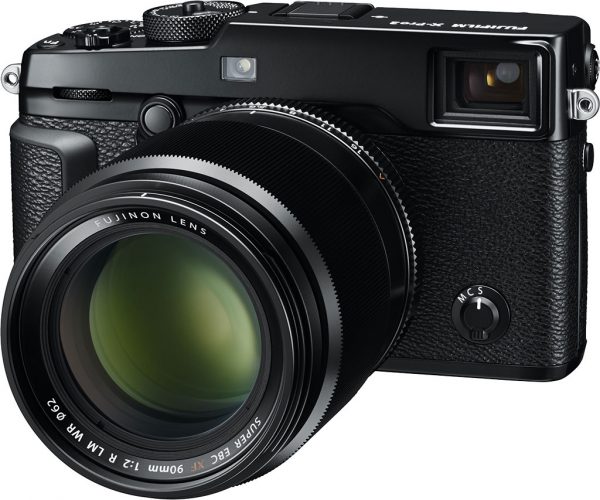
I recently got the Fuji X-Pro 2 with a new 90mm ƒ 2 lens
Now what I do, when I get a new camera, is to take it out into my backyard and just start taking the most banal, ordinary shots. I had heard about the new film simulation modes, so I shot raw + jpeg, and experimented with some of the new modes… but really just snapped away at things just to see what the camera did. I tried Velvia and the Acros B&W _ I don’t know what I was expecting to see about B&W with the following shot, but I was also testing the new 90mm ƒ2 lens, and a good way to check the quality of sharpness of a lens is to shoot backlit tree branches…
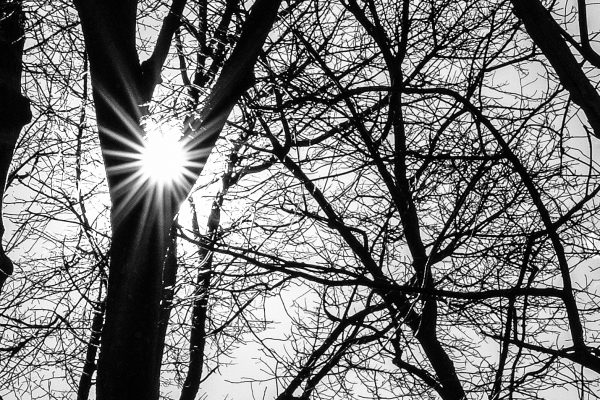
Backlit branches are a good test for lens sharpness.
I was shooting all kinds of really dull photos until I got to this… a shot of my wife’s little red Mazda—this is the jpeg straight out of the camera using the Velvia film simulation! (click on the images to see a larger version)
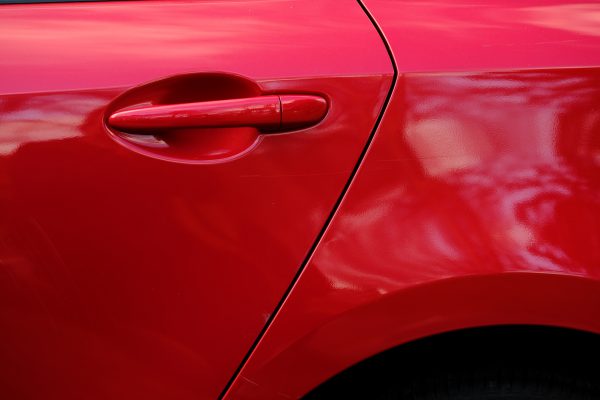
The red Mazda!
Well… it looked pretty good—So I thought I’d check out the raw file…

Adobe Standard from raw on the left – Fuji Velvia camera jpeg on the right
OK… so the Velvia jpeg looked really good. But I was pretty sure I could make the raw file look as good, if not better. So…
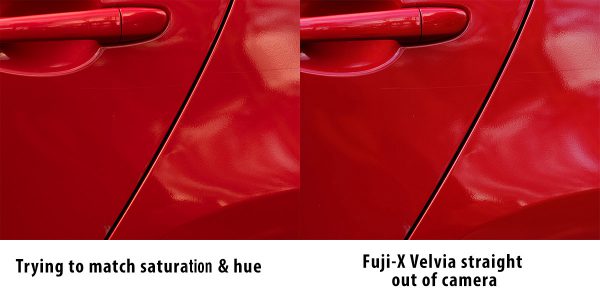
Cannot match color with Adobe raw!
I tried… Fiddling a bit with the basic sliders, I could get the hue and saturation to match pretty good, but I struggled to maintain the subtle tones and colors in the gradations. Look at the little reflections at the left! The Adobe processed version started to merge into the overall color the closer I got to the Velvia version for saturation and color. And the subtle highlights at the upper right corner—I couldn’t maintain that slight blue from the sky reflections! Now I am an expert in image processing, and I could go into Photoshop and work some JuJu with Lab, and luminosity masks to get this to match, but the point here is that if I hadn’t seen that Velvia version, I wouldn’t know to aim for that look. Fuji is clearly doing something way more sophisticated in their color and tone mapping to get this look!
– BPSOP Instructor: Lee Varis


