Overexposing the foreground
Another great way to capture powerful images after dark, especially with the night sky is to do separate shots for the foreground and the sky and overexpose the foreground image. You can also have a sharper image overall by focusing on the foreground image separately before shooting it or even do multiple shots and focus each one separately and then focus stack them. I use the app PhotoPills to let me know what the correct exposure will be for the foreground image, depending on how much I want to overexpose the foreground. Using a layer mask to paint in your overexposed foreground is a great way to eliminate a nice amount of the darkness that can overwhelm large parts of our images. It’s more work, but often it gives a more powerful and realistic looking image. You have to be good at masking and knowing something about channels definitely helps, when you can also use plug-ins like Topaz Remask that can definitely make life a little bit easier. Below are a few examples of overexposed foregrounds that I combined with the images of the sky.
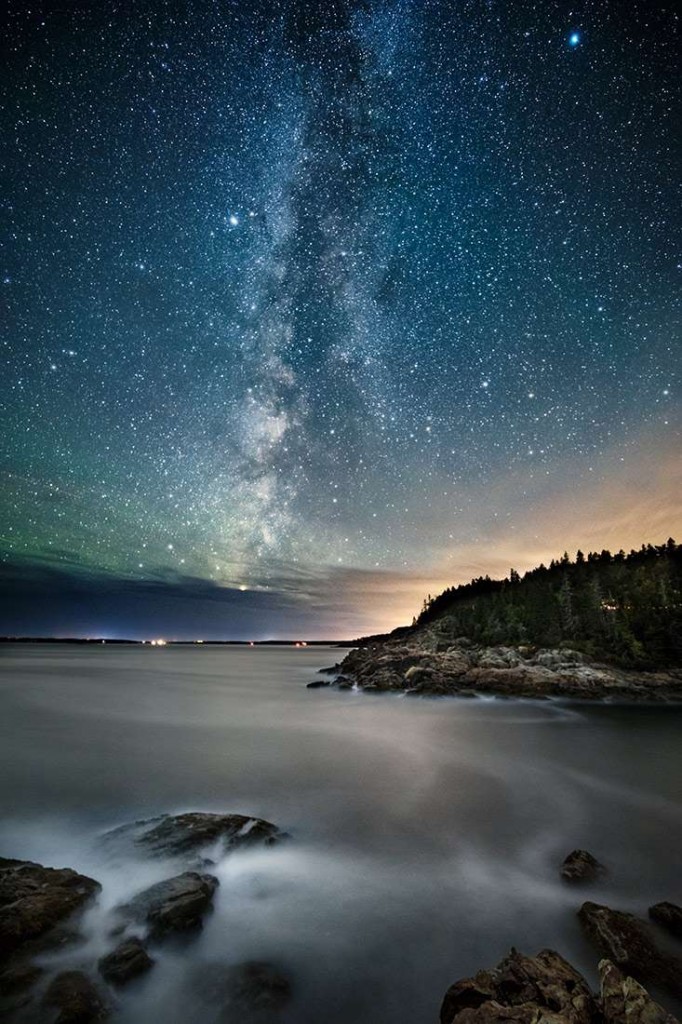
Two images combined in Acadia National Park
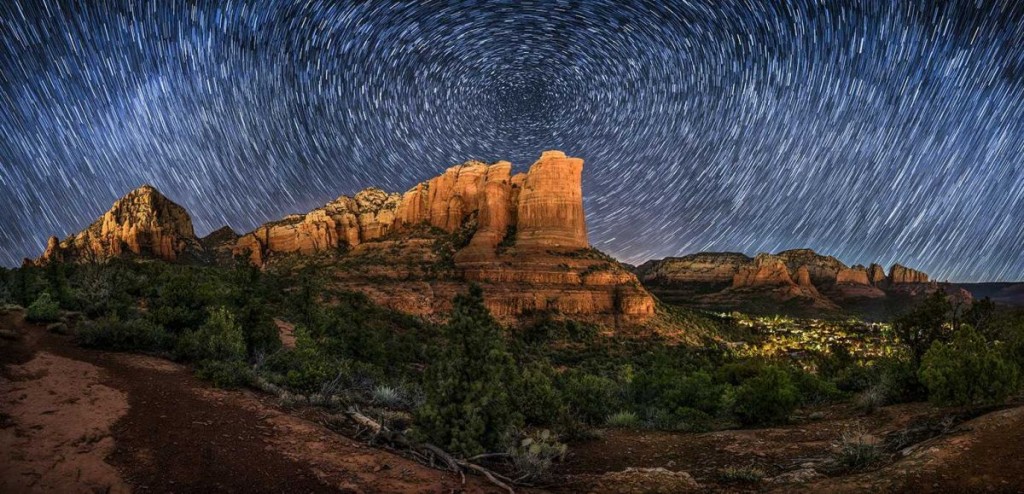
Two row star trail panorama with overexposed foreground
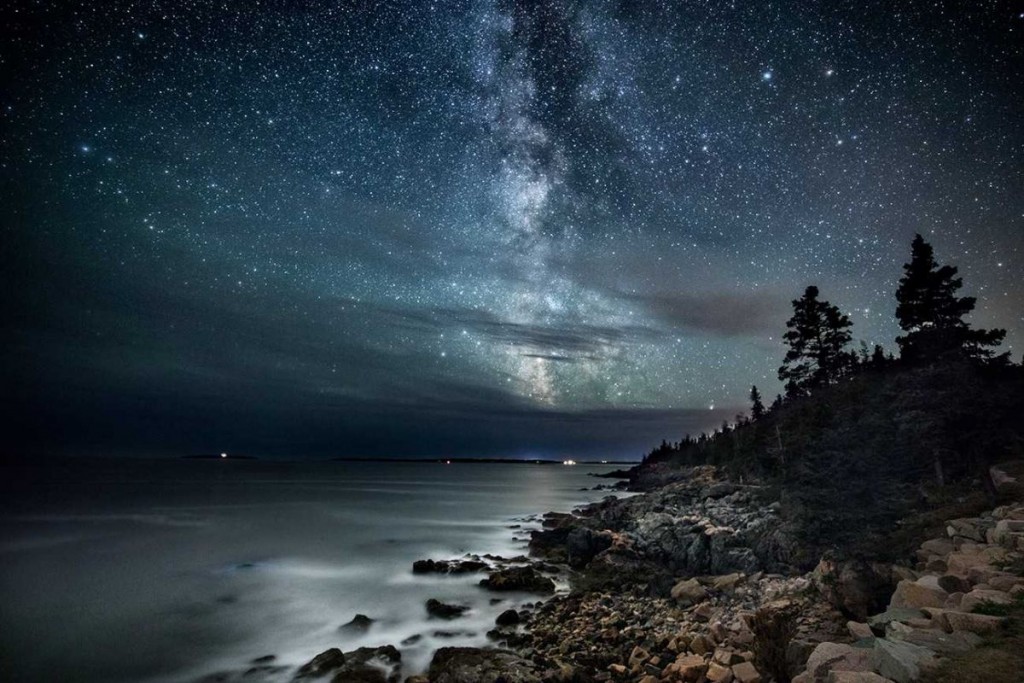
Two images combined in Acadia National Park
Other light sources:
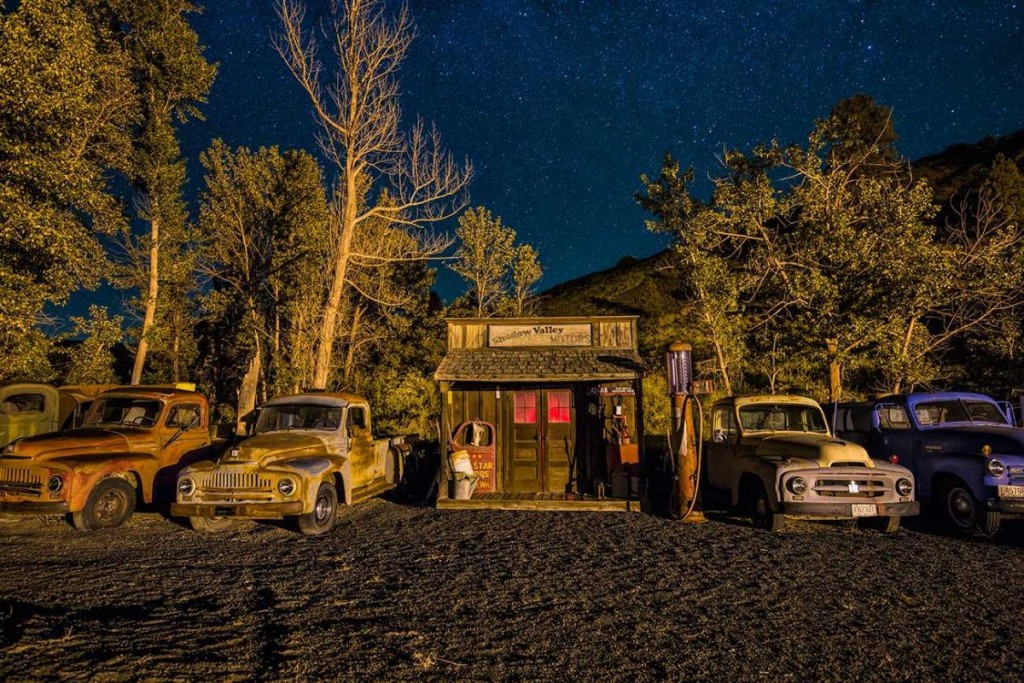
Often, you don’t have to worry about light painting or the moon or anything else because there might be nearby light sources such as mercury vapor, halogen, metal halide or other lights that might be in the perfect position to give you some beautiful lighting. I look for this all over the place and often, the light level and color temperature from these light sources can be absolutely fantastic. Sometimes though, they might be a little bit extreme and that’s when you can do a little bit of selective changing of their brightness and color temperatures in postprocessing. But I love looking for these possibilities all over the world and the following images show a few different examples.
The first two shots, on my friends property, were from a very powerful mercury vapor light high up on a post above the property. That huge light lit up all of his antique trucks and vintage gas station, and I was able to balance the exposure with the night sky. I also put a red headlamp inside the gas station on the second image to give a nice glow inside.
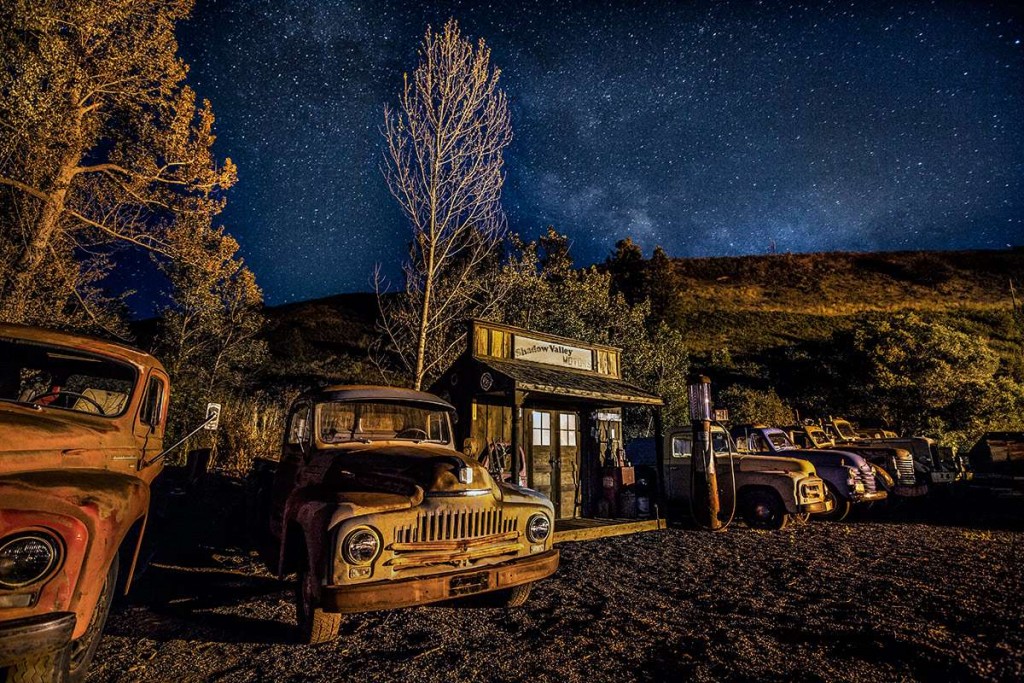
Friends’ property in the Palouse
Friends’ property in the Palouse
In the next image below, I was on my recent Italy workshop in Venice, where I showed my group how the light from the lamppost, by the gondolas could give a beautiful quality of light all across the gondolas. I told them they could also include the light in the overall composition as sometimes that can at a great focal point. But we really got lucky when lightning started in the distance, and I made sure their settings were set correctly for a longer exposure so that we could all capture the lightning. Was a pretty rare experience for Venice and we were in the perfect place at the perfect time!
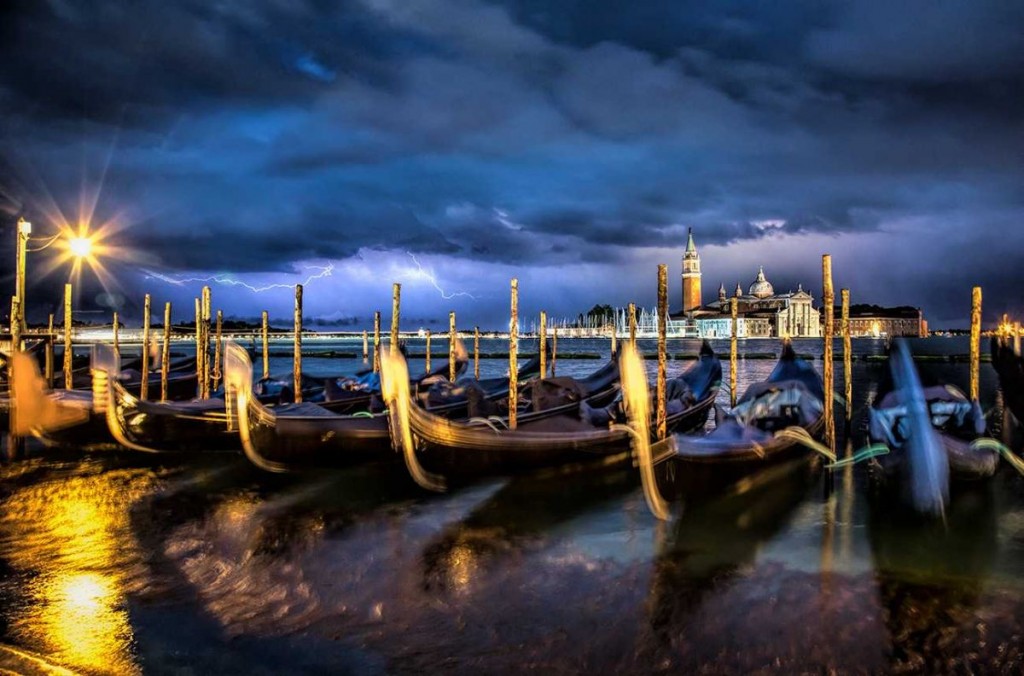
Lightning storm in Venice, Italy
In the next two images below, also in Italy, the powerful lights above Manerola in the Cinque Terre and the Grand Canal in Venice, gave a beautiful and ethereal light quality everywhere, but especially in the water. Reflections from artificial light sources can be just off-the-wall gorgeous, especially in unique locations. Scouting out locations is key.
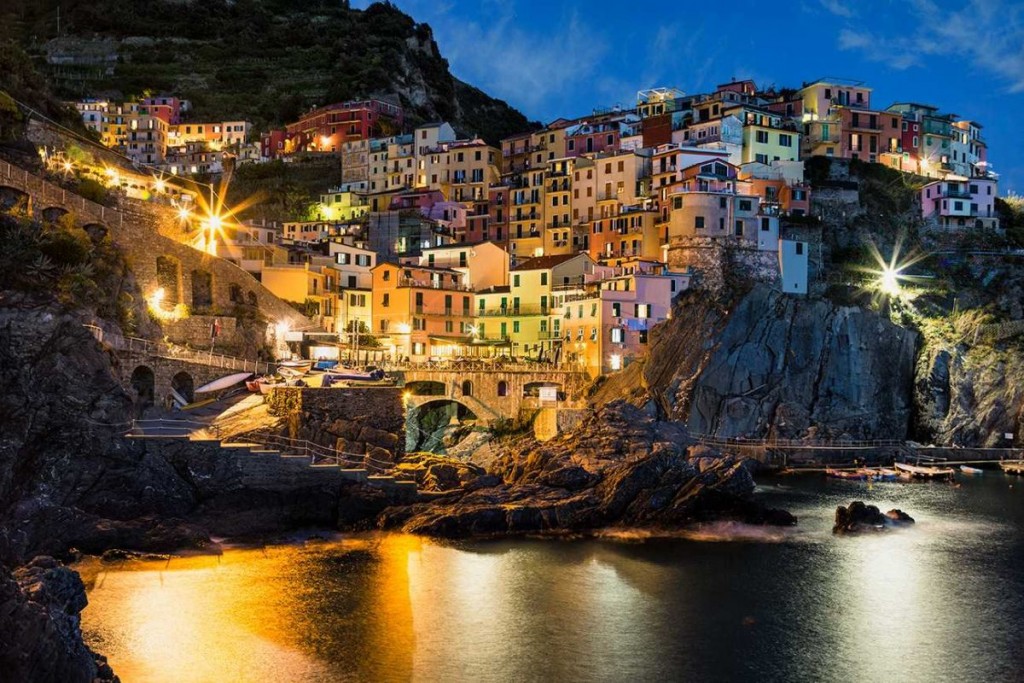
After dark in the Cinque Terre
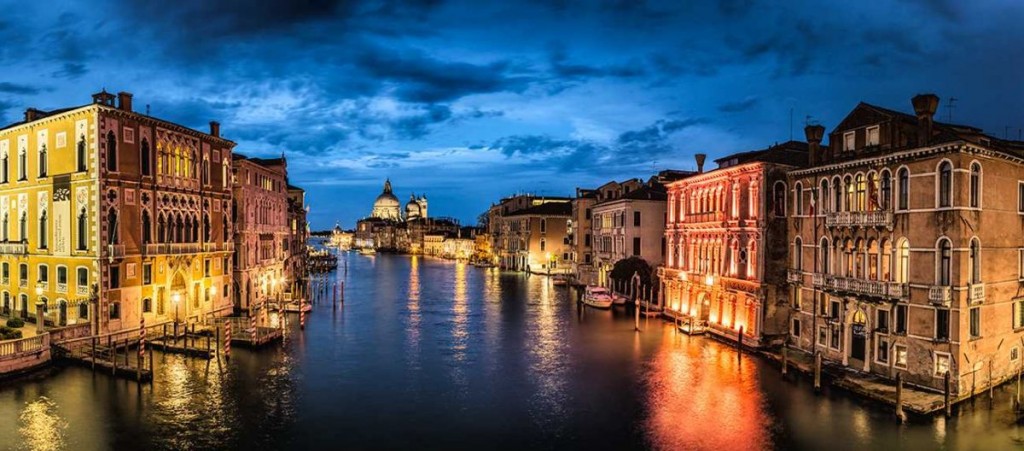
Panorama after dark in Venice, Italy
Stay tuned for Part IV!
-BPSOP Instructor: Scott Stulberg
Scott Teaches:


