
Wish your travel photos included beautiful images of your meals?
Here are 10 tips to getting great shots, excerpted from Amazing Travel Photos Made Easy taught by Brit Hammer. This course walks you through how to great travel photos of all kinds, ranging from wildlife to nature, architecture, and food!
1. Shoot for only a minute at a time.
You’re there to partake in the experience, not photograph it. When food is served, get your shots within one minute and then put the camera away.
2. Be discreet.
Use either a small point & shoot camera or your phone. DSLRs call too much attention and might upset the restaurant and/or other diners. Do not use flash.
Turn off sound, especially when using auto-focus. Turn off sound when shooting with your phone.
In upscale restaurants, put the camera away or on your lap, out of view of wait staff, when not in use.
3. Be quick.
No one wants to feel as if they’re in a photo shoot.
Practice photographing your food at home so you know how to quickly find the nice angles and framing while at a restaurant.
4. Be courteous of all diners.
Take photos of your table-mates cutting food with knife and fork. Avoid photos of people with food in their mouths, or with an open mouth.
Do not include diners at other tables in your images. Not everyone appreciates being caught on camera without consent, especially while eating.
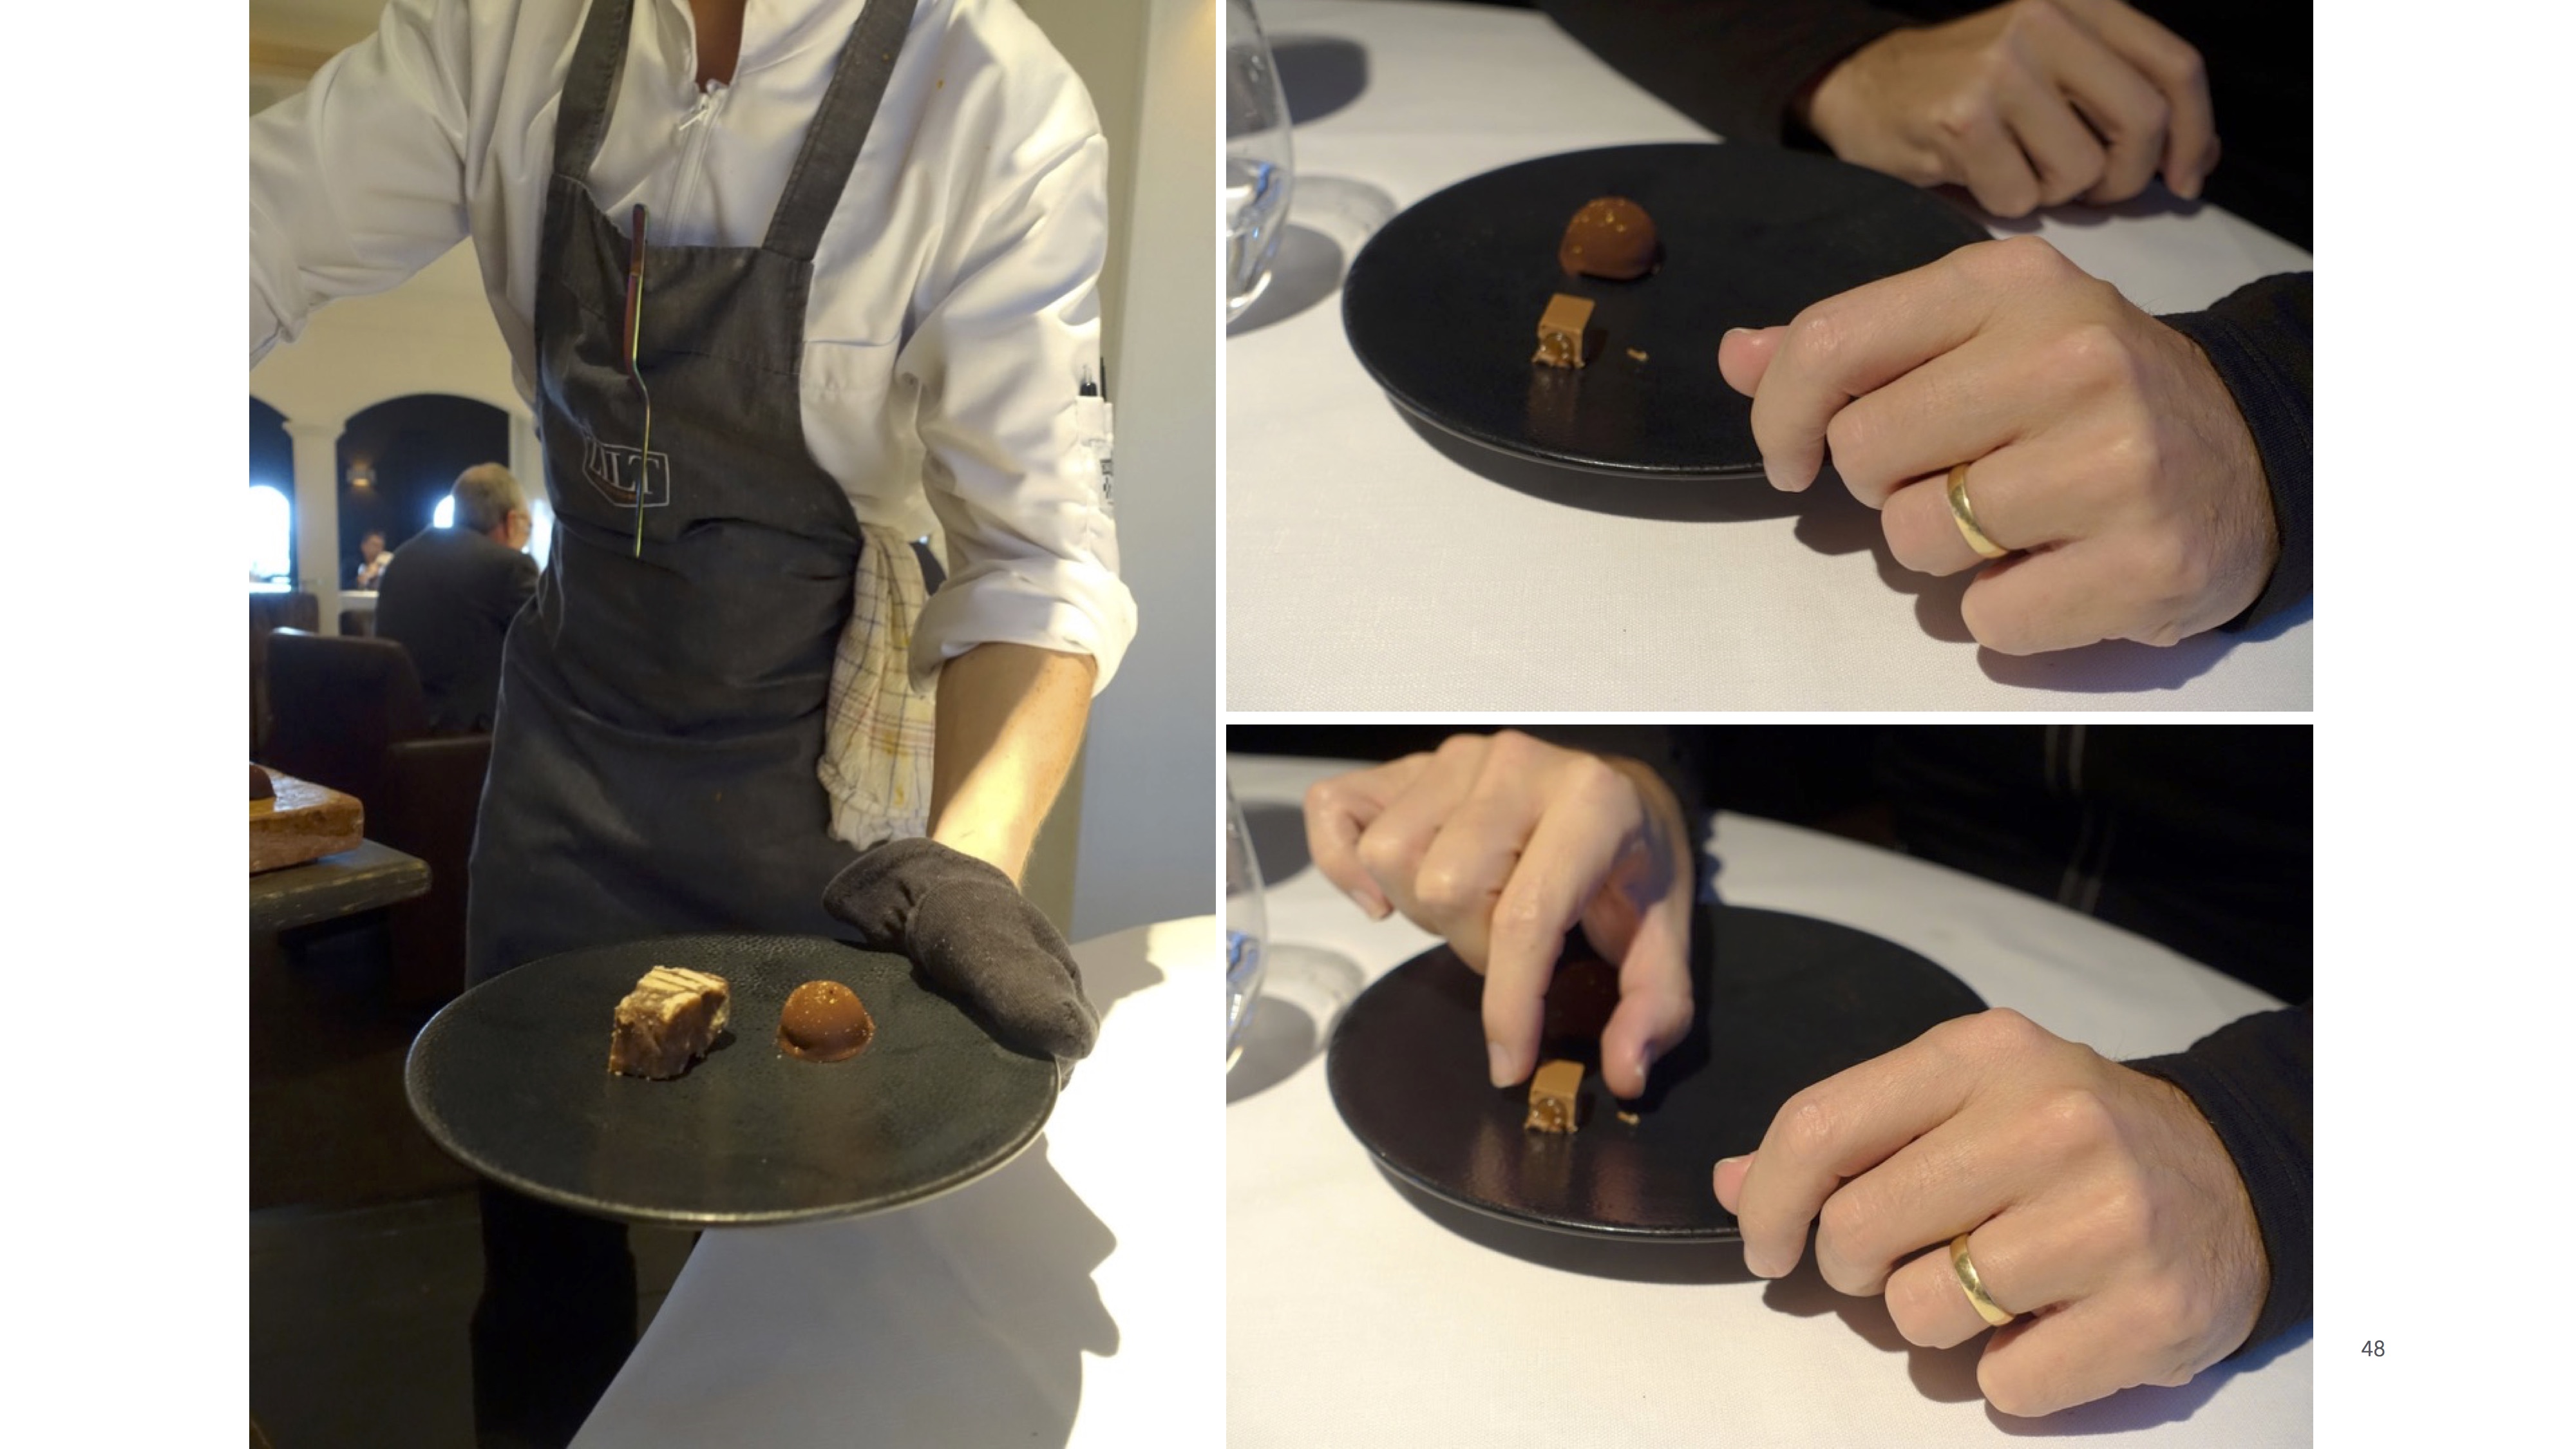
5. The devil is in the details.
Check the edges of your plates and glasses for stray food, and wipe away any smudges.
6. Know what not to shoot.
Some things will just never look delicious, no matter how hard you try. Meals that are all the same color and brown sauces are best left alone.
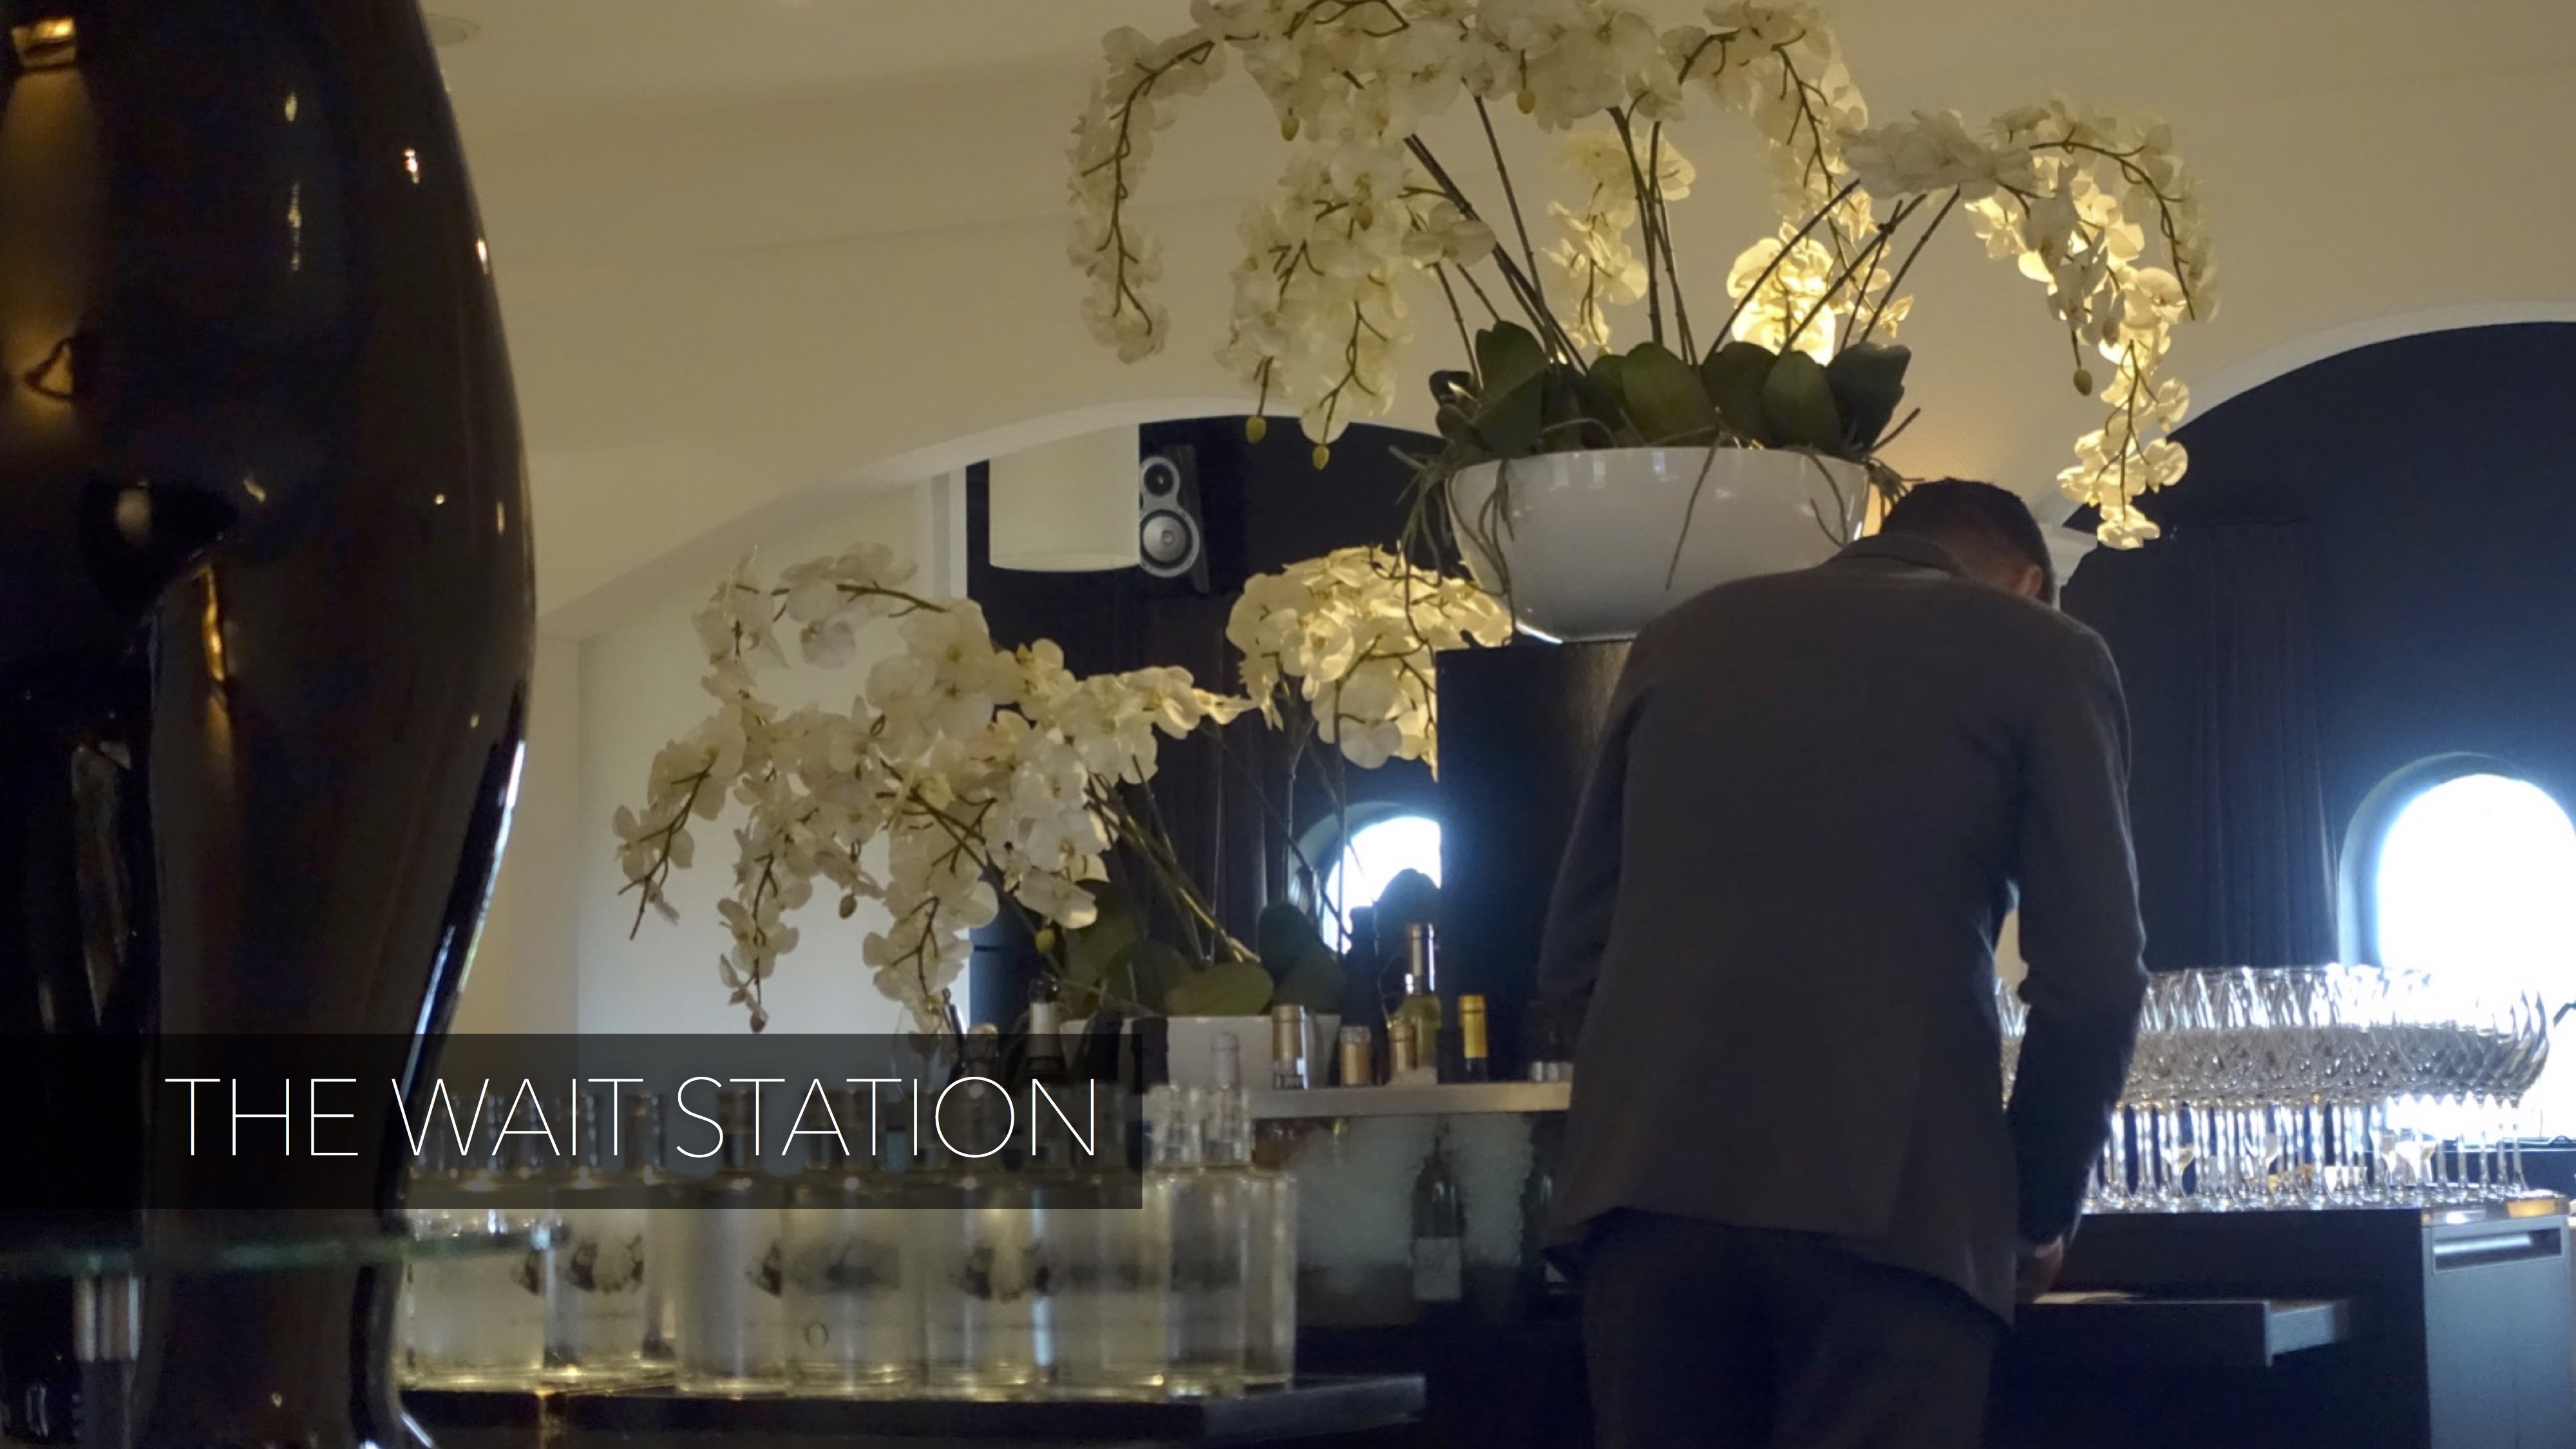
7. Don’t get in the way of servers.
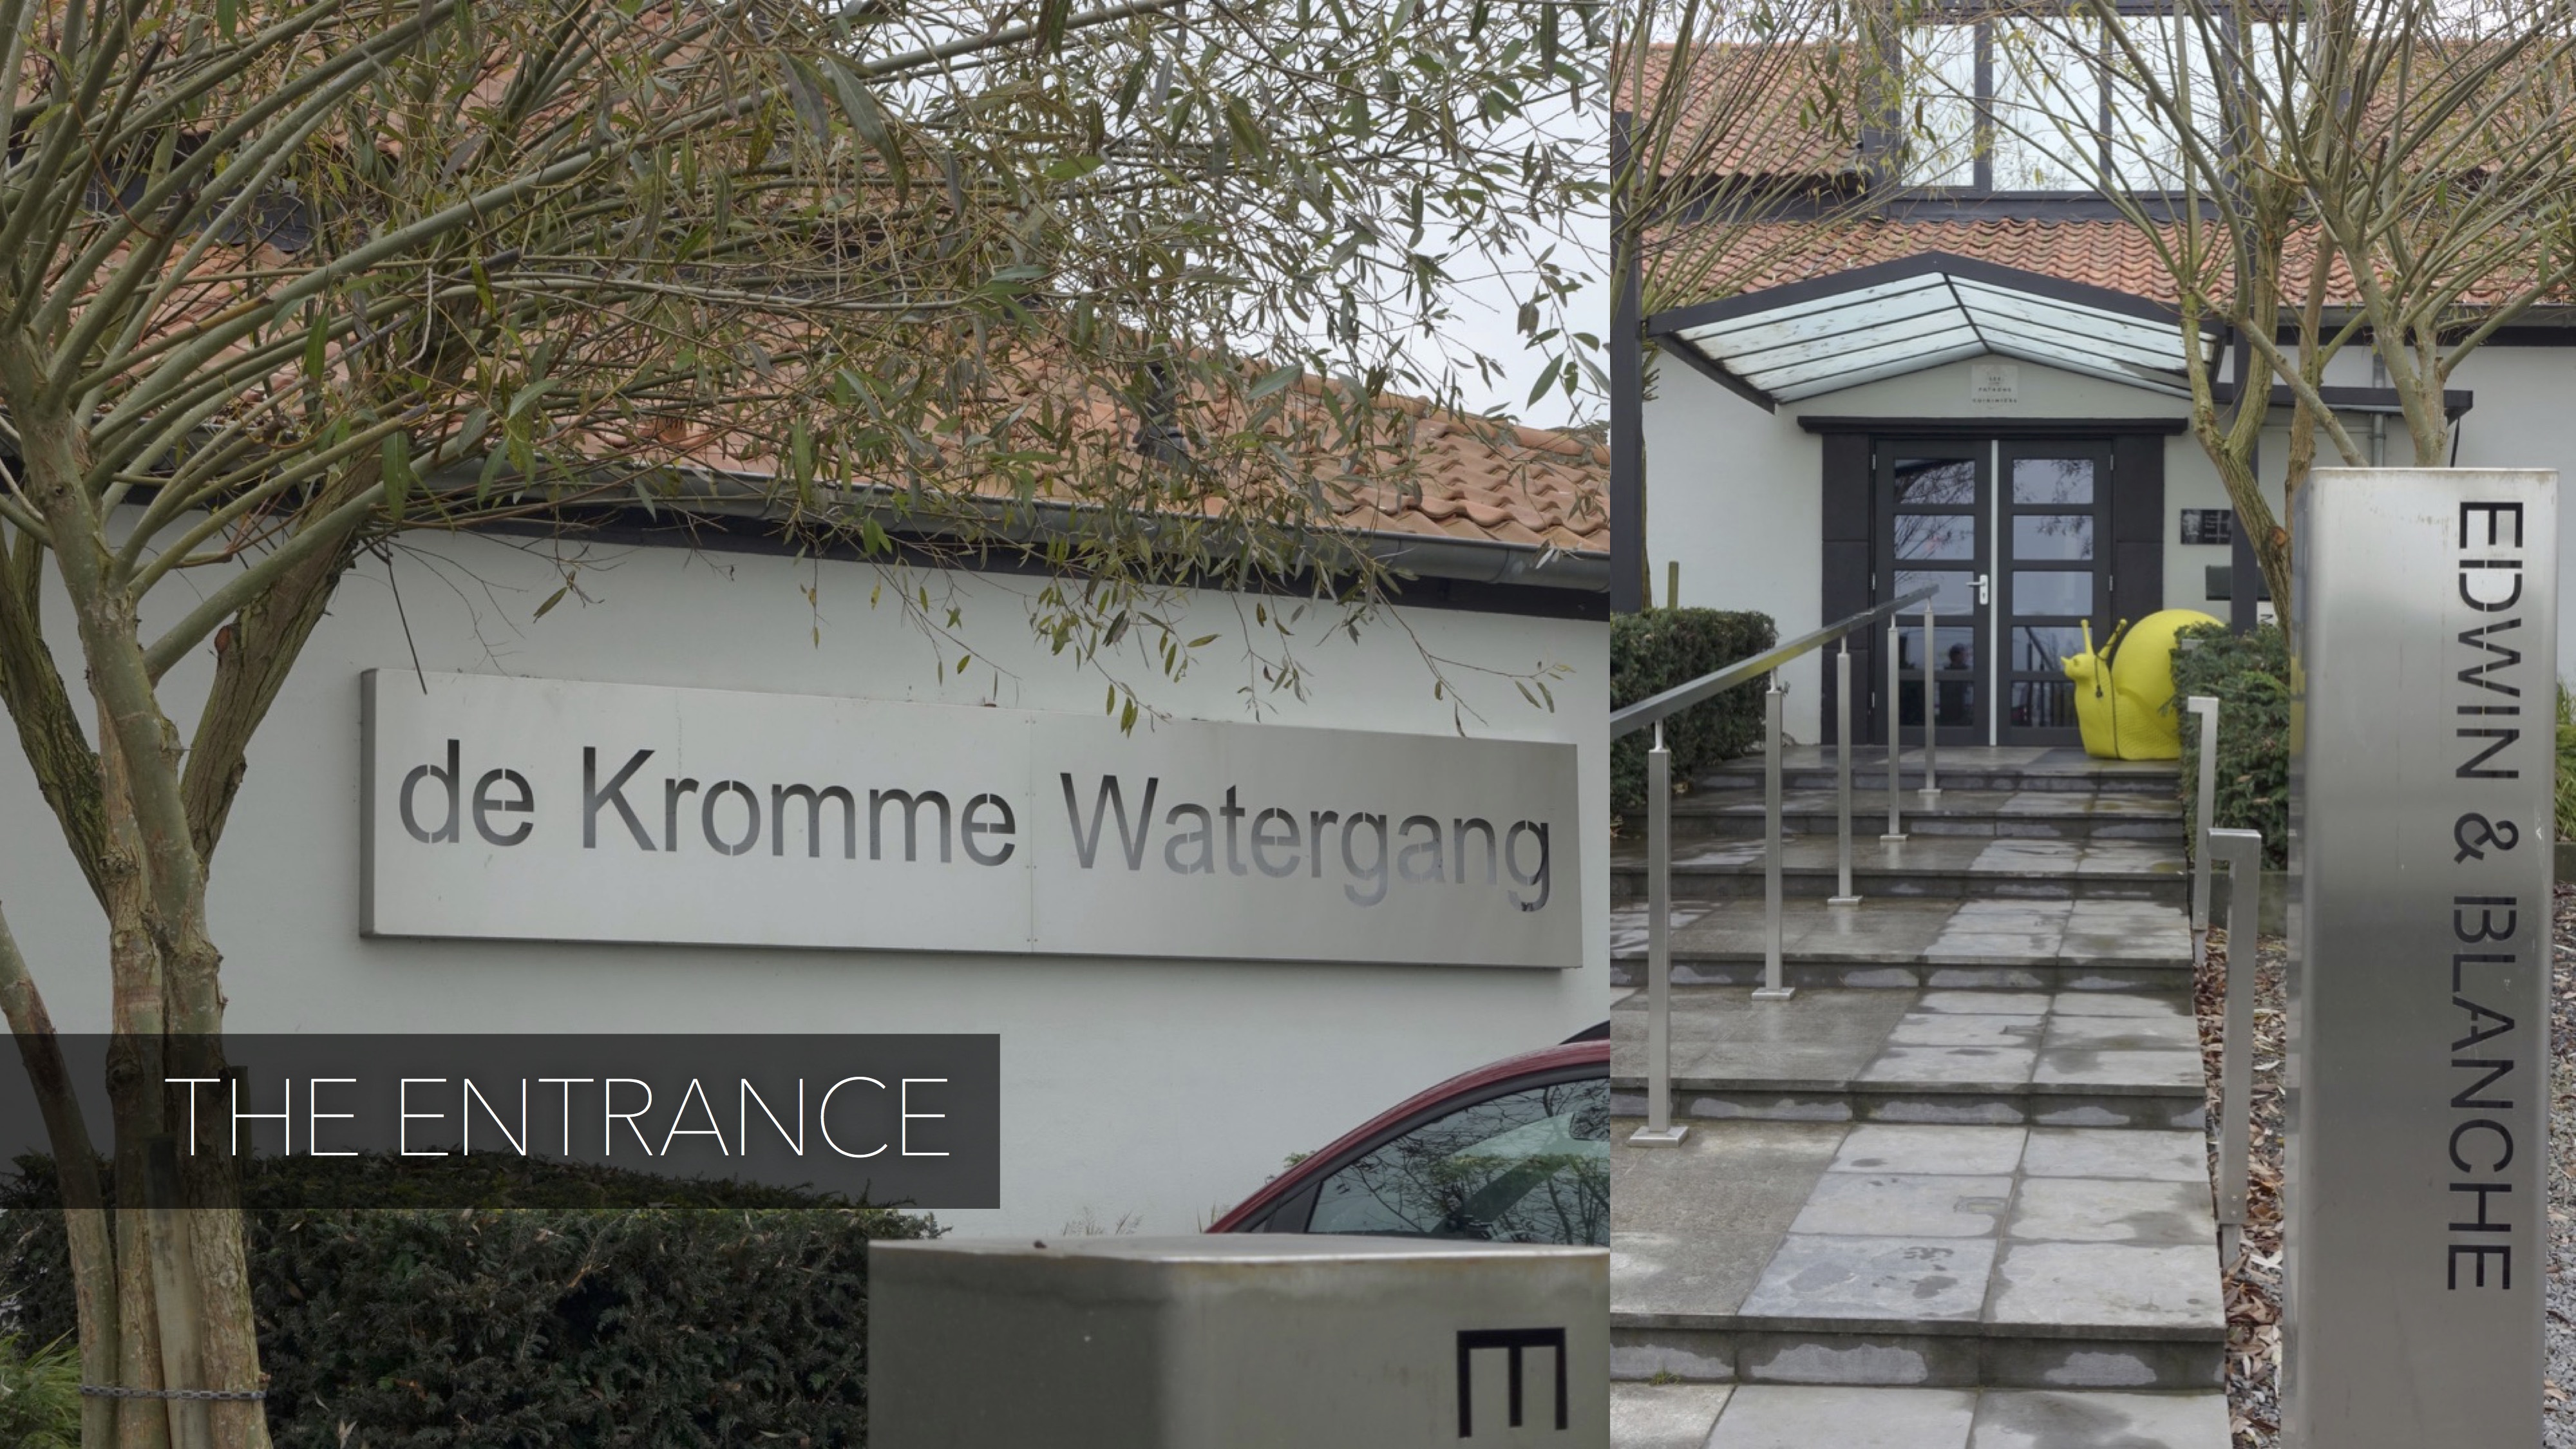
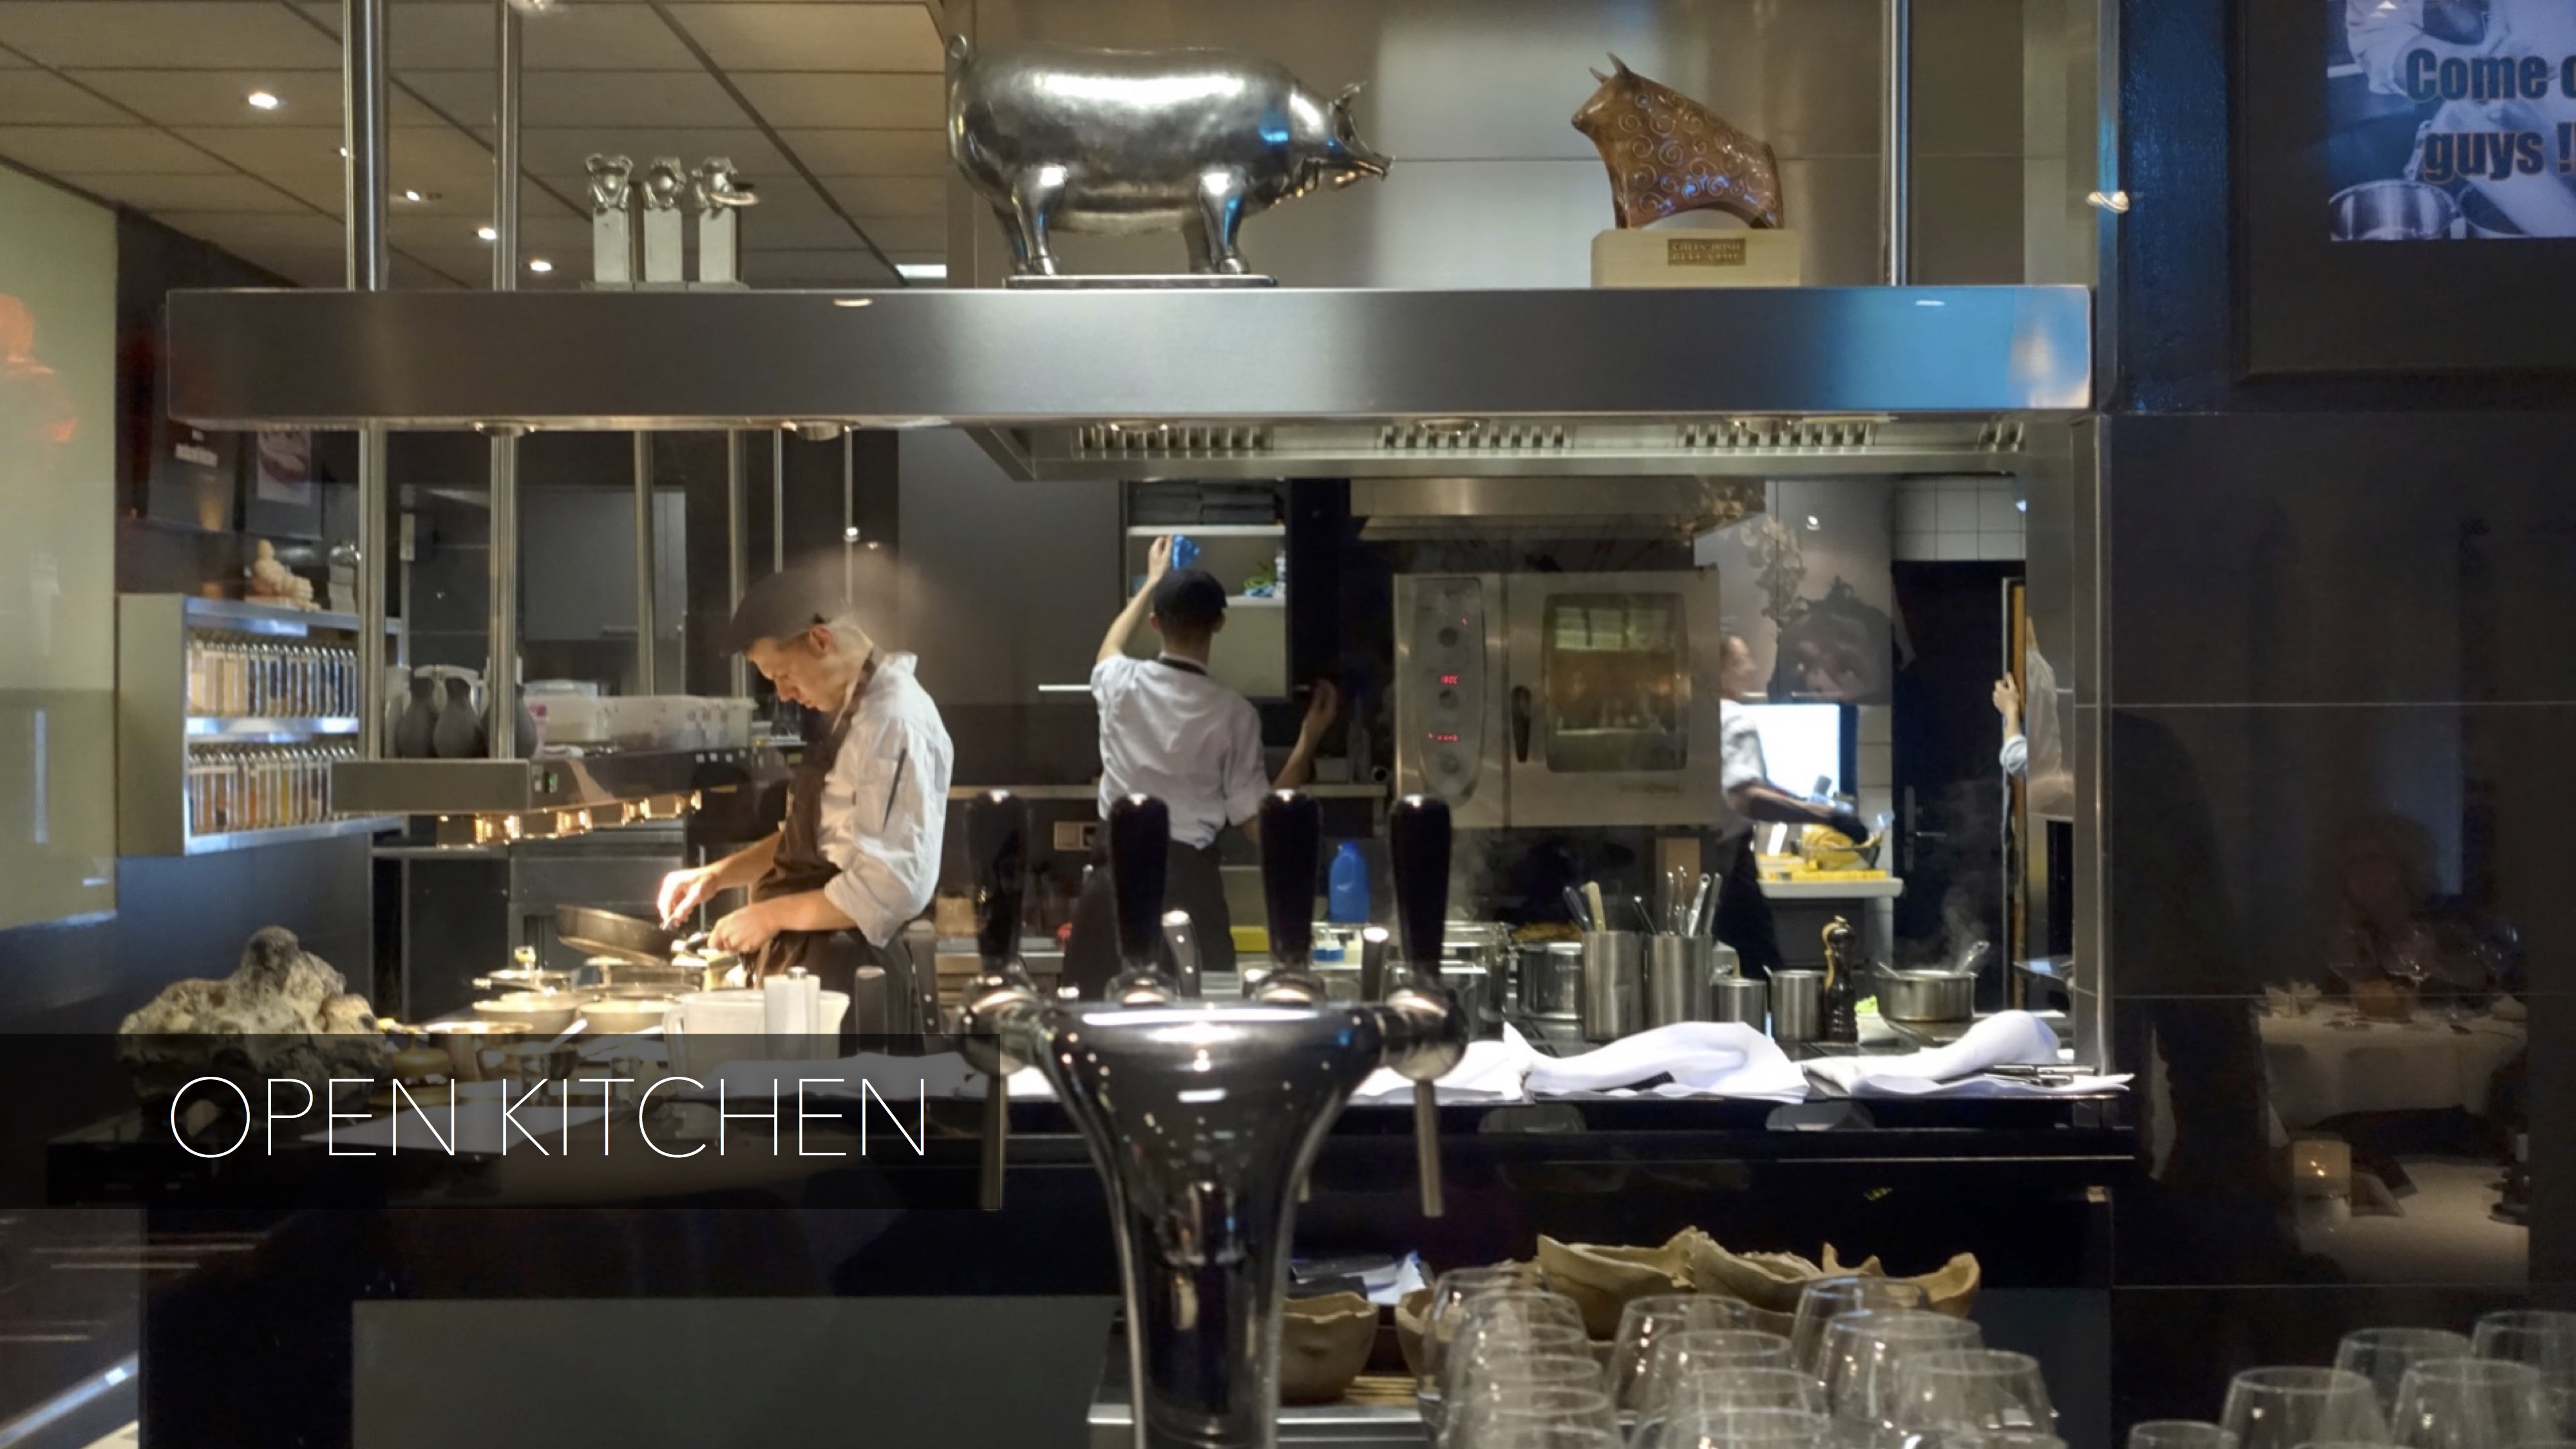
If you walk around to shoot the interior of the restaurant, be aware of the wait staff carrying dishes. Don’t get in their way.
8. When your food is served, photograph it right away.
Hot food looks best when still hot; cold foods look best before it melts.
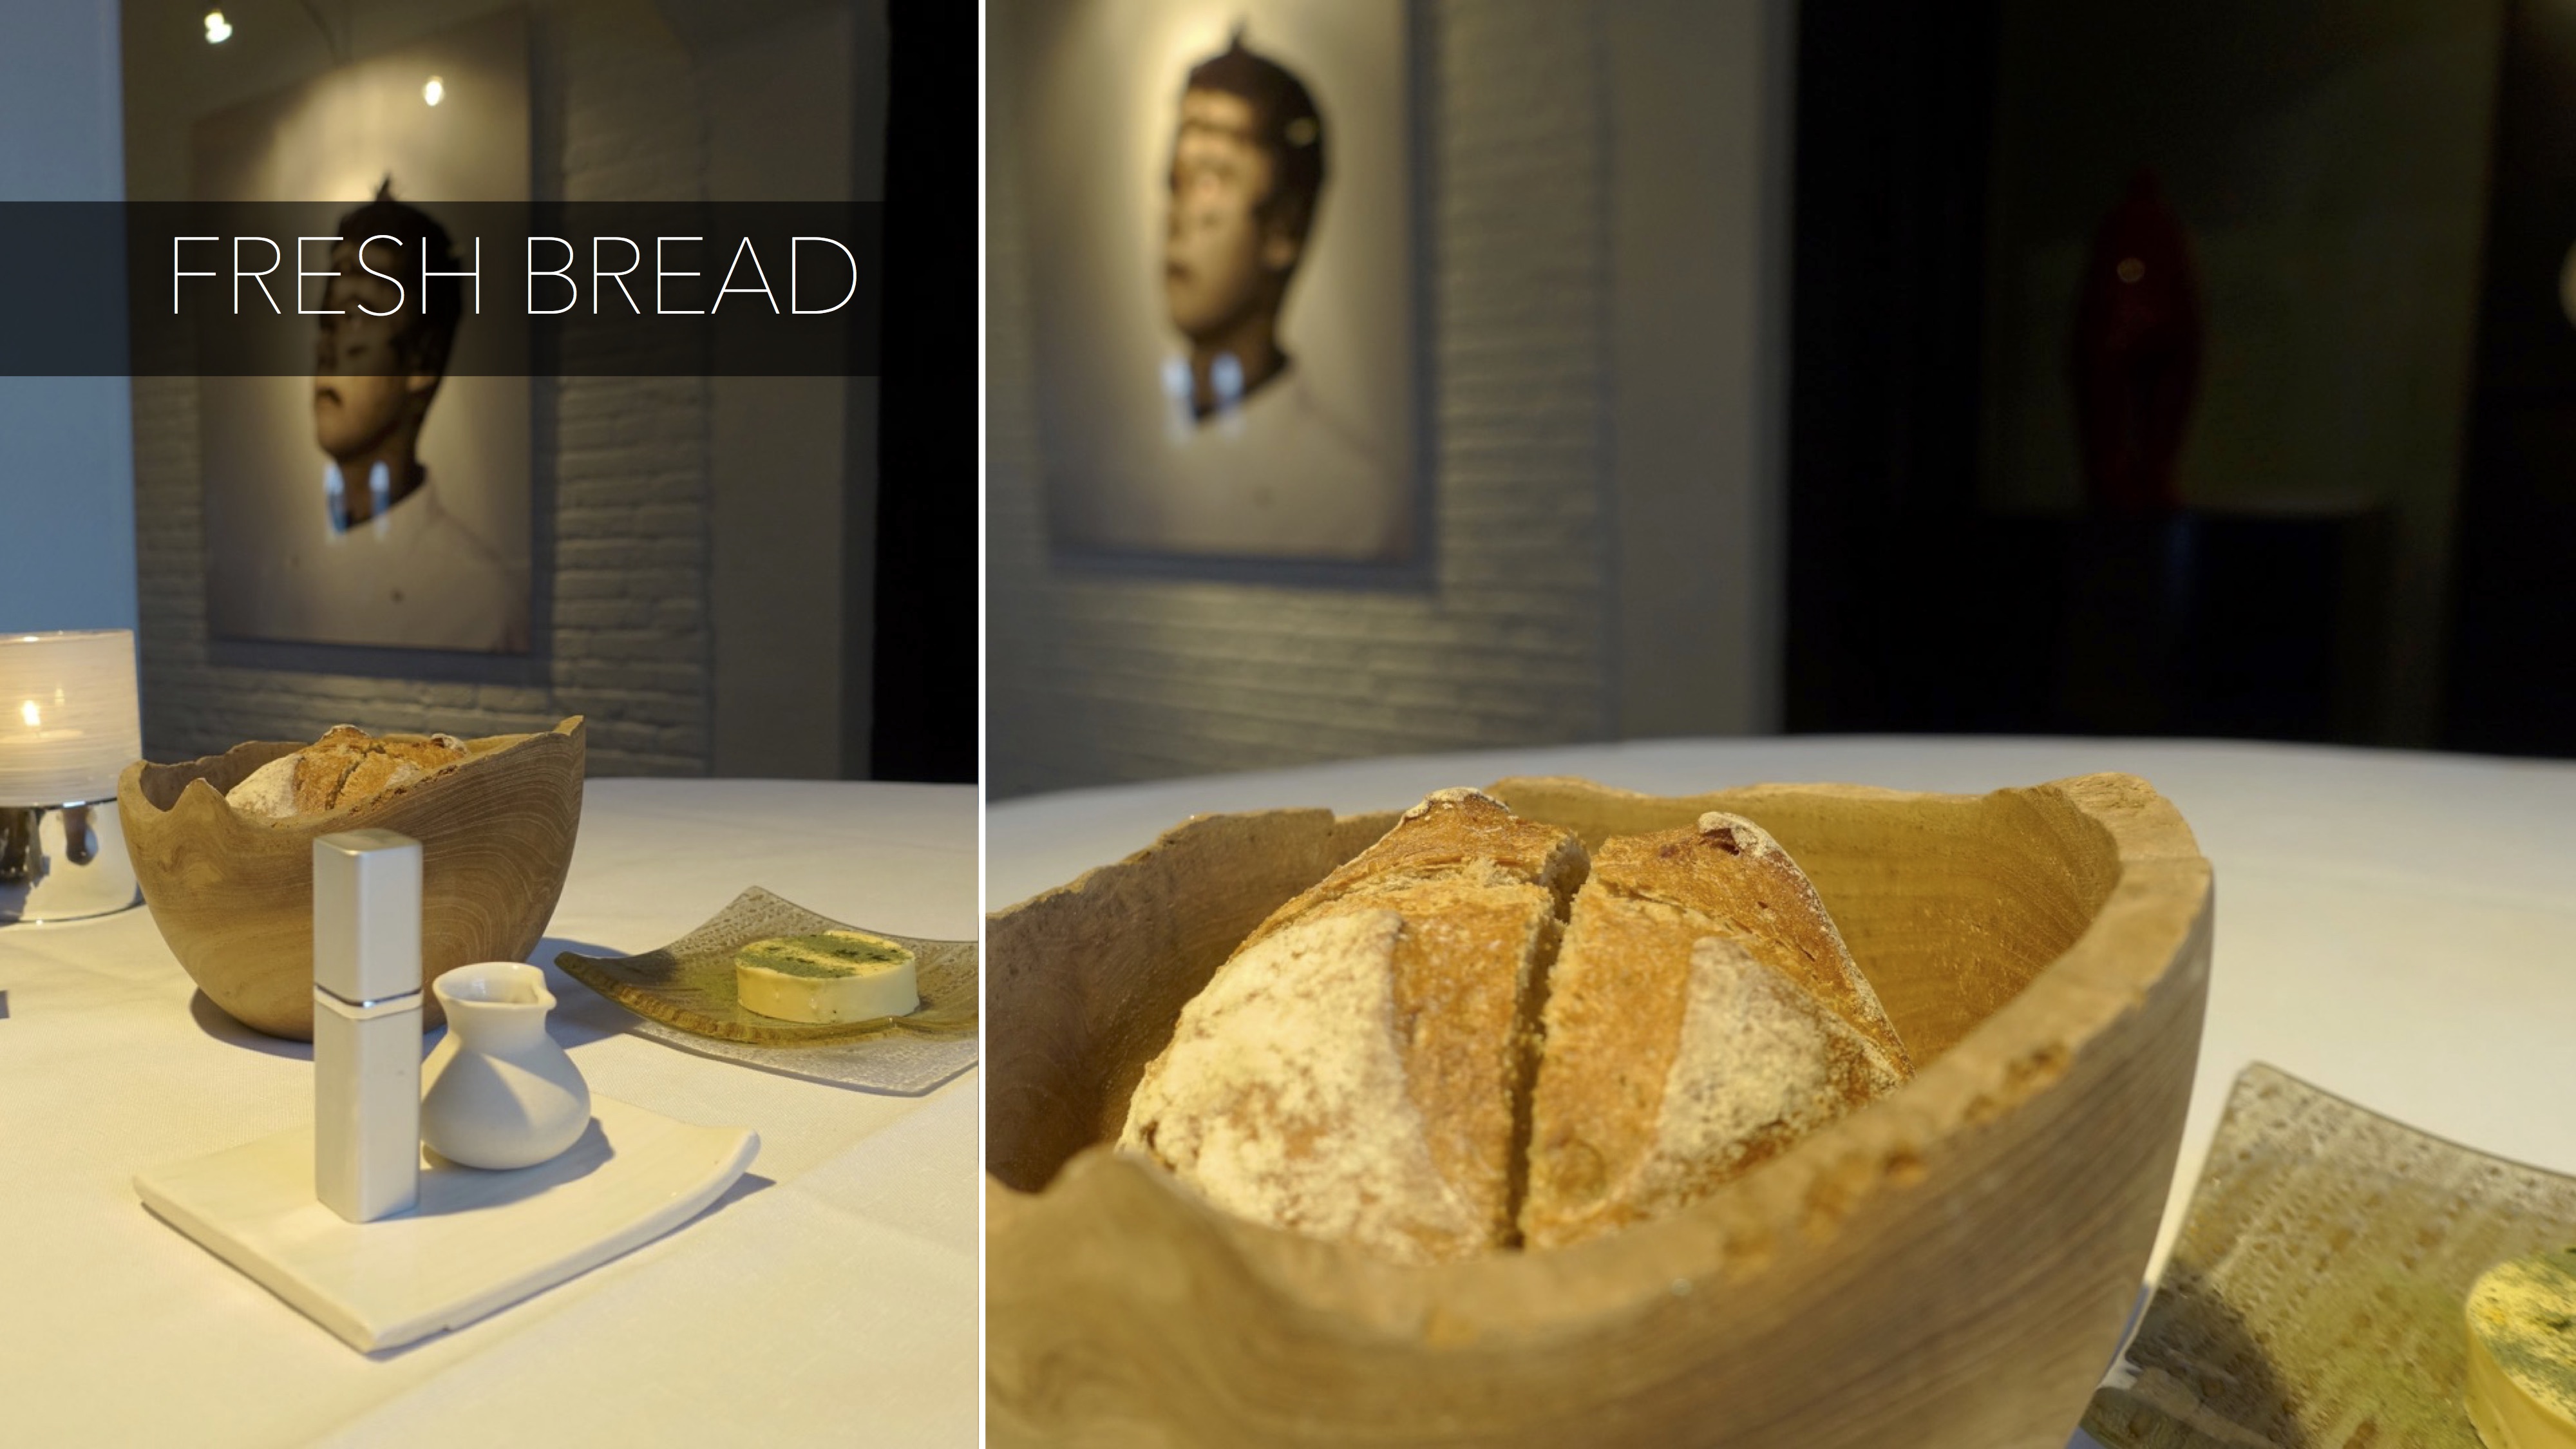
9. Look at how your food is lit.
Look at how the light is hitting your food. Lighting from the back or side will create dimension and highlight the textures in the food.
10. Work with the light that you have.
If there is glare on your plate or table, either re-frame your shot or change your camera angle to get rid of the glare.
If light is dim, open your aperture wide open, to say f/1.8 (or to the lowest f-number). If using a point & shoot, use the “scenes” function for low light levels. (Check your camera’s menu.)
SIGN UP NOW FOR THESE CLASSES TO LEARN STORYTELLING
Amazing Travel Photos Made Easy
Celebrate Your Life in Beautiful Images Part 1
Celebrate Your Life in Beautiful Images Part 2
No post processing skills necessary for any of Brit’s courses. You may even use your phone!
Amazing Travel Photos Made Easy teaches you how to create a collection of images that not only documents your holiday but that conveys how it felt to be there. This way you can re-live the experience and share it with others.
This course focuses on the creative side of photography and emphasizes getting all your shots in-camera. Any post-processing of images then becomes optional, not necessary.
You’ll learn how to get amazing travel photos using any kind of camera! It’s not about the gear; it’s what you do with it.
Learn how to capture these experiences:
- landscapes
- seascapes
- cities & architecture
- wine & dining experiences
- nature
- wildlife
![]() Celebrate Your Life in Beautiful Images Part 1 gets you started photographing how you want your life to look and what you want more of in your life.
Celebrate Your Life in Beautiful Images Part 1 gets you started photographing how you want your life to look and what you want more of in your life.
Ever wonder if the craziness of your life is, indeed, worth celebrating? The answer is a resounding YES!
Start taking images that that look like they came out of a glossy magazine.
This course focuses on the creative side of photography. You’ll learn how to capture images of your everyday life in a fresh and exciting way.
![]() Celebrate Your Life in Beautiful Images Part 2 takes you further by focusing on capturing the essence of your loved ones — think about the little things that you’ll always remember, such as how they hold their favorite coffee mug in their hands!
Celebrate Your Life in Beautiful Images Part 2 takes you further by focusing on capturing the essence of your loved ones — think about the little things that you’ll always remember, such as how they hold their favorite coffee mug in their hands!
Do you wish you had images of your loved ones that capture who they are as a person? What about a series of images that portray your life as nicely as a wedding photographer portrays a wedding?
Get ready to have fun creating lifestyle photos that you can’t wait to share with your friends and family.
This course delves into creative ways to capture even mundane moments and beautifully photograph even camera-shy loved ones. They’ll finally stop saying they don’t like seeing themselves in photos!
Get a taste of how Brit will work with you.
You can also work with Brit privately
Mentoring: Schedule a live session with Brit via Skype
Get a private image video review: Private Video Image Reviews
Find out about all of Brit’s courses, including Photographing Fine Art & Craft


