 A student asked how I stay engaged with friends and family while photographing our shared moments and if my capturing these images takes me away from being fully present. He also wanted to know if anyone get annoyed with me taking time out to shoot.
Here are my secrets so that everyone is happy.
1. Sharing images is the key
No one will ever say they have “too many” great images of their friends and family. Share your images, and you will no longer hear complaints when you pull out your camera!
Whether it’s a dinner with family or just hanging out with friends, I send my images of the event to everyone in attendance so they have a reminder of our shared experience. I send the curated selection of edited image files. The images are numbered in the order to be viewed so that the story unfolds like a wedding photo album. For those who prefer not to have the actual image files, I send the link to a private album posted online. Nowadays if I don’t take any photos, people are disappointed!
2. Shoot intermittently
You’re there to partake in the event, not to photograph it. Spend only a few minutes photographing, shooting intermittently.
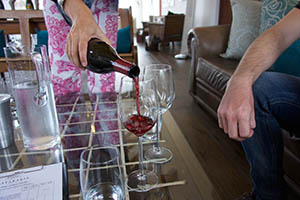
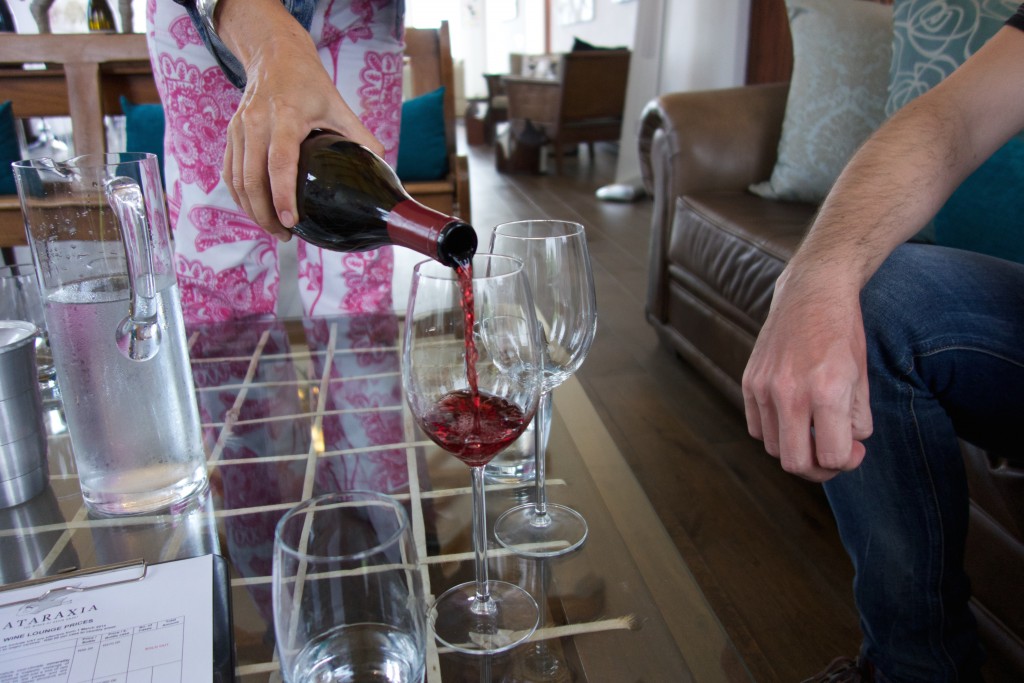
I shoot max. 1-2 minutes at a time so that I stay engaged with my friends and family. I don’t wander off to shoot, say, the restaurant we’re at for longer than it would take me to go to the loo. If I need to withdraw from the group to capture overview shots of the scene, I do it only once during the entire event. Wherever we are, I photograph discreetly and make sure not to disturb anyone.
3. Use a small camera
Small cameras are inconspicuous. No one is intimidated by a point & shoot camera or a phone. Even Michelin star restaurants are okay if you photograph your dining experience using a small camera, but if you pull out a DSLR they might protest — especially if it upsets other diners. The secret is to be discreet and quick in capturing the moments.
I use a Sony RX-100 III. It’s a point & shoot camera that allows full manual control. To get my shots quickly I shoot on aperture priority + auto-focus (with the sound turned off), using only aperture and exposure compensation. I do not use flash. Before pressing the shutter release, I make sure I’m getting a good shot, which results in fewer bad images to sort through in the image selection process. My goal is to get everything in-camera and to save time downstream, so I also shoot JPGs rather than RAW.
4. Go with the flow
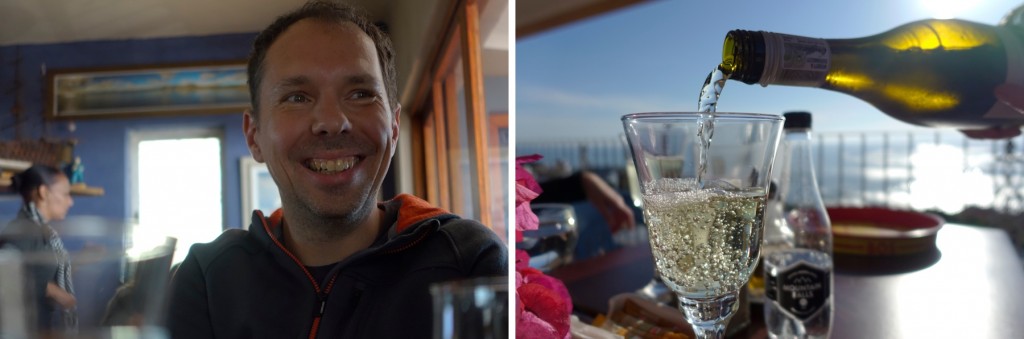
When you are looking for moments to photograph, you become more aware of what is happening. Capture what you can and let the rest go. Be present and enjoy each moment.
Let’s say I’m sharing a meal with my family. When the food comes, I photograph it before we eat; then I put the camera down. If I don’t get a great shot, I let it go because I’m with my friends and family to share a moment, not to photograph it. I catch the moments I can.
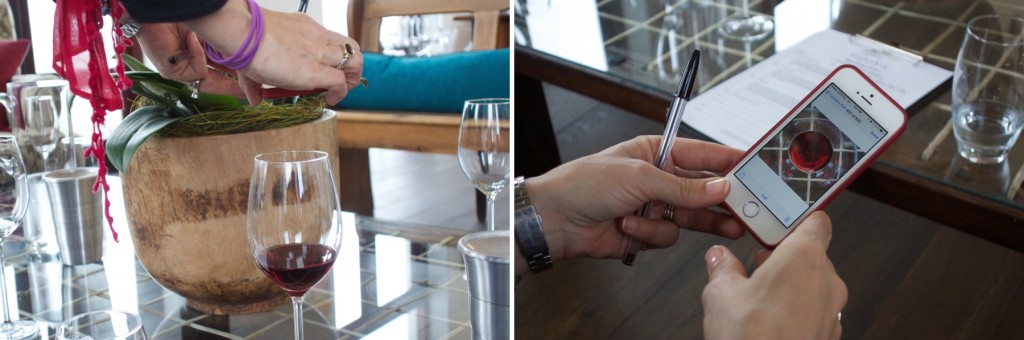
I investigate my subject by looking through the LCD in live-view before I press the shutter release. When I see something I like, I take the shot and try about 3-5 variations. I do not delete any images because it takes time away from being present. Also, viewing images on a large monitor usually reveals something interesting that cannot be seen on the camera’s small LCD.
5. Send the images soon after the event
People will thank you for sending shots shortly after the event! This way everyone is reminded of what a nice time you had together.
I usually send the curated story (i.e. album) of images within 24 hours after the event, which also forces me to stay up to date with my image management. What saves me the most time is getting all my shots in-camera so that no post-processing is required. This is why I shoot JPG, with the added benefit that it gives me more space on my card for extra shots.

Getting great shots in-camera takes some practice, but it will greatly shorten your workflow and turn-around time in getting images to your friends and family!
Learn how to capture your own shared moments so you can celebrate your life in beautiful images.
– BPSOP Instructor Brit Hammer


